
T-shirt Making Hacks with Cricut Joy
If you’re looking for gift ideas, this t-shirt might be just the answer! With bright colors and a simple, heartwarming message, this Be Kind design makes an excellent teacher gift or stocking stuffer!
Disclaimer: Cricut supplied some materials and equipment used in this post. Links in this article are affiliate links that pay this site a commission at no cost to the reader when a purchase is made after a click.

Bridget and I designed this t-shirt together. She loves all things pink and glittery, so of course the flower and heart just had to be pink glitter! The Bright Teal and White Smart Iron-On made the perfect companions for the Fluorescent Pink Glitter.
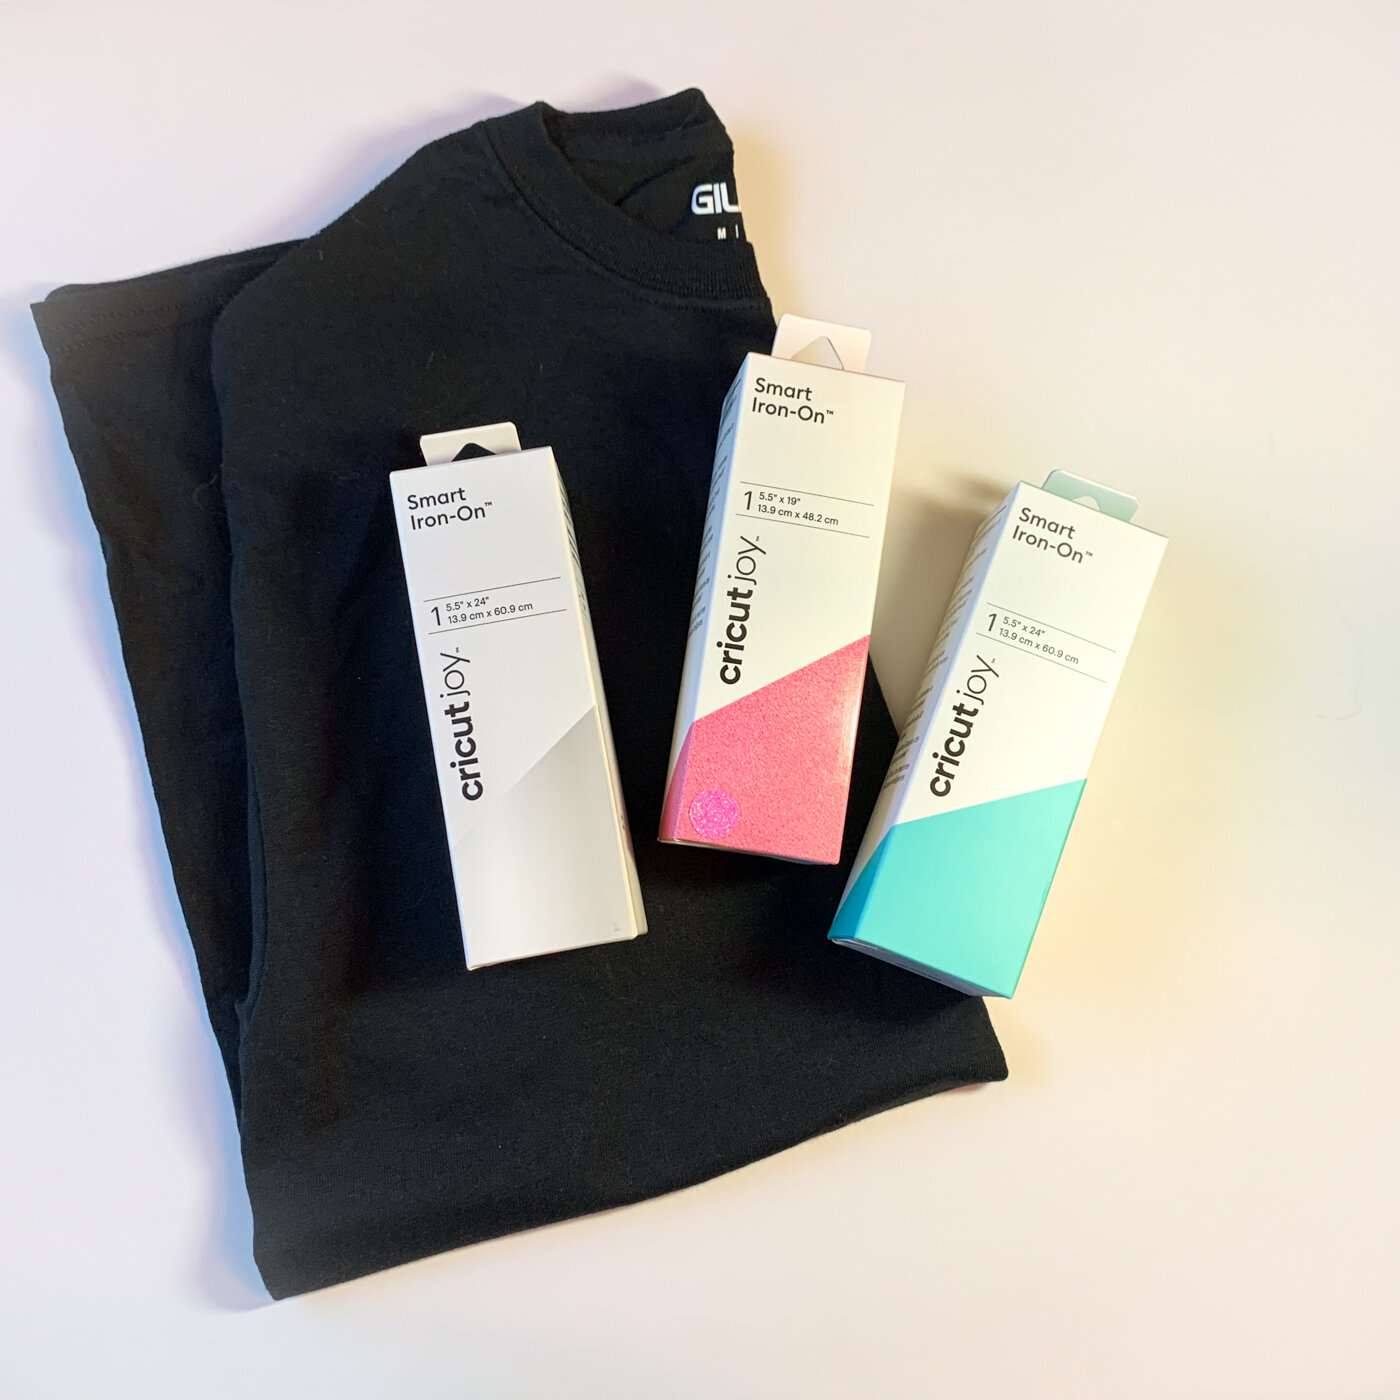
Supplies
Black t-shirt (medium)
Cricut Smart Iron-On
Cricut Weeding Tool (also available in some Cricut tool sets)
The “Be Kind” graphic I used is in the Cricut Design Space library as a single color. Creating multiple copies of it and using Design Space’s “hide contour” function to hide parts of each layer enabled me to turn it into a multi-color design. As a single color design, it would cut too small to really work well on a t-shirt front if cut on the Cricut Joy. But in multiple colors, it cuts in several pieces, meaning you can make the design size larger and the individual pieces will still be small enough to cut on the Joy!
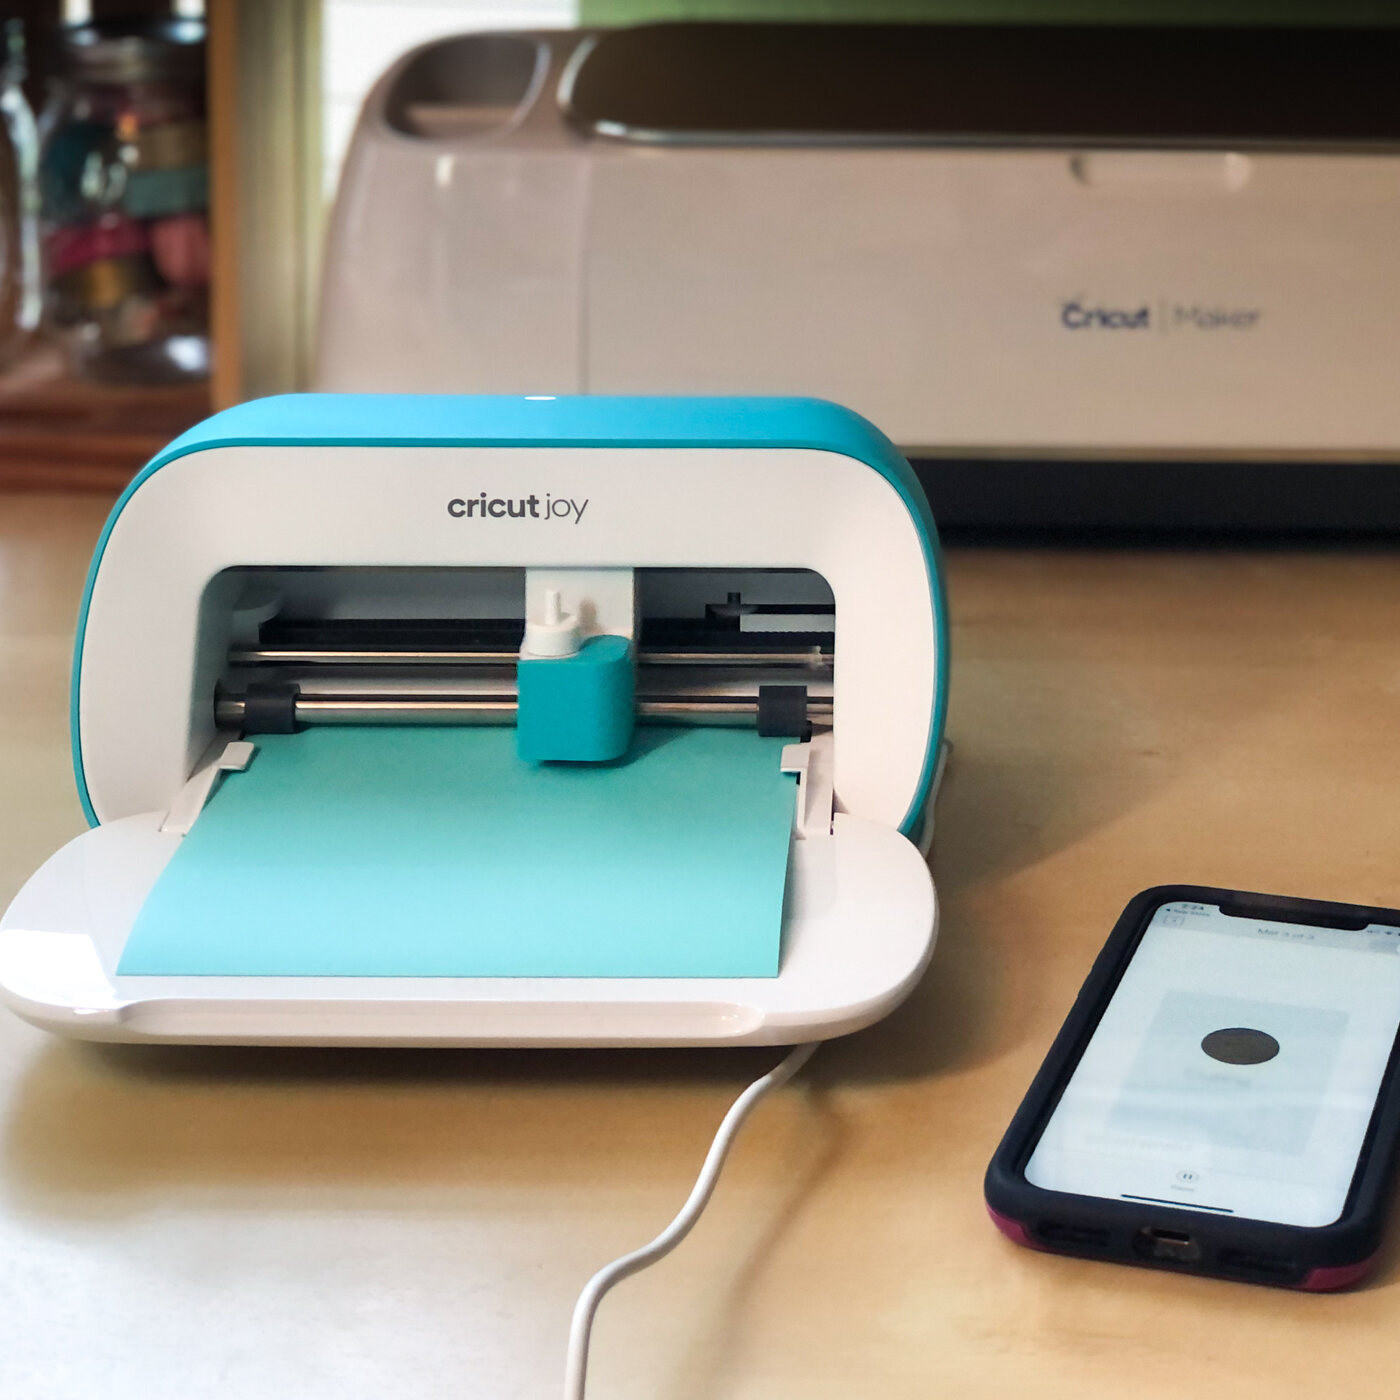
After prepping my design on my computer, I ultimately cut it using my phone. I love that Cricut Design Space lets me seamlessly switch back and forth between devices like that!
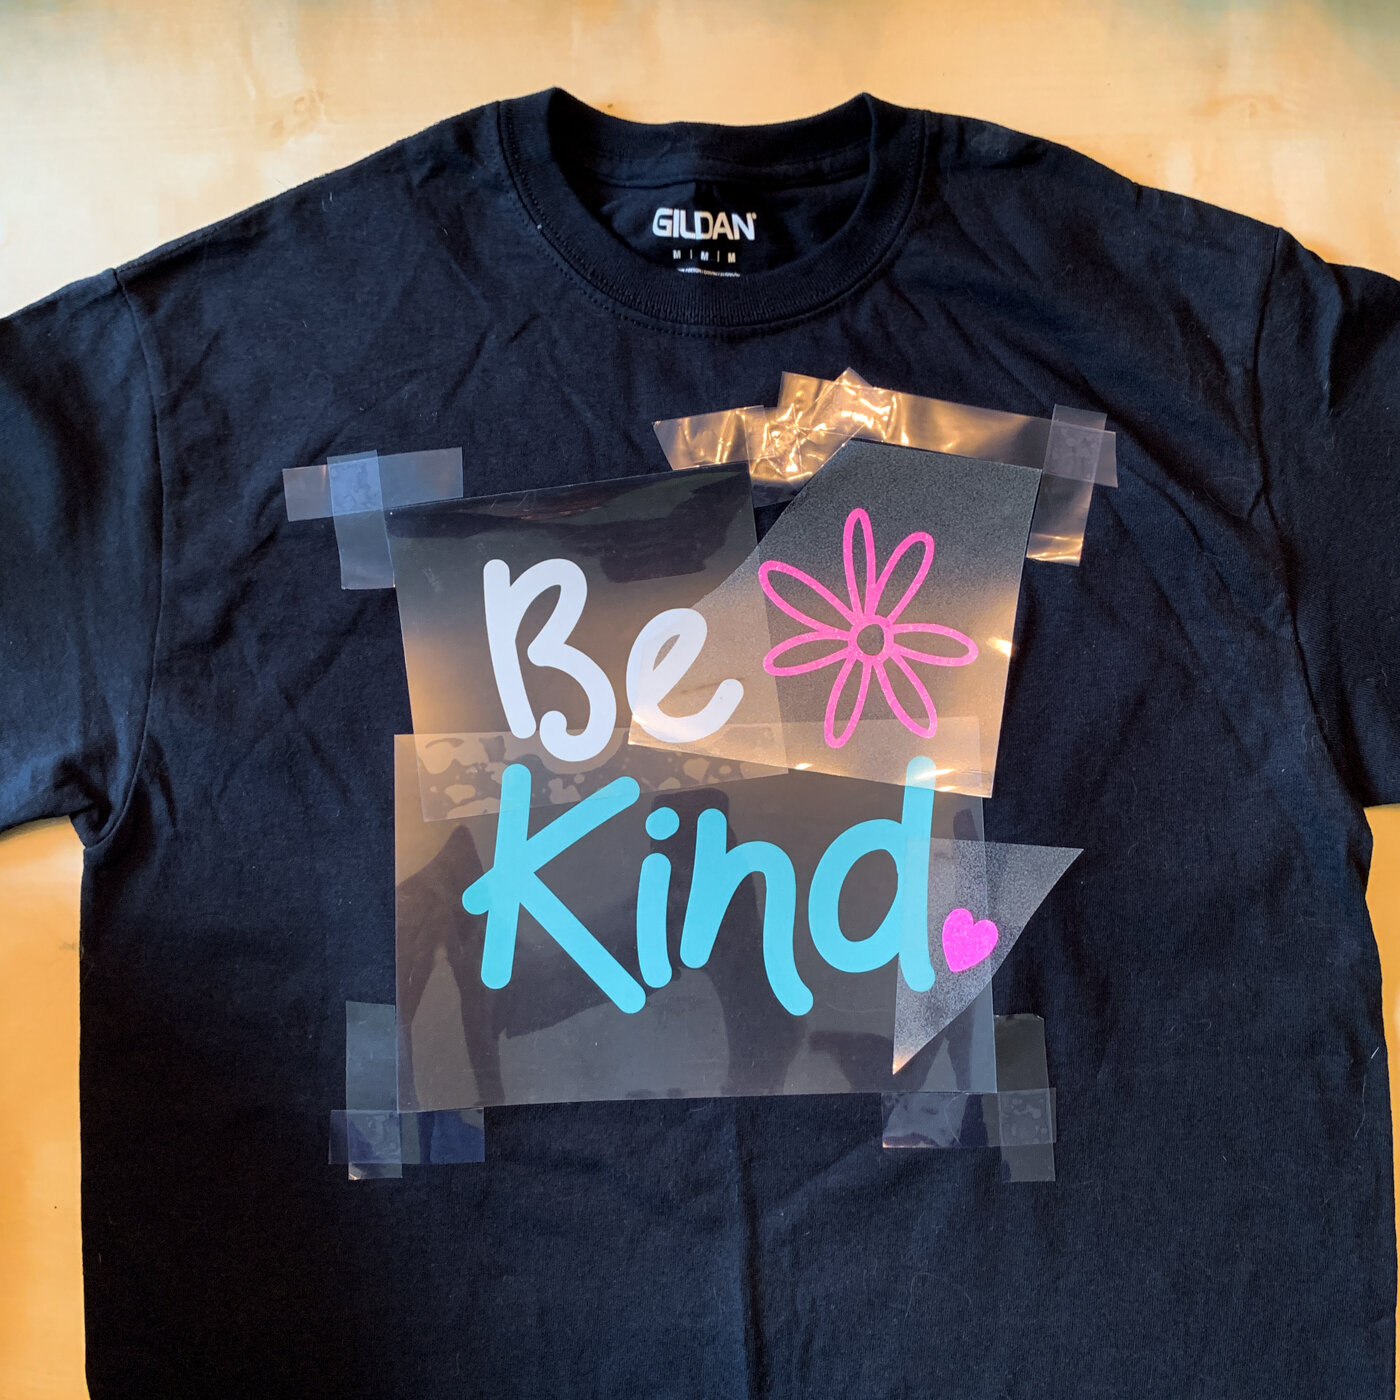
Getting a multi-color design like this perfectly positioned can be challenging when pressing. I used a secret weapon to help me get it just right on this shirt: Cricut Heat Resistant Tape!
I arranged all the pieces on my shirt, using a measuring tape to make sure they were centered correctly. Then I used the tape to mark the corners of the sheets, by crossing pieces where the corners were.

To prepare to iron each piece, I just lined it up with the corner marks I had made with the tape! This was super easy to do with the stiffer backing on the Smart Iron-On materials.

When I was done pressing all of my iron-on, I simply removed the tape and the t-shirt was ready to wear! Just like the backer on the Smart Iron-On, it didn’t leave any residue or adhesive behind.
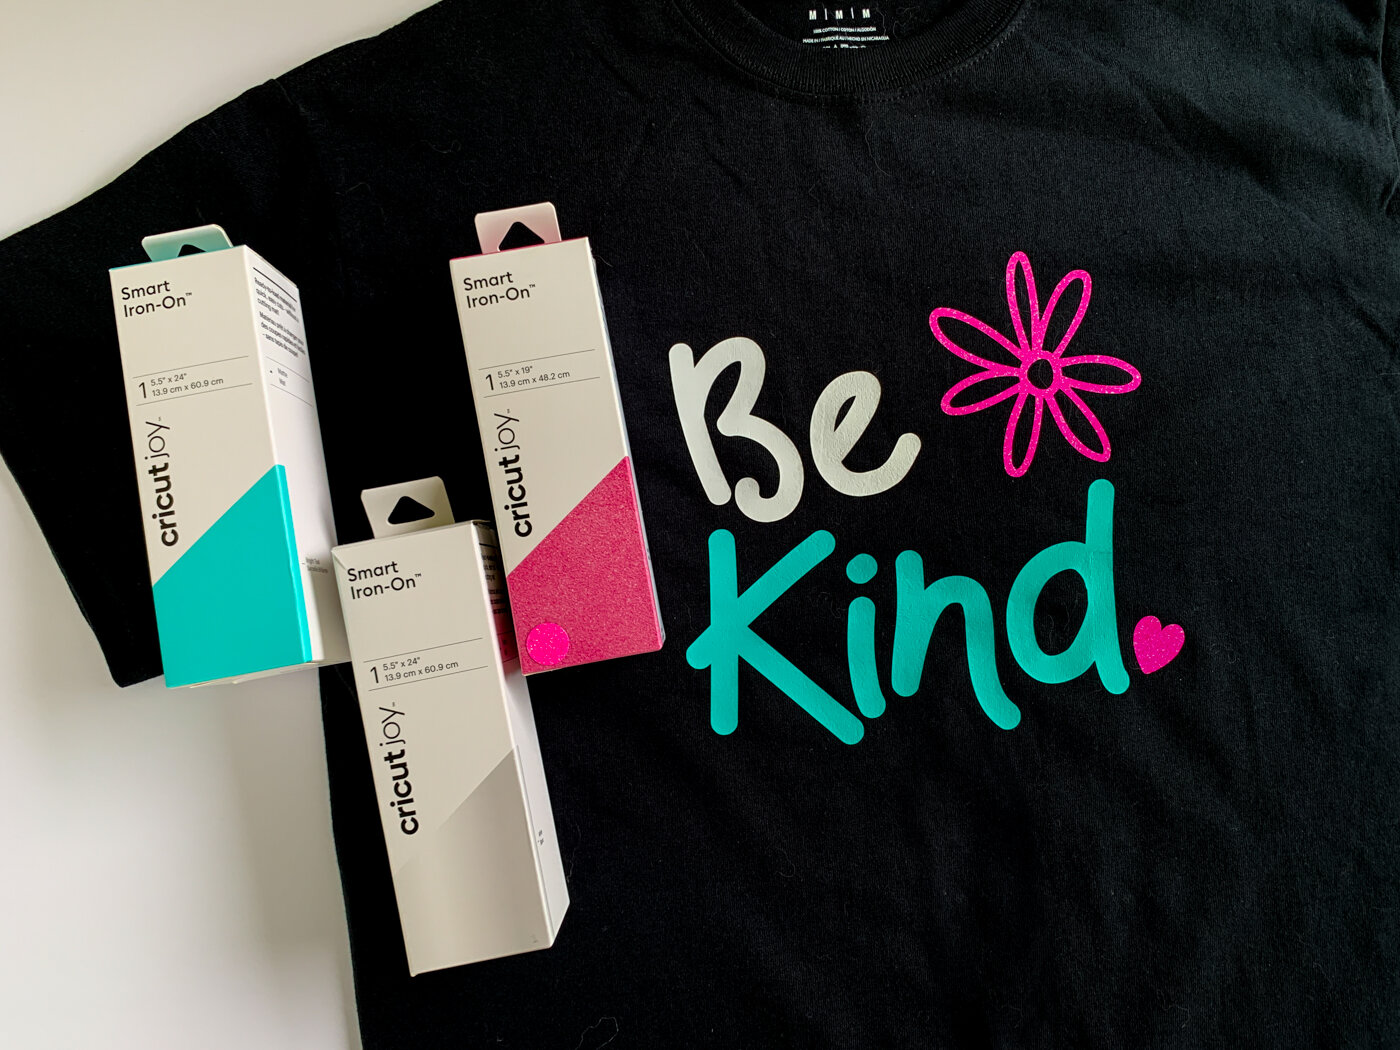
Whether you make this as a teacher gift, a teenager’s stocking stuffer, or even for yourself…I hope you have fun making this!