
Embellishing a Scrapbook Layout with Stamps
Sometimes, we just don’ have the right embellishment for a layout. For me, that is when my stamps come to the rescue! On this layout, I used nothing but stamps, washi tape and alphabet stickers!
Disclaimer: Links in this article are affiliate links that earn this site a commission at no cost to the reader when a purchase is made after a click.
Supplies:
Bazzill Smooth Cardstock
Kraft #8 Tag
Tim Holtz for Stamper’s Anonymous stamp set - Urban Elements
Ranger Tim Holtz Distress Ink:
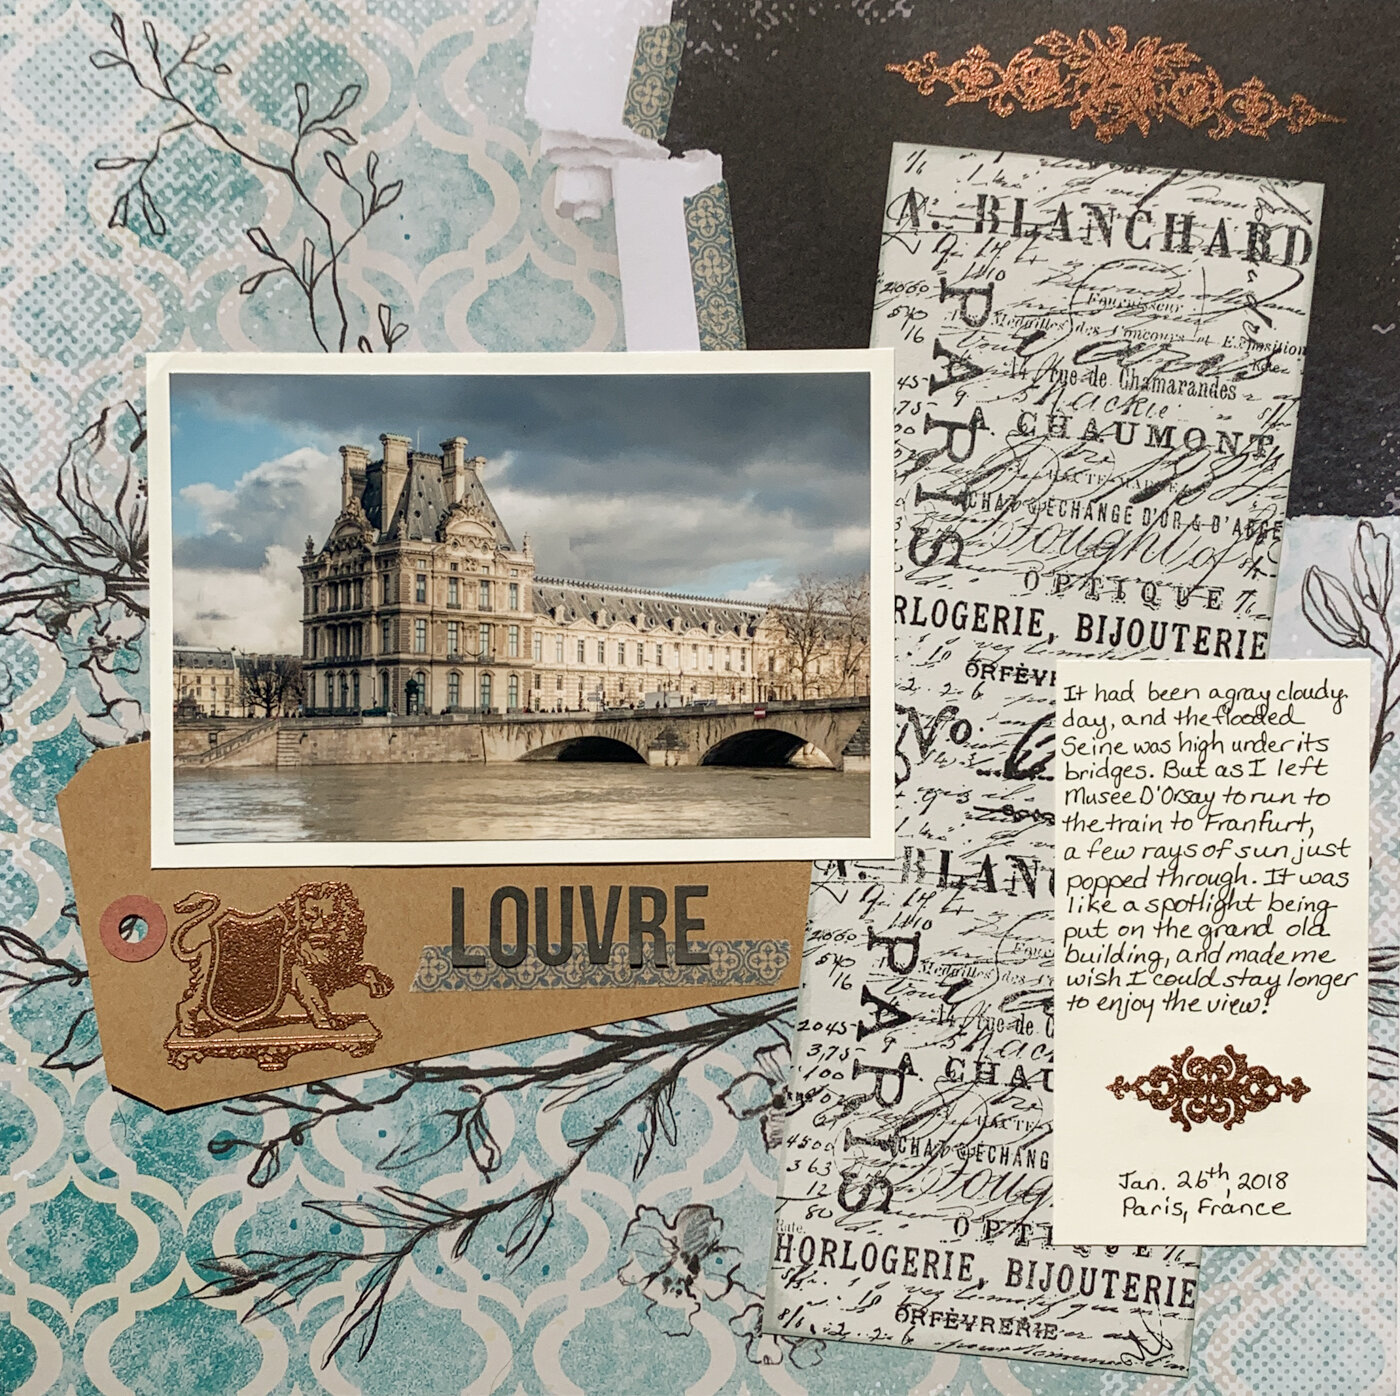
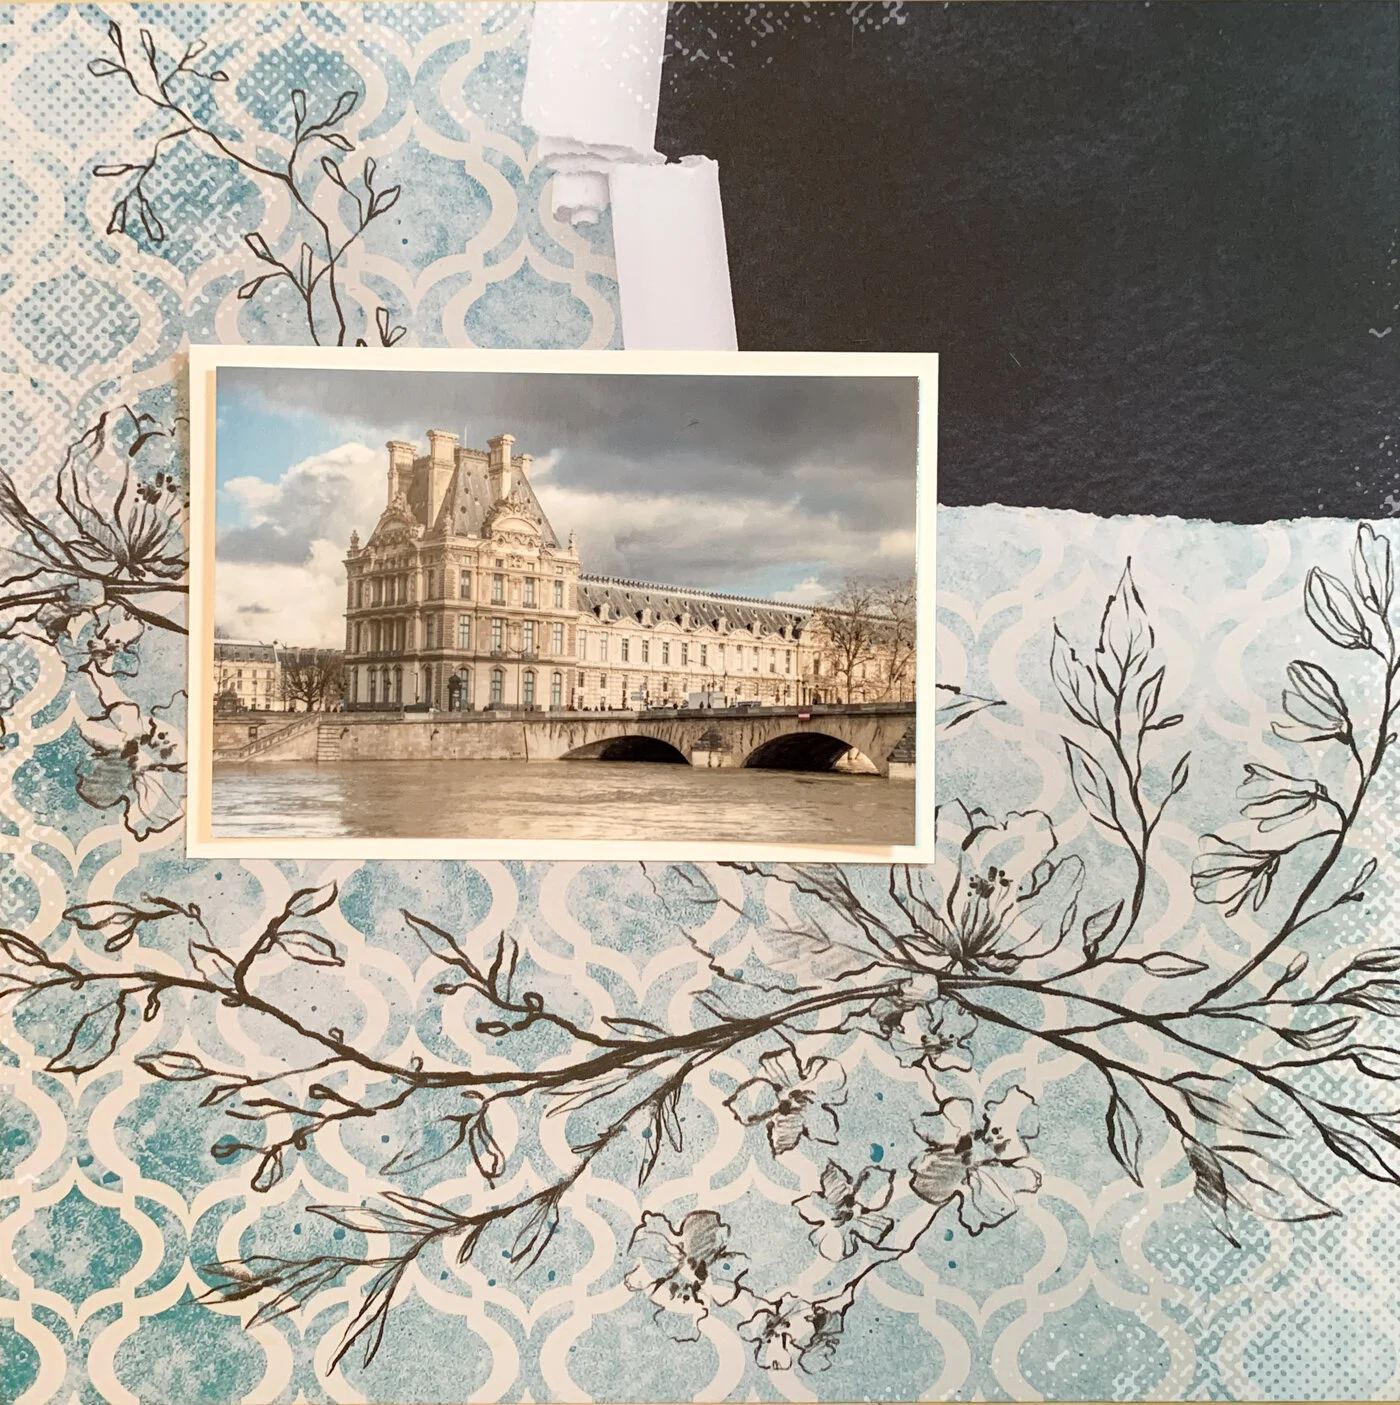
Remember when I said in a previous article with these papers that I loved the Rusty Weathered paper pad I bought so much that I had photos matched with almost every paper in it? I wasn’t kidding - and here’s some proof! This paper design from the collection goes perfectly with this photo of the Louvre that I had waiting to be scrapbooked!
With a dominant pattern like this, I had to start by determining how to place my photo in relation to it. I decided to place it so that the branches framed (and even somewhat cradled it) so that the photo appeared to flow in with the background. With a blue photo on a blue background, a mat was a necessity to make my photo stand out. I chose a simple cream for the mat to help emphasize the historic Louvre building in my photo and brighten it up.
Although the Rusty Weathered paper was beautiful, it wasn’t very French themed! So I decided to add a block of French text down the right side. It had the added benefit of breaking up that big block of black in the upper right corner. It looks like patterned paper - but it’s actually my first stamped embellishment on this layout!

I created the text block by stamping three times with a background stamp. I positioned the block in the middle of the strip (the box I drew below) so that the “Paris” text would be revealed in a good position on the layout. Then once that was stamped, I filled in above and below it with additional impressions. This block is stamped on a pale gray cardstock, and then edged with Iced Spruce ink.

The next element I added was the kraft tag under the photo. I like how it highlights the creamy tones in the photo and I love using tags as grounding elements to put things on like my titles.

I cut the text strip so it wasn’t quite long enough to reach the top of the page, leaving me a space at the top in the black area. This design from the Urban Elements stamp set by Tim Holtz was perfect for filling the gap. And its ornate design reminds me so much of the Louvre!

I embossed another image from the Urban Elements stamp set on the title tag. Lions are a royalist symbol and there are several stone ones outside the Louvre, so they are perfect for this layout!
I used some washi tape to ground the title, which was made simply of letter stickers. I also used some of the same washi tape up at the top of layout, near edge of the black area, as an embellishment.

The final element for my layout was my journaling block. It’s done on the same cream as the photo mat. Another stamp from the Urban Elements set made for an excellent break between the main text and the date, and created a nice visual triangle with the other two embossed elements.

Have you ever tried making a layout with just stamps? Did you like the results?