
How to Mod Podge a Travel Shadow Box!
[Disclosure: This post is sponsored by Plaid, the maker of Mod Podge, but all opinions expressed are my own.This website participates in the Amazon affiliate program.]
You take that vacation of a lifetime, take thousands of wonderful pictures, and then come back home to the real world. You dive into the hustle and bustle of real life, and those wonderful memories stay hidden away on your computer hard drive, only to be seen when they pop up randomly on your computer's screen saver.
It happens to all of us, right?
In January, I got the opportunity to do something that I've dreamed of for decades - go to Paris! I'd longed to go back as an adult and truly appreciate it, having been when I was in grade school and lacked appreciation for the city's art treasures and history. I came home from my two days in the city with several thousand pictures, and a determination that they would not waste away in dusty obscurity in the nether regions of my computer.
Part one of that process is creating a shadow box of my trip, with a few highlight photos from those two days. But for a trip this special, it couldn't be just any shadow box. So, with some help from Mod Podge, I turned a plain white shadow box into a fabulous custom piece that lives up to my vision of housing memories from my trip.

Paris Shadowbox with Mod Podge
Supplies Needed:
9x9 shadowbox
Hampton Art "Cityscapes 2" by Graphic 45 stamps
Ranger Archival Ink (Orange Blossom)
Bazzill Smooth Cardstock (Natural)
Art-C Wood Embellishments (alphabet)
FolkArt Brushed Metal paint (Brushed Gold)
This shadow box started with a simple - and very modern style - white shadow box that I purchased for less than $10 at a craft chain store. It was the perfect size for the project I had in mind with my Paris pictures, but far from the right style. But a little Mod Podge and artisan paper I purchased from etsy fixed that right up!

White Shadowbox
The shadow box has a soft fabric covered back in it that is designed to be used with thumb tacks or pins to attach photos and memorabilia. I opted not to use that and instead I cut a 9x9 piece of my craft paper to use as a background. I did this first thing when I started working on this project, to make sure that I could cut it from exactly the area of pattern of the paper that I wanted.
Before beginning to work on my travel shadow box project, I took apart the shadow box completely, the same as if I was putting new contents into it, and then also removed the glass. This meant that I could work without having to worry about breaking the glass, or smudging or gluing it.
The paper I used for this decoupage project, from etsy artisan artanlei is a very heavy paper, more like a heavy gift wrap than the tissue weight that is typically sold as decoupage paper. This weight to the paper is important to being able to easily fit the fit these relatively complex pieces for the frame - creases hold where you put them and the paper holds up well to being handled and marked with pencil for cut lines. Choose your paper carefully to ensure success (and fewer headaches) on a project like this!
Using a ruler, scissors, a pencil, and other tools, I dry fitted pieces to cover the four sides of the frame.(Notice how the pieces are holding the creases for the frame's corners? Those nice creases made it super easy to fit the pieces once I starting gluing!) My pieces wrap from the front of the frame, around the side, and onto the back.

Paris Shadowbox Decoupage Paper
To glue down my paper pieces to my shadow box, I reached for most crafters' go-to for decoupage: Mod Podge Matte. It goes on smooth, and it dries fast - but not so fast that I can't adjust the placement of pieces as I put them on. And most importantly, it dries clear and matte, meaning that it wouldn't leave behind tell-tale shiny spots from accidental glue smudges and smears on my paper.
Since there wasn't enough time for my brushes to dry between cleanings in doing my gluing steps, I chose to use foam brushes for this instead of my much-loved Mod Podge Decoupage Brushes. (Note to self: Get more decoupage brushes!)
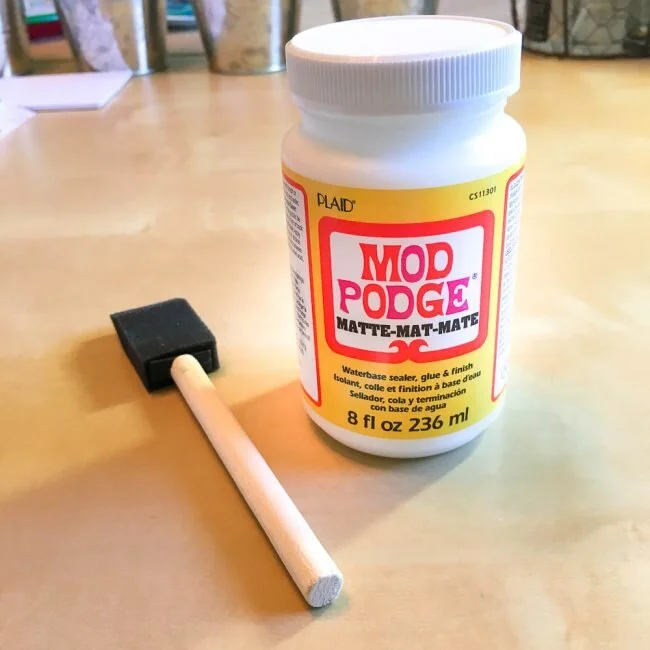
Mod Podge Matte
I glued down the pieces for the sides of my box first, by putting Mod Podge on the box surface and the paper surface. I pressed the paper into place, starting by lining up the edge of the paper along the edge on the front by the glass and smoothing it towards the first crease, bending around the corner to the sides of the box and then finally to the back edge. To make sure that I got nice smooth adhesion, I used a brayer to roll the pieces as I pressed them on each surface.
Tip: Be sure to get your Mod Podge all the way to the edges of the paper so that you won't have to go back and tack down edges later!
Notice how the corners of these pieces are square, even though the finished front will appear that the paper pieces have angled corners? By leaving the pieces square on the first pieces that I laid down, I didn't have to worry about cutting two angled pieces for each corner and making them match perfectly. I could just lay the second, angled piece, over the first piece and it would create the illusion of beautifully mitred corners!

Paris Shadowbox in progress
Once the glue was dry on the first pieces that I had glued down, then I repeated the decoupage process with the pieces for the bottom and top of the shadowbox. See my nice "mitred" corner?
Notice the nice placement of that phrase along the top, and how on the sides the text is going the same direction as on the top and bottom? That's no accident! I carefully chose the areas of the paper that I cut each piece from so that it would create the look that I wanted for my box. The "de la Republique francaise" - which translates to "of the French Republic" - seemed the perfect title for the top of my box! The positioning of the graphic elements in the bottom right corner of the box was also deliberate as well.

Paris Shadowbox in progress
Here's a close-up look at how my corners look with the overlap that creates the mitred look.

Paris Shadowbox corner close-up
The paper extends onto the back of the shadowbox. I didn't bother to mitre the corners on the backside. The extension of the paper to the rear of the box is simply to avoid rough or unmatched edges where the box will meet the wall. Instead, there is a nice fold, and the paper stops on the back.

Paris Shadowbox reverse
Once the box itself was done, then I turned to its contents. First I printed some of my photos from my trip as 2" by 3" photos, with a small border on them, and then adhered them to the background paper using Mod Podge Paper and the largest of the Mod Podge Decoupage Brushes.
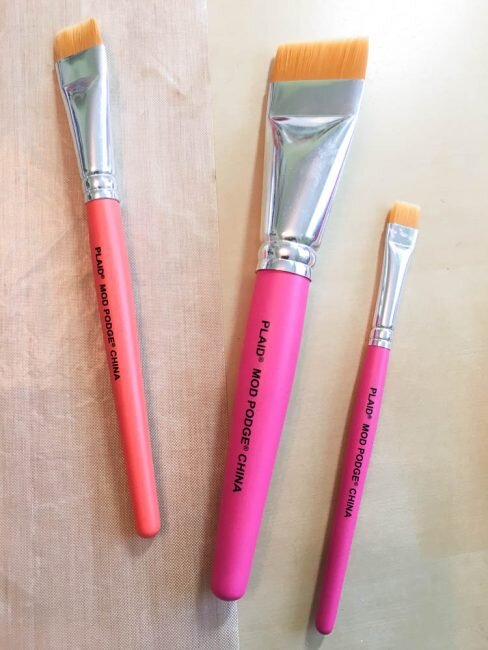
Mod Podge Decoupage Brushes
Next, I wanted to embellish my box. There wasn't a lot of room left to work with but the box needed a little something more than just my photos. I had a set of Graphic 45 Cityscapes stamps that have some small Paris themed designs in them, but how to make them dimensional? Mod Podge Podgeable Glass Domes to the rescue!

Mod Podge Podgeable Glass Domes
I stamped several of the Cityscapes 2 images on natural colored cardstock with waterproof ink that is almost exactly the same color as part of the design on my decoupage paper that I bought from etsy. Then I used some of the smaller decoupage brushes to paint Mod Podge onto the back of some of the glass domes and pressed them onto place on top of the stamped designs. Once the Mod Podge was dry, I used a craft knife to cut around the edges of the glass domes to remove them from rest of the paper, and glued them in place (with more Mod Podge, of course) on the shadowbox's photo layout.

Mod Podge Podgeable Glass Dome

Mod Podge Podgeable Glass Domes
I still needed a few more embellishments, though. See that Eiffel Tower in the close-up above? I just knew that I had to include it in this shadow box - and it's Mod Podge too! It's made from the Mod Melts system of colored meltable sticks that can be used in a hot glue gun or better yet a Mod Melter to fill silicone molds to create custom embellishments. For my Paris shadowbox project, of course, I just had to use the metallic pack that contained gold Mod Melts! I used several different Mod Melts molds for my shadowbox, including the Travel and Royal Icons pictured below.
When my Mod Melts were done, I adhered them to my shadowbox by using my Mod Melter like a hot glue gun, so the glue matched the objects that I was adhering.

Mod Melts
For the last touch, I wanted to put the title "PARIS" on my box. I used wooden letters and painted them with the new FolkArt Brushed Metal paint in Brushed Gold. The paint's color and texture almost perfectly matches the Mod Melts that I made, as well as coordinating nicely with some of the highlight tones in the paper that I used. Once they were dry I attached them to the front of the box with Mod Podge Matte.

Paris Shadowbox embellishments

Paris Shadowbox
The last step was to reassemble the box and put the backer in it. I just laid the sheet of paper on top of the fabric back of the shadow box and it held fine when reassembled.
And now, for some exciting news! Tomorrow is Mod Podge's 50th birthday! And to celebrate, Plaid will be doing an entire day of live streams, projects and giveaways starting at 10am eastern! Don't miss it!
Oh, and if you love Mod Podge...be sure to stop by this site tomorrow as well...hint, hint! [Update: It's a Giveaway!!!]

National Mod Podge Day