
Simple Vintage Ancestry for a Biltmore Layout
Today I’m bringing you a layout of one of my favorite rooms at Biltmore House from our visit there two years ago. I was so awestruck by this fireplace that I had to be practically dragged out of the dining room to continue the tour with my mom and daughter!
Disclaimer: This site participates in the Amazon.com affiliate program. Some links in this article are affiliate links to Amazon or other sites that pay this site a commission at no cost to the user when a purchase is made after a click.

Supplies:
Simple Stories Simple Vintage Ancestry
Lettermate Template (similar one)
Pencil
Courier Font

Despite my love of genealogy, I also have a slightly contrary streak that makes me love using products for projects outside their intended uses. So when I saw this product line I focused more on the color scheme and the beautiful vintage elements than the theme. I knew it would be perfect for some of my Biltmore pictures!
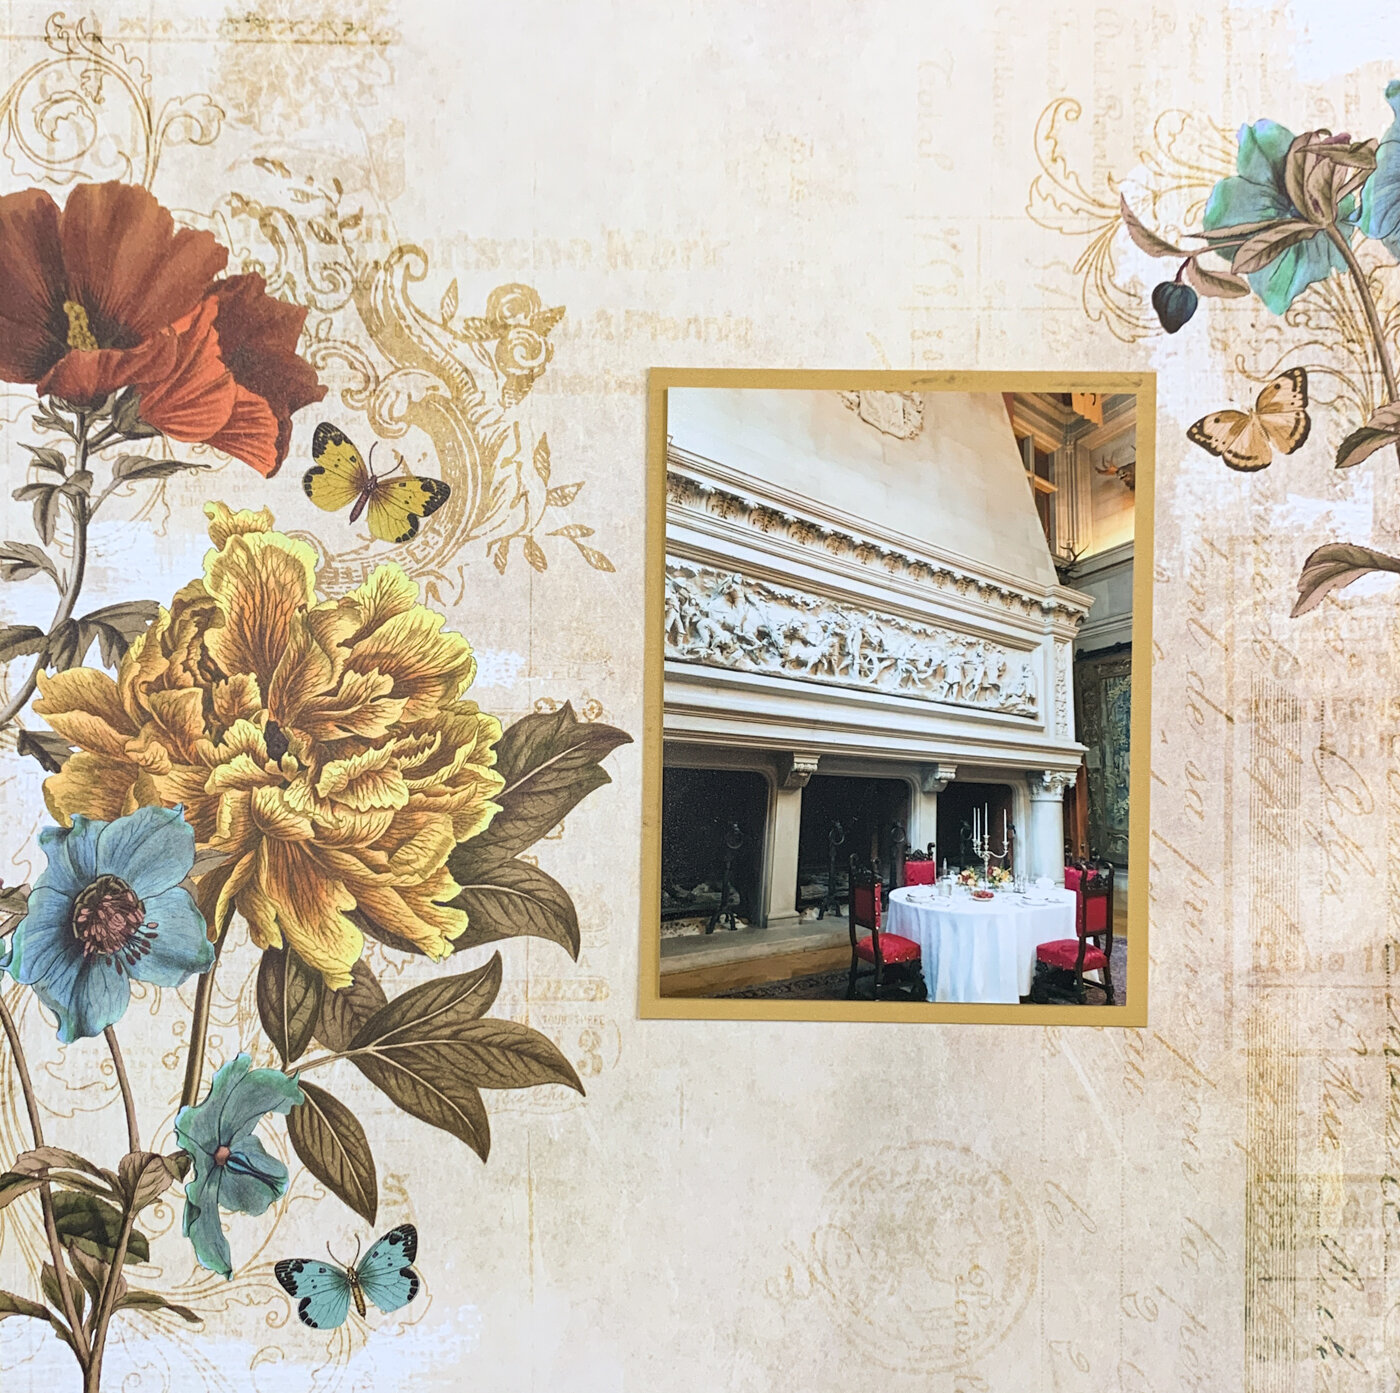
It’s not often that I mat a photo in a dark color. Usually I mat a photo in a light color to help brighten it and set it off from the background. But this photo had a very light area (the fireplace) and was on a light background. So I went for a darker color than normal to differentiate from those two lighter areas.

Even with the mat, this 4x6 photo looked a bit lost on the page compared to the large floral designs. That gave me an excuse to play with some of the other beautiful patterned papers in this collection for some color blocking to increase the visual weight of the photo!
Eagle eyes might notice that top block says “we are family”, which doesn’t fit the theme of the layout. Hold on, I’m going to fix that in the next step!

I loved the look of the phrase on the small floral block, so I just replaced it with one from my own Nally Studios set of print & cut Travel Memories phrase stickers that are available on Etsy!
And a layout about a place as grand as Biltmore really needs some bling, so these gold foil Thickers for the title were the perfect way to bring it. Extending it out across the block onto the background helped visually connect the photo block to the design on both edges of the paper.

The white space at the bottom was a great spot to put my journaling. I normally am too nervous to write directly on my background in case I screw it up, but I really though it was the best place for it this time so I took a deep breath and did it!
I used cardstock to make the phrase stickers for the date and place, but you can also use the extra blank strip on the Travel Memories printable for it if you plan ahead when making them!
When was the last time you used themed product for something besides what it was designed for? What did you do with it?