
Make A Vintage Style Happy Easter Card!
Take a new stamp set….add in some favorite goodies from my stash…and the result: a vintage style Easter card!
Disclaimer: This site is a participant in that Amazon.com affiliate program. Some links on this site are affiliate links that pay this site a commission at no cost to the reader when a purchase is made after a click.

Supplies Used:
Dark Blue 4.25” x 5.5” Card Base
This card combines a brand new Tim Holtz stamp with a bunch of older items from my stash. Adding even a single new item into the mix is a great way to make your stash feel fresh, and can really make you feel inspired. As soon as I saw the preview of the Tim Holtz “Architecture” stamps, I instantly knew I had to have them! This stamp reminds me so much of my travels in Europe…it brings back fond memories.
To start my card, I stamped in Faded Jeans Distress Ink on one of the 6” x 6” pieces from the Wallflower paper pad.

After stamping, I trimmed my paper down to 4.25” x 5.5”. Since the stamp is narrower than 4.25”, I trimmed close to the edge of the stamp on the right side, and left blank space on the left edge . Then I filled the blank space with a strip of tape from Tim Holtz’s French Design Tape set.

Next I dug into my stash of older Tim Holtz stamps and found my Flower Garden stamp set. This is one of my favorites I turn to again and again. Some stamp sets are just classics! Because this stamp set has the stems and flowers as separate pieces, I was able to join them in just the angle I wanted. I also curved the stem a bit when I put it on the block before stamping it, to suit my design better.
The flower is stamped in Archival ink on watercolor paper so that I could use a water brush and my favorite watercolor set to color it in. My watercolor skills are pretty basic but I love the look of watercolor - and it sure is fun to do!

After painting my flower I cut it out. I used a knife and glass cutting mat for most of it because I’m a bit obsessive about these details. But if you don’t want your hand to still be hurting the next day like mine was from gripping the knife…fine tip scissors will do the trick just fine.

I stamped the Happy Easter sentiment on natural smooth cardstock. Although I have loads of black inks to choose from, I used the same Archival ink that I used to stamp the flower. All black inks are not exactly the same tone and this ensured the two elements would match.
I trimmed the cardstock down into a sentiment block. I wanted to give the block a “gilt” edge, so I got out my Gold Pearl Liquid Pearls. I squeezed a small bead right along each edge and then flattened it by gently running my finger along it. (Below, you can see two edges already completed and the short edge waiting to be smudged.) It created a really aged, old world look I thought that was perfect with the background stamp on the card!

Now I had all four pieces done and it was time to assemble them! I adhered the card background to the card base, then placed the flower stamp using Glue Lines. Using Glue Lines gave the flower both a more secure hold and more dimension than using a traditional paper adhesive. Finally, the sentiment block was attached.
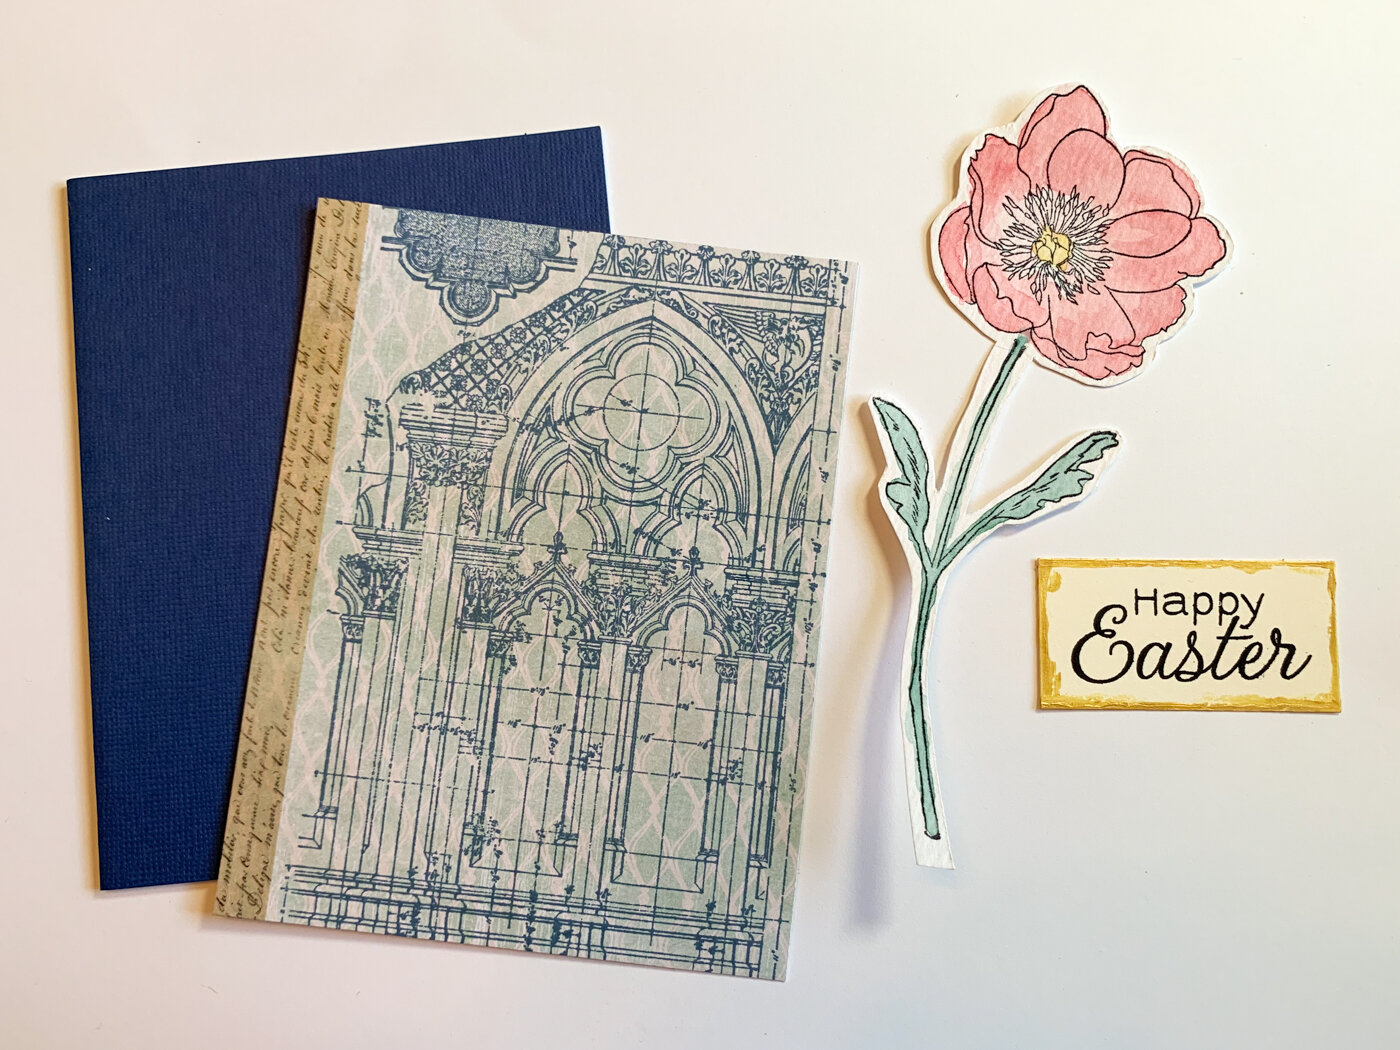
When it is all assembled, the spring flower floats next to the flower window in the background stamp.
This simple card design could be adapted for a lot of occasions - weddings, sympathy, confirmations, and more. Simply change out the color scheme and sentiment for a whole different look!

This lovely card will fit flat into an envelope. It can be mailed with no trip to the post office needed for extra postage, making it a great way to send your Easter greetings right now while we all practice our social distancing.
Do you have this Tim Holtz “Architecture” stamp set? What have you made with it?