
Go Retro for a Disney Layout!
As soon as I saw this “Retro Vibes” collection by Paper Roses, I knew it would be perfect for scrapbooking some of my hundreds of Disneyworld pictures! The color scheme, stars, and retro feel mesh wonderfully with the feel of the parks without feeling too heavily themed (which is not really my creative style).
Disclaimer: This site participates in the Amazon.com affiliate program. Some links in this article are affiliate links to Amazon.com or Scrapbook.com that pay this site a commission at no cost to the reader when a purchase is made after a click.

For my first layout with this collection, of Pooh & Tigger, I used the following supplies:
mustard cardstock
red cardstock
28 Lilac Lane yellow sequins
Lettermate Template (similar item)
pencil
Cricut Design Space File (for title text)

I knew my photo should be at the center of the color rays, as if they explode out from it. I started by laying my title (cut on my Cricut) and my matted photo on the full sheet of paper. But I quickly realized that much color was a bit too busy for my taste.

The solution was a new background - Bazzill Blackberry Swirl smooth cardstock - and cutting down the Retro Vibes paper to serve as an oversized mat for the photo. To add interest I didn’t make the borders on sides of the photo equal. I took 1/2” off the right side of the paper, 1.5” off the left, and 1/5” off the top. Before gluing the paper down, I inked the edges with the cobalt ink to give it a more finished look.

Because the patterned paper is so bright and busy, it does most of the work on the design and the layout doesn’t need much more embellishment. The lazy scrapbooker in me likes that!
I added a 1/4” strip of red cardstock to help highlight the title a bit. The journaling card was just cut from the same kraft cardstock as the photo mat, and then edged with the binding punch. I used my LetterMate to draw faint lines for my journaling. These came off easily after I was done writing with my Tri-Tip eraser, a go-to tool that I use for removing journaling lines, adhesive smudges, and all sorts of things!
I love putting small embellishment clusters like this on my layouts as a little extra touch of detail. I always build them from the larger items (buttons) to the smallest (seed beads). I place the items to get them how I want, and then move them a few at a time for gluing. The PPA Matte glue is my go-to adhesive for these sorts of items. It’s thick enough to stay where I put it, but still has an open time that gives me the ability to get things where I want them. And since it dries matte and clear, you can’t tell it is there when it is dry!
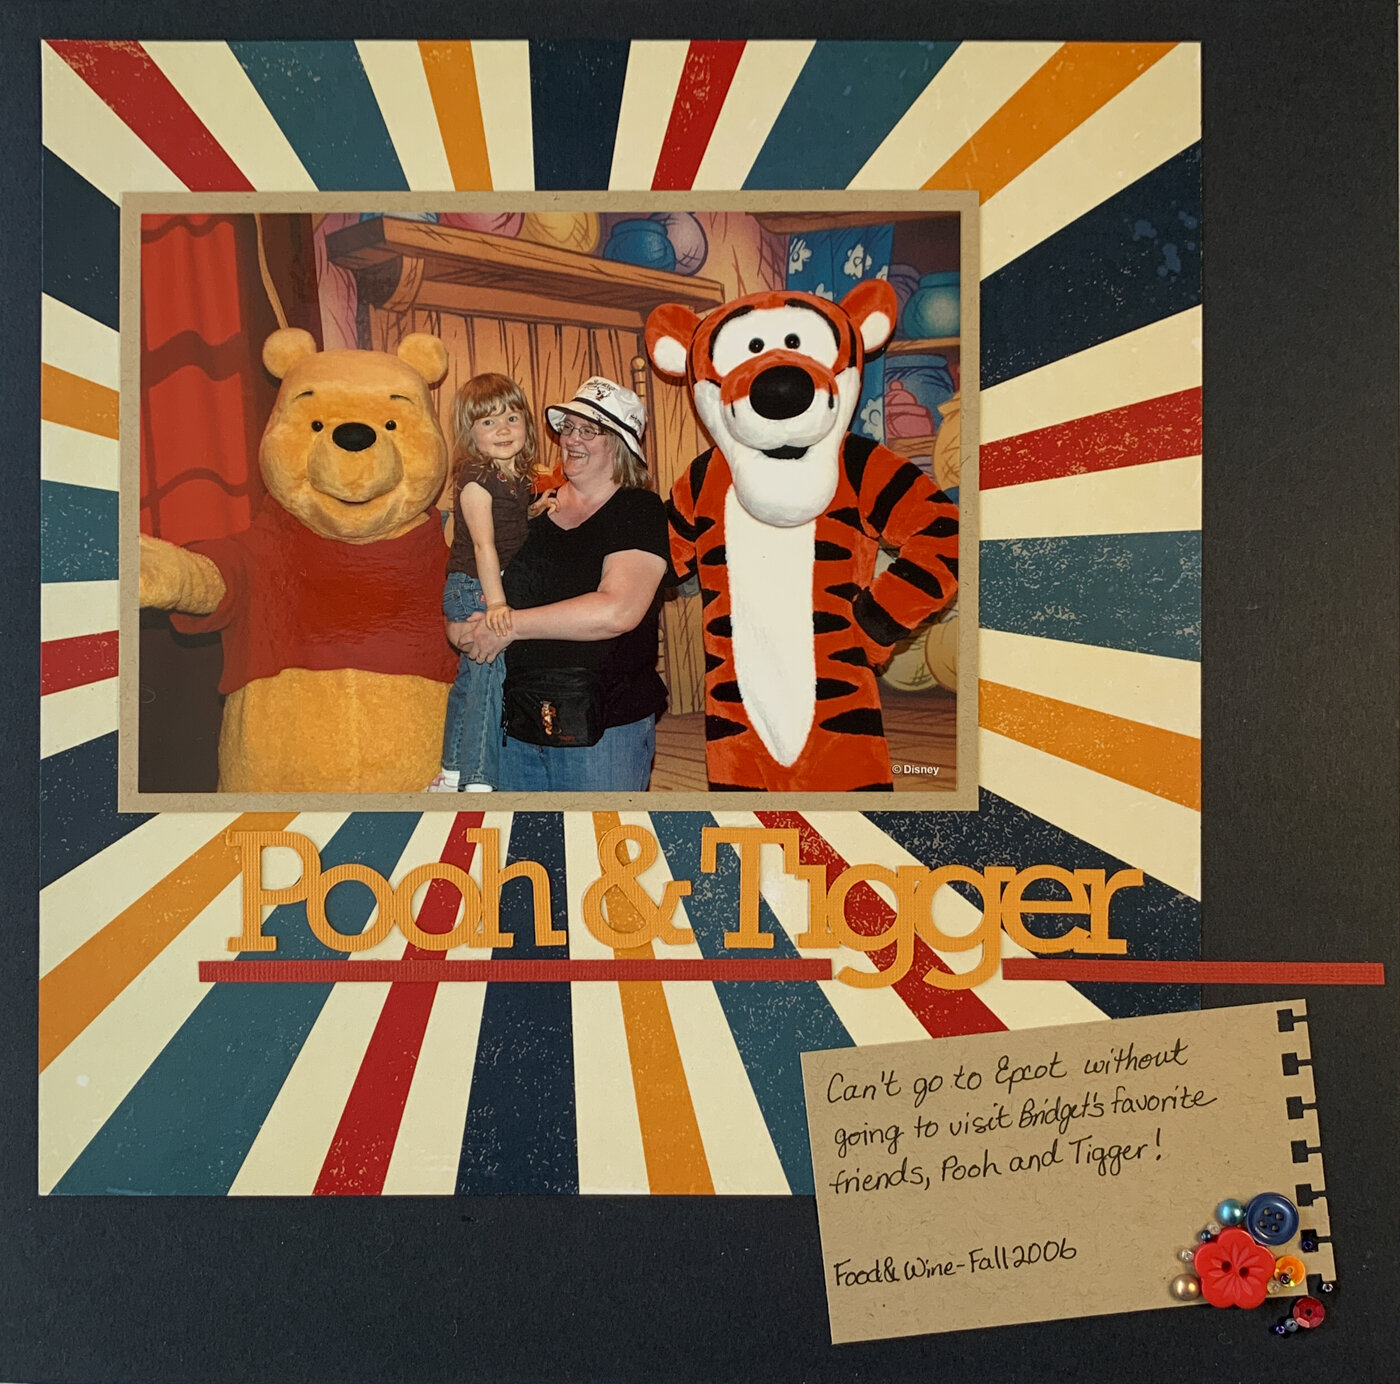
This finished layout was super quick and is such a precious memory of my little girl! She’s about to turn 18, is as tall as I am, and it’s hard to believe that she was ever this teeny adorable little thing that I could pick up!