
Gift Idea: Decoupage Beautiful Wall Art
I just love decoupage! It is, after all, just a grown-up version of playing with paper and glue - and what is more fun than that? And with projects like this, assisted by my Cricut machine, it can help solve my home decor and holiday gift challenges!
Disclaimer: Some equipment used in this project was supplied by Cricut. This site is a participant in the Amazon.com affiliate program. Some links in this article are affiliate links that pay this site a commission at no cost to the reader when a purchase is made after a click.

Supplies
paintbrush
fine grit sandpaper
Some of you might remember another project that I did with this same Tim Holtz idea-ology collage paper awhile back that is another great handmade gift idea - a decoupage wood bangle bracelet.
I started out by lightly sanding my wood canvas’ front and sides, and then painting them with the Folkart Vintage White paint. After the paint dried, I buffed the canvas surface again with fine grit sandpaper to smooth the brush strokes out of the paint finish.
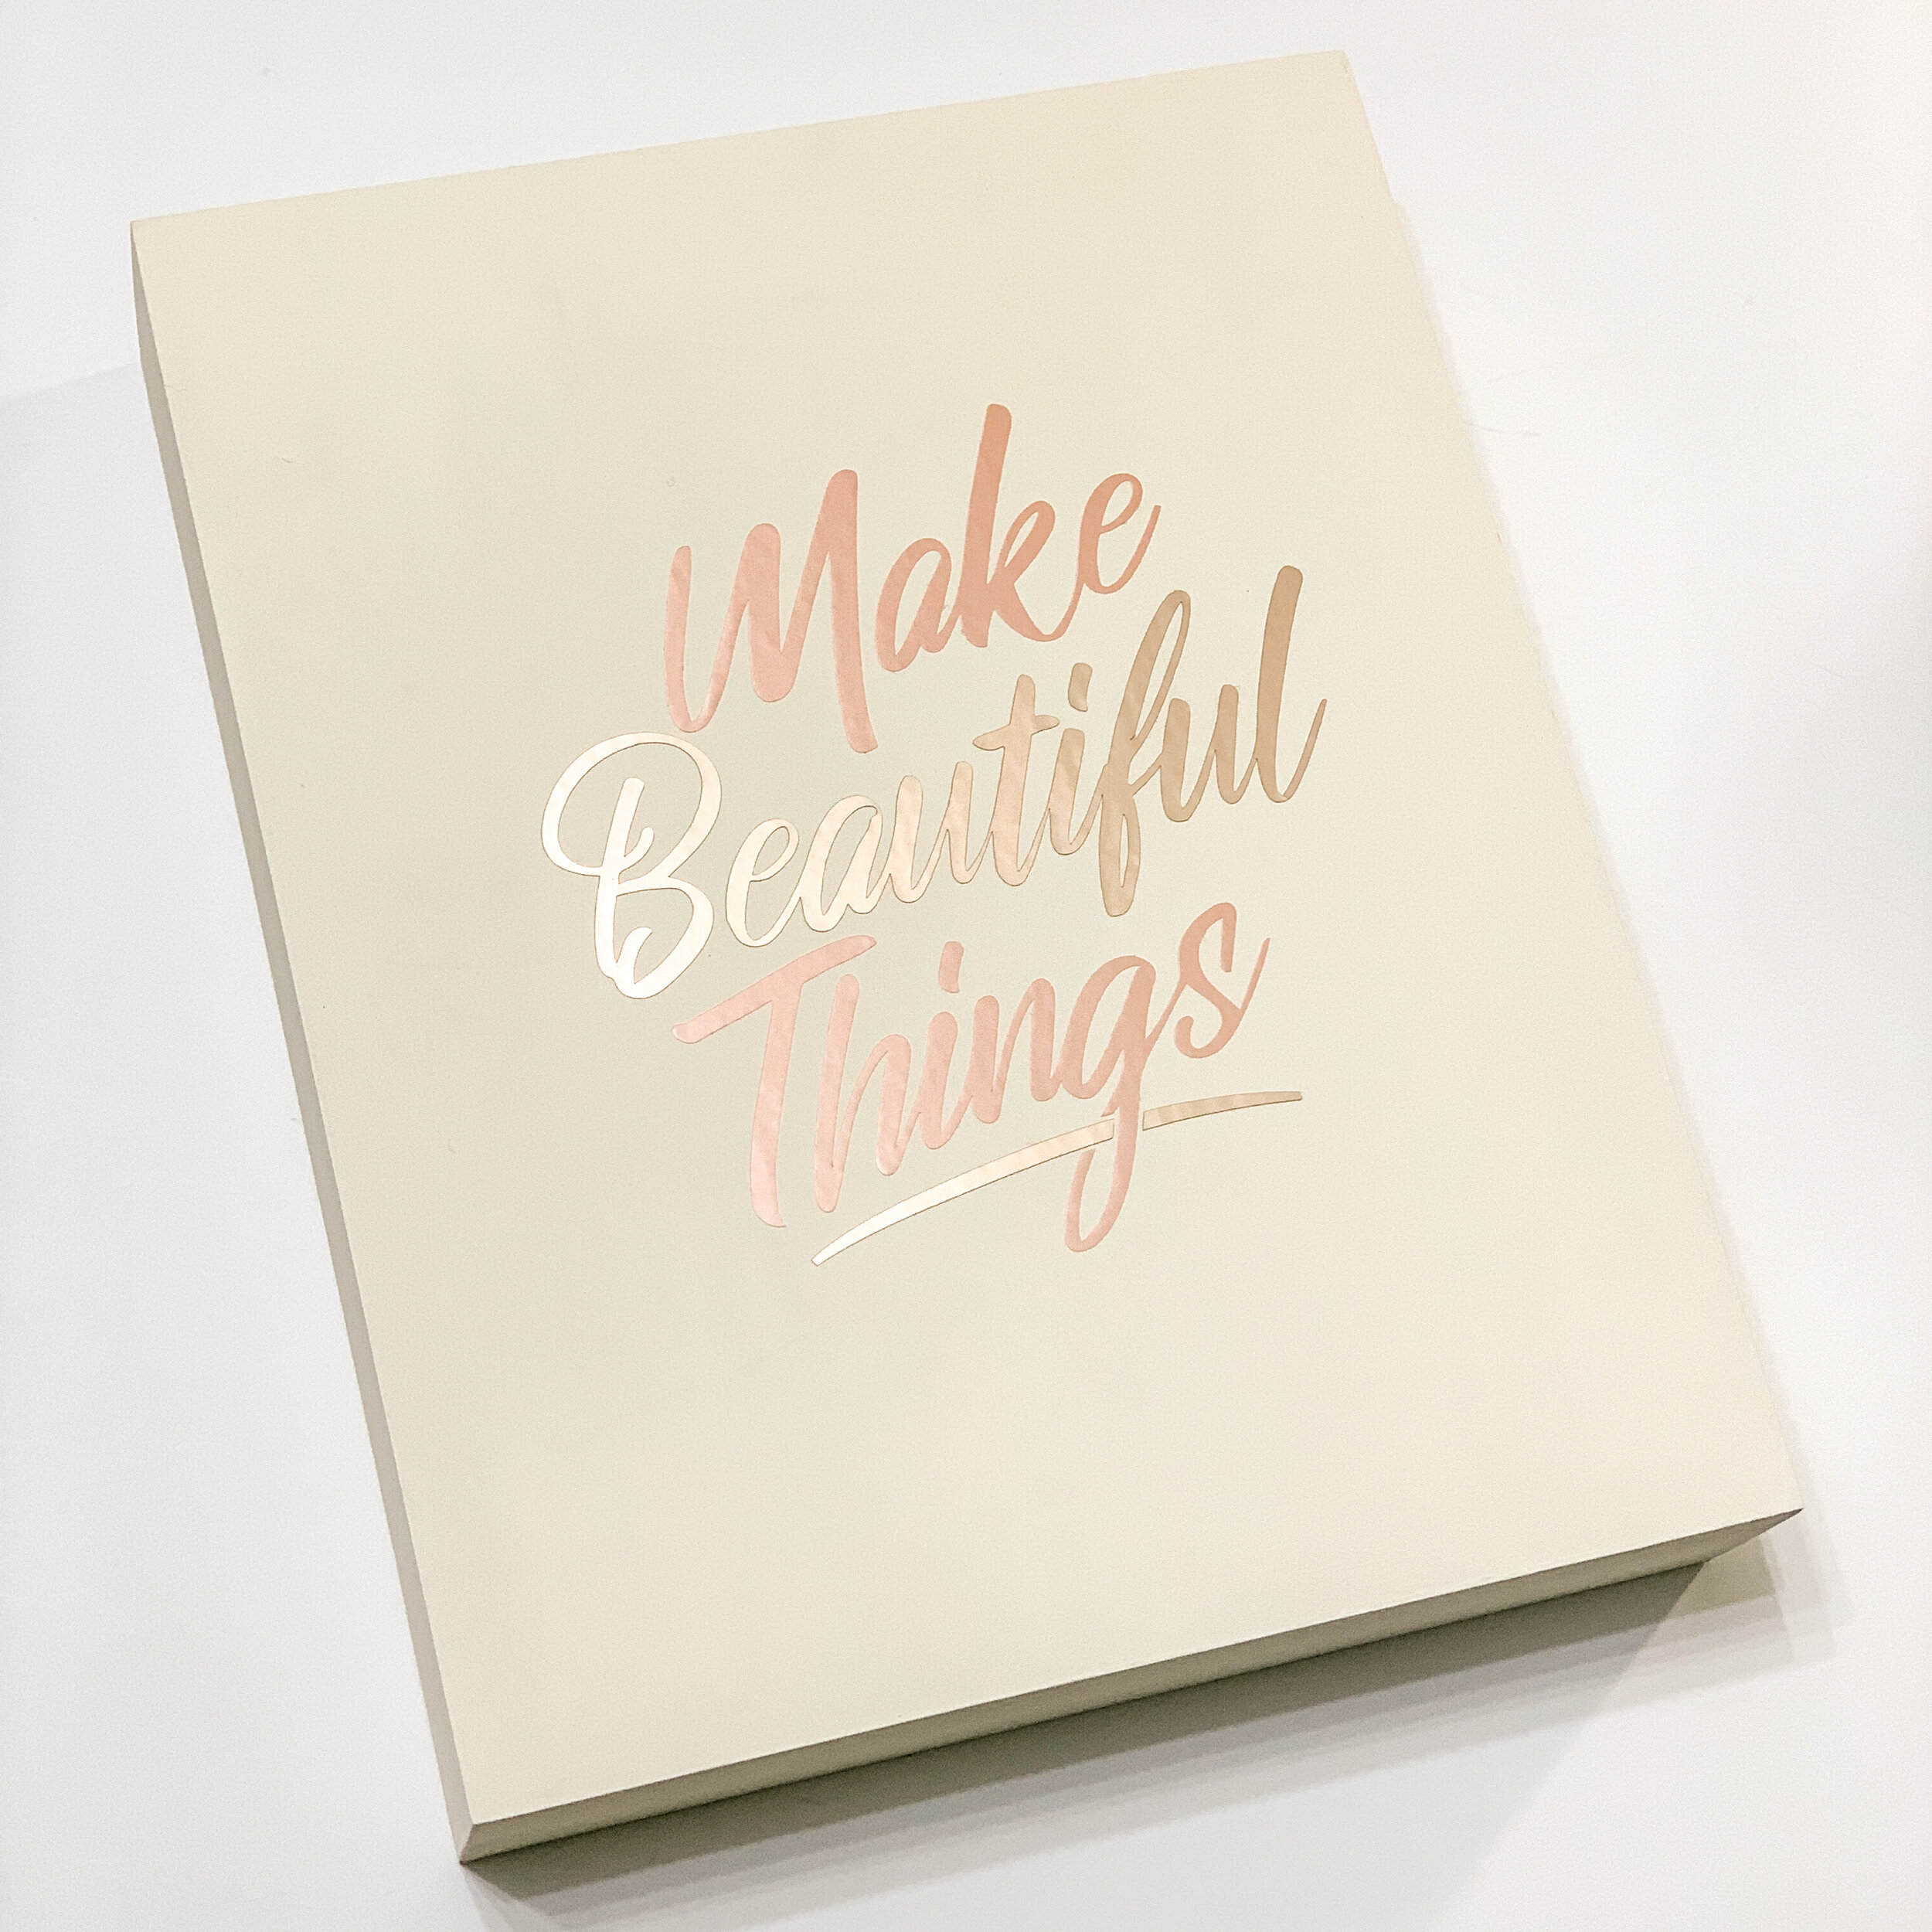
Next, I did something that I recommend you do not do. I cut the graphic file on my Cricut Maker from my vinyl. Using transfer tape, I applied the vinyl centered on the canvas.
The idea of putting the vinyl on at the start of the project was to establish the boundaries so that I wouldn’t get the decoupage area too close to it. However, after making my project I recommend using painter’s masking tape to draw the boundaries on the canvas, and then adding the vinyl last. (I’ll share the reason why in a moment.)

I cut some of the biggest flowers out of the collage paper and started working out where they would work best. I put a layer of Mod Podge down on the canvas, placed the collage paper, and then painted another layer of Mod Podge on top of the paper. It dries clear and then the paper is entirely encased and adhered well.
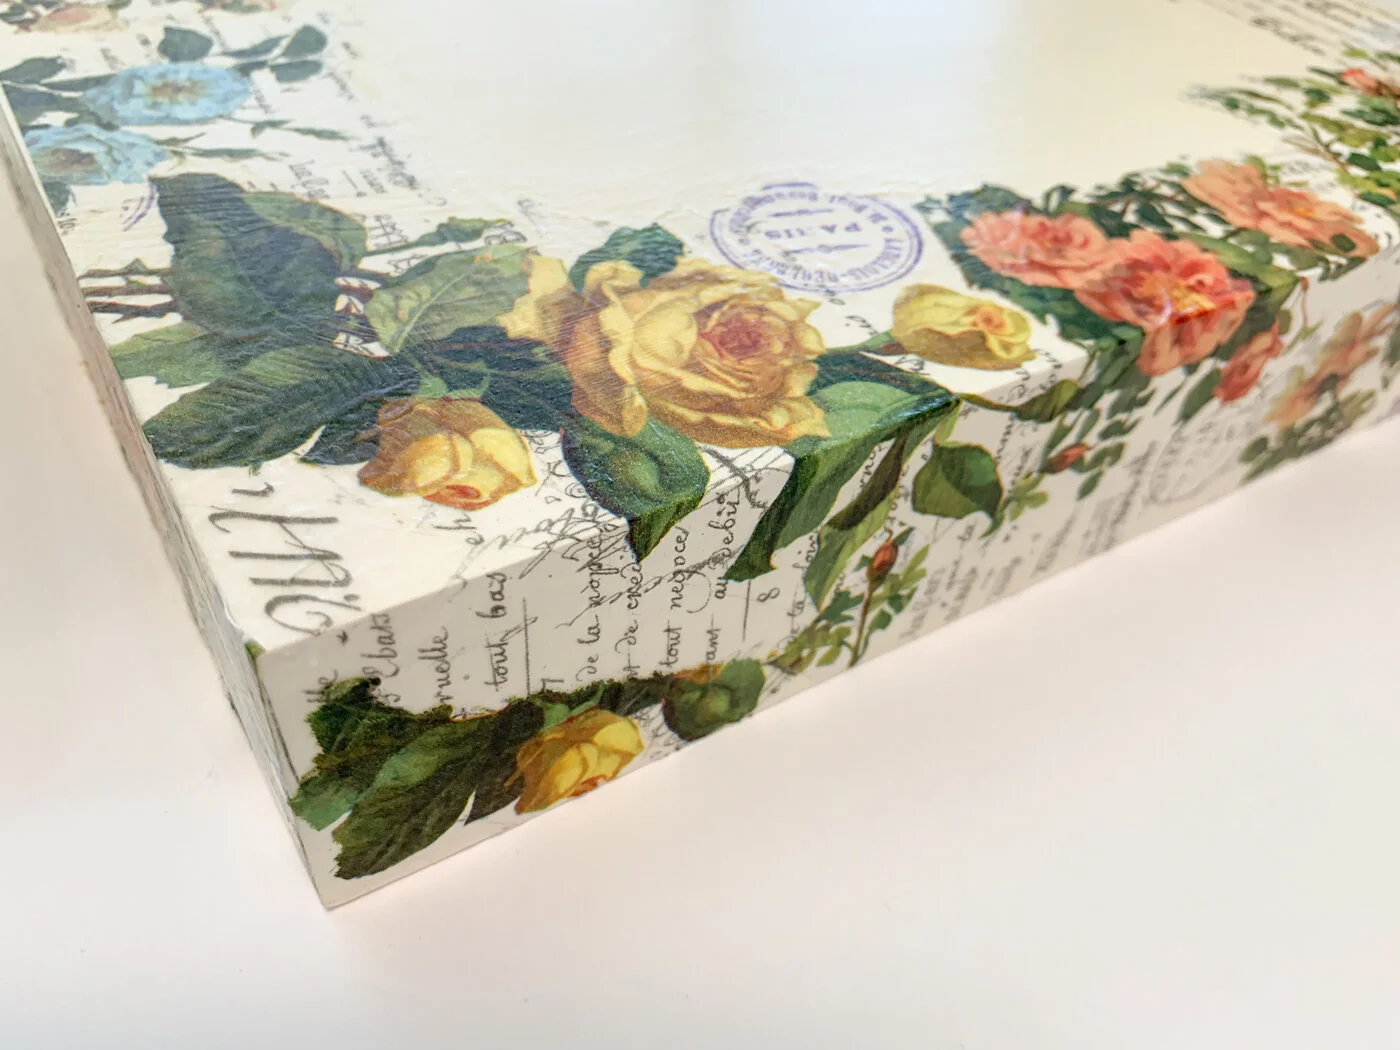
In the photo above, you can see the reason that I recommend waiting until the end for the vinyl application. Around the flower in the bottom left of the wood canvas, you can see a halo of Mod Podge. Although the Mod Podge is matte, it’s not as flat as acrylic paint (with is completely flat). This visible change in the surface finish between the white center and the flower area annoyed me. The solution was to remove the vinyl (which required doing a bit of touch-up paint in areas where the vinyl damaged the paint). Then I painted the Mod Podge as a sealer over the entire surface once the decoupage was complete. .
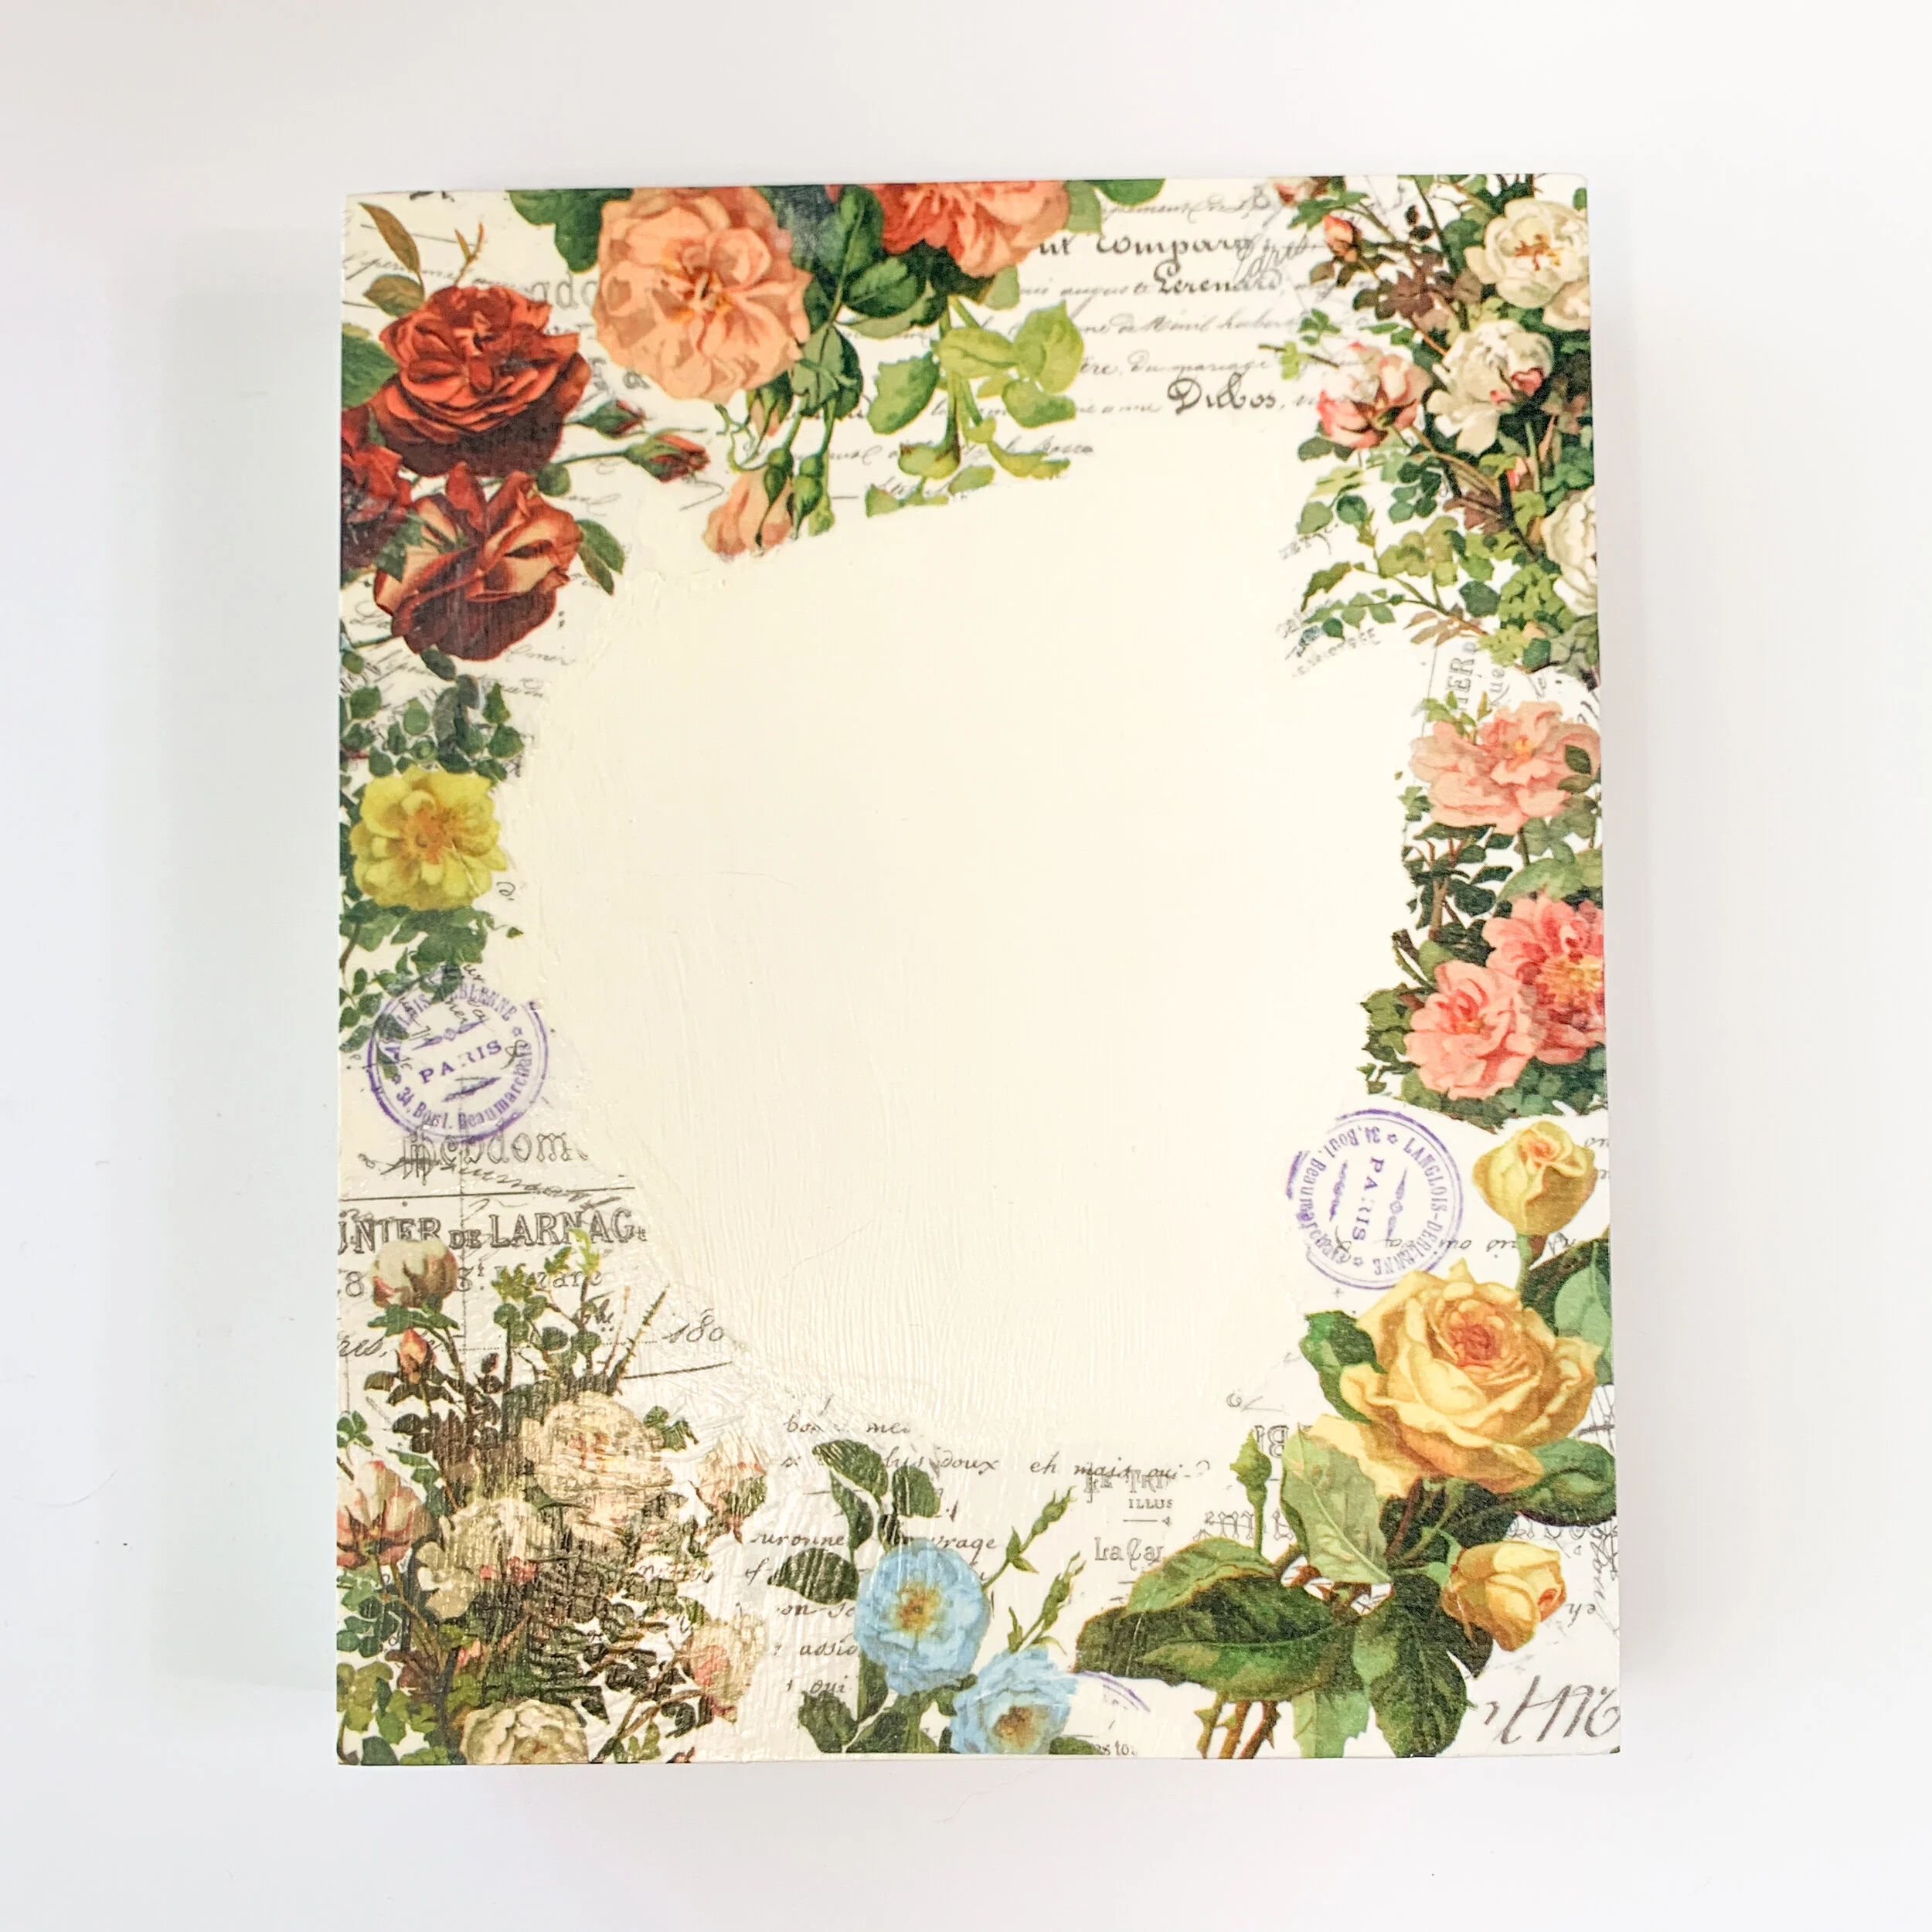
I carried the decoupage around the sides of the canvas, so no matter which angle you view it from the canvas has a profusion of flowers. Some of the large pieces that I used for the front wrap around to the back, and then I filled in the blank spaces with smaller pieces.
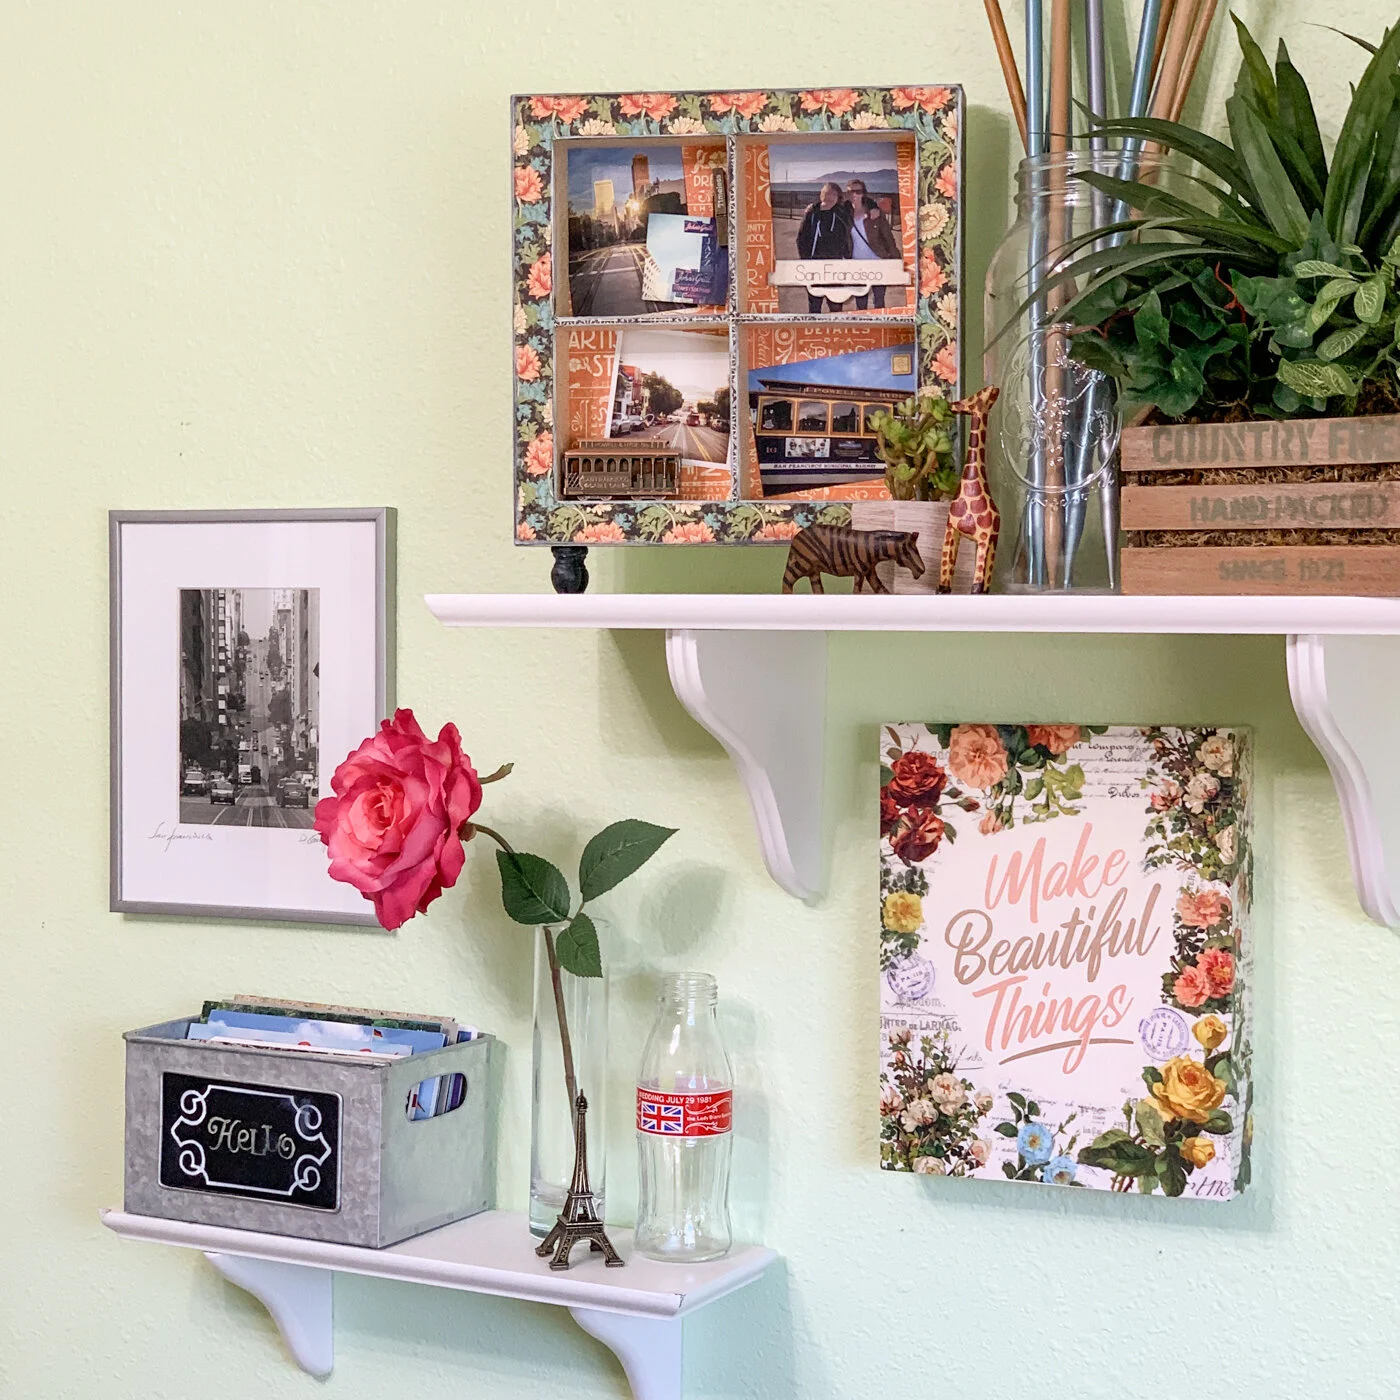
Once the vinyl was applied to the finished piece, I hung it in my studio with a collection of mementoes. I will enjoy having this inspire me every day, but it would also make a wonderful gift for someone creative in your life! (Or just substitute a different phrase to create a piece with a different meaning. There’s plenty of choices in the Cricut Design Space library!)
What other sentiment ideas do you have for this project? Who will you give it to?