
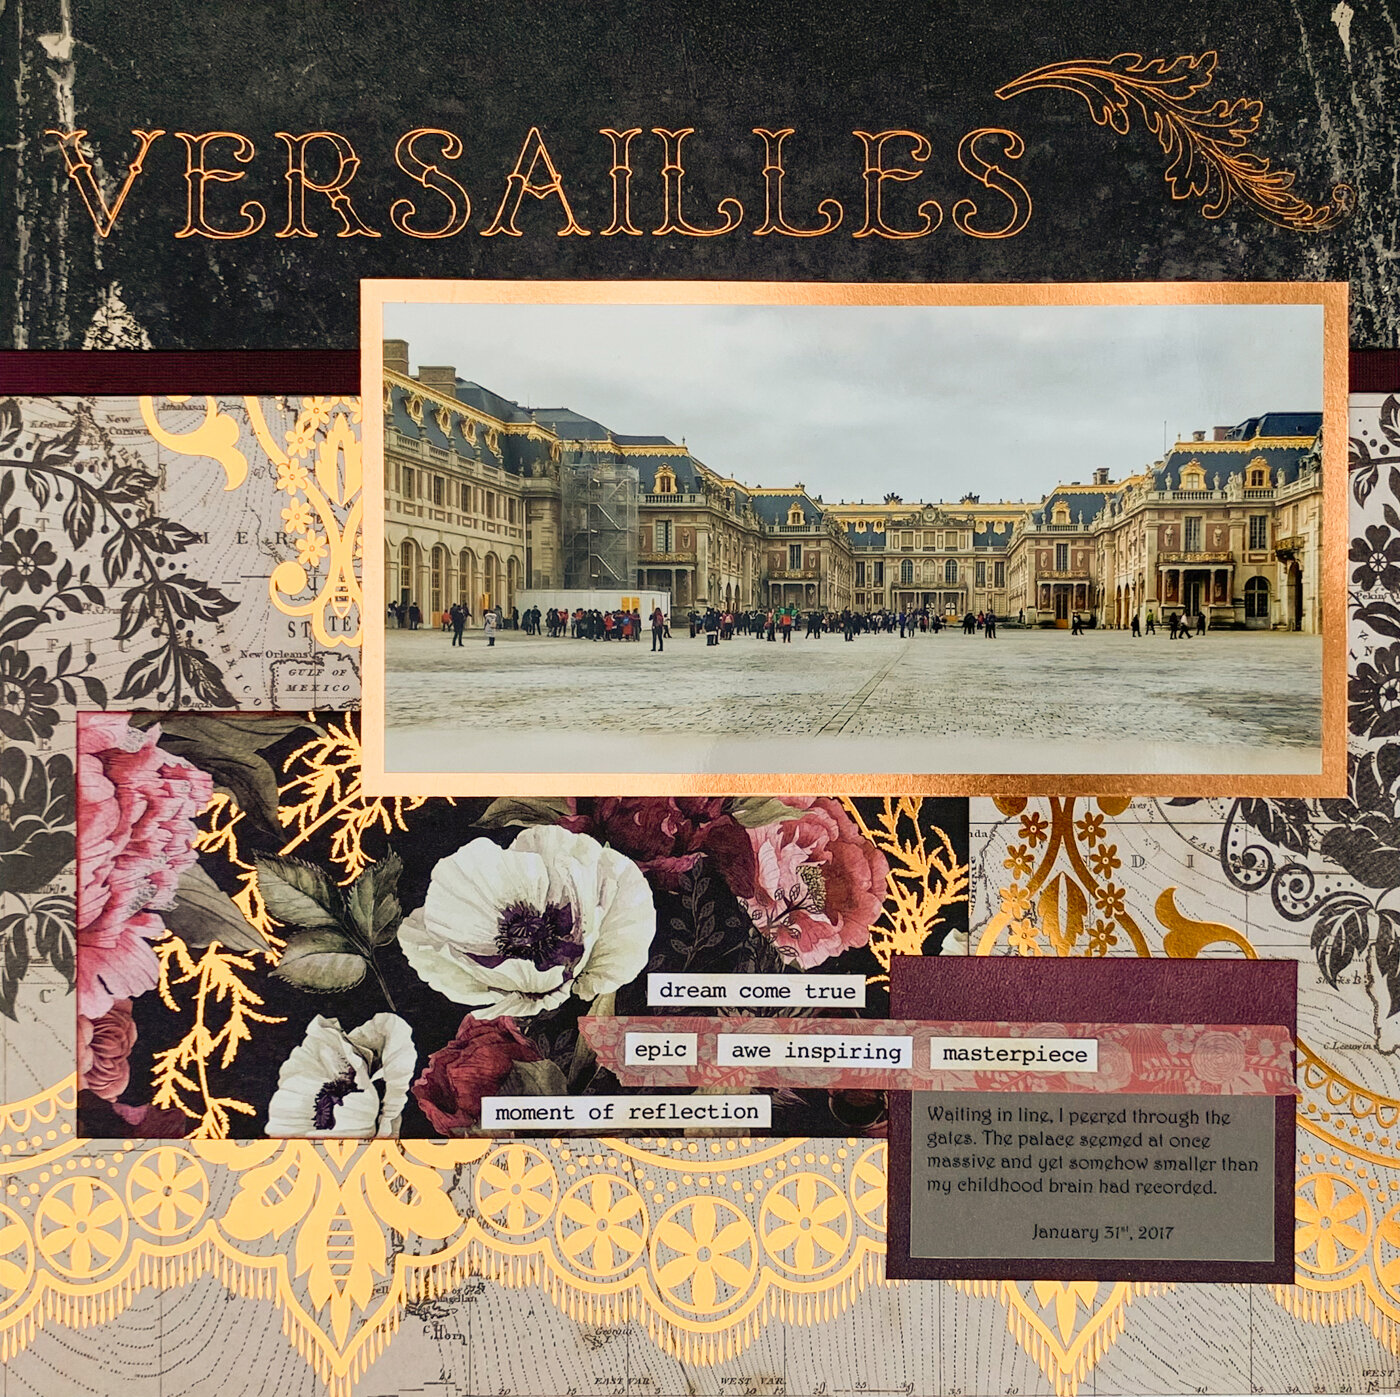
Drama & Glitz on a Versailles Layout
Scrapbooking pictures of the beautiful palace of Versailles requires more than just an everyday layout! For this layout I had to pull out all my tricks to create drama and glitz worthy of such a legendary place of luxury.
Disclosure: This site participates in the Amazon.com affiliate program. Some links on this site are affiliate links that pay this site a commission at no cost to the reader when a purchase is made after a click. Some product used in this product was provide to me by Cricut but this is not a sponsored post.
Supplies Used:
Prima Marketing “Midnight Garden” 12x12 paper pad (Scrapbook.com, A Cherry on Top, Amazon)
burgundy cardstock
Recollections Foil Paper
We R Memory Keepers Foil Quill - Standard Tip (Scrapbook.com, A Cherry on Top, Amazon)
We R Memory Keepers Foil Quill - Copper Foil (Scrapbook.com, A Cherry on Top, Amazon)
Cricut Maker machine (Cricut.com, A Cherry On Top, Amazon)
Cricut Font (Anna’s Fancy Lettering - Hannah)
Cricut Embellishment (Leaf Decal Element, Draw - #M28D3B7)
Tim Holtz Distress Ink - Aged Mahogany (Scrapbook.com, A Cherry on Top, Amazon)
Tim Holtz Distress Ink - Antique Linen (Scrapbook.com, A Cherry on Top, Amazon)
Strathmore Inkjet Vellum - Translucent (Amazon)
Harrington Font
Glue Dots Vellum (Amazon)
Recollections “Tea Party” Washi Tape
Cricut Printable Sticker Paper (Cricut.com, Amazon)
This layout’s background is actually made from a single piece of patterned paper from the Midnight Garden paper pad. I cut it and then flipped the narrower strip over. The background was mended back into a single piece by adhering it down onto a piece of lightweight white cardstock as a backer.

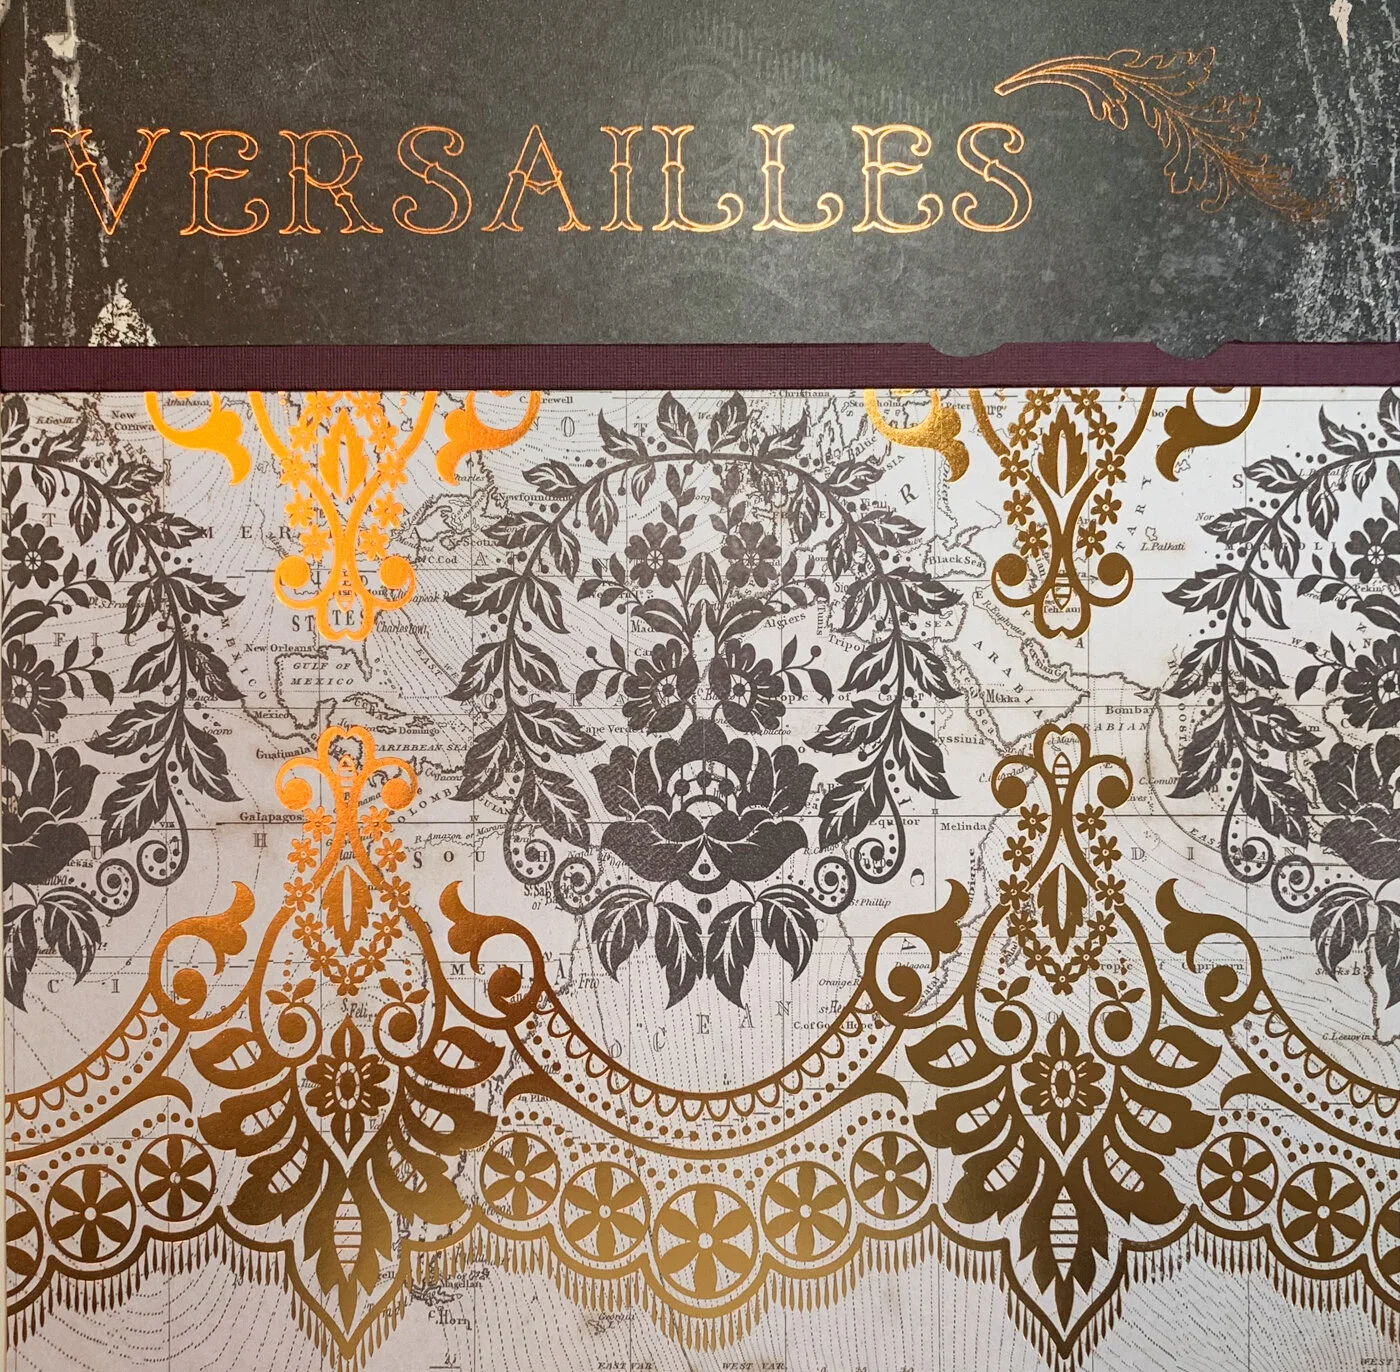
A word like Versailles really needs some glitz, so I added the title to my layout using my Foil Quill in my Cricut Maker machine. (And let’s be honest, it was a great excuse to play with my Foil Quill, one of my favorite new toys!) I love how the copper foil really pops off of the black patterned paper, and it was so easy to do.
I chose this particular font by Anna Griffin for the title because it was not just fancy by also reminiscent of the style of the French royal family during the Versailles period. The feather was also not random - it reminded me of some of the embellishments I saw on items inside the palais.
I used a scrap of burgundy cardstock to cover the seam between the two patterned papers. The strip I cut had the edges of a couple of shapes cut out of it, but that didn’t matter because it was in a spot under where the photo is going. Before I adhered down the cardstock strip, I inked the edges of it to give it some depth.
Then, because you can’t have too much bling on a layout about Versailles, I layered the photo on top of foil paper as a mat. I placed it in position so I knew where I wanted it to be, but didn’t adhere it right away.

The reason I didn’t stick it down is because I knew I wanted to put another element underneath it. This patterned paper also comes from the same Midnight Garden pad as the other patterns. The black, grey and metallic elements of the design tie in nicely with the other patterns. The burgundy color in the strip I added earlier is repeated in this pattern too. This pattern ties it all together!
After inking the edges of the floral patterned block with Aged Mahogany, I attached it and the photo block to the layout.

Next I reached for my computer! I used Microsoft Word to make a simple journaling block. I chose another elaborate font, but a somewhat simpler one than the title since it had to print smaller for the block.
I printed the journaling on inkjet-compatible vellum and trimmed it. Then I used a solid color burgundy sheet from the Midnight Garden paper pad to create a slightly larger background block. I stuck down the burgundy block and then used vellum Glue Dots to add the vellum on top.
I could have just used a solid color cardstock for printing the journaling. But I chose the vellum because I wanted something more subtle and with a bit of luxury to it.

And of course, I added a few embellishments! This pink washi tape looked really bright on the roll, but when I laid it down on top of the dark papers, the pink became muted and matched the pink flowers on my paper nearly perfectly.
The final touch was a few word stickers. These stickers were made using the “Travel Memories” Print & Cut Stickers file that is in my Nally Studios store on Etsy. They were printed on Cricut Printable Sticker Paper. Before I put them on my layout, I distressed these words with some Antique Linen Distress Ink, so they’d blend in better with the off-white flowers.

It’s a tough assignment to make a layout that lives up to the beauty and antique glamour of the Versailles palace, but I am so happy with how this turned out! And bonus - it only uses a single piece a paper plus a couple of scraps! I can’t wait to make more layouts with this Midnight Garden collection…it’s perfect for my European travel photos!