
Layout | Simply Spring from Bella Blvd
[Disclosure: Bella Blvd and Cricut provided some product that was used in this article. I am a demonstrator for Cricut. I am not required to blog as part of that project, or as a condition of receiving the product I used. I use, and write about, products that I love.]
We don't get much in the way of what is traditionally considered to be spring here in Florida. Our winter is mostly warmer than what most parts of the country consider "spring" to be, and we don't get long hard freezes. This leaves the traditional icons of spring - bulb flowers like daffodils and tulips - out of the Florida garden, unless they are first forced in a greenhouse and then planted as annuals (an endeavor requiring a ridiculous amount of expense and effort that is only undertaken at places like Disney parks). So instead we count our spring by our azaleas, and our crape myrtles, and other flowering trees and bushes.
But even after being in Florida for almost 15 years, spring doesn't seem quite right without the bulbs I grew up with in my native Michigan. So I was delighted during my stay at the Gaylord Palms Resort in Orlando for the Scrapbook Expo a few weeks ago to wake up one morning and discover that spring bulbs arrived overnight in the plantings in the hotel's massive atrium!
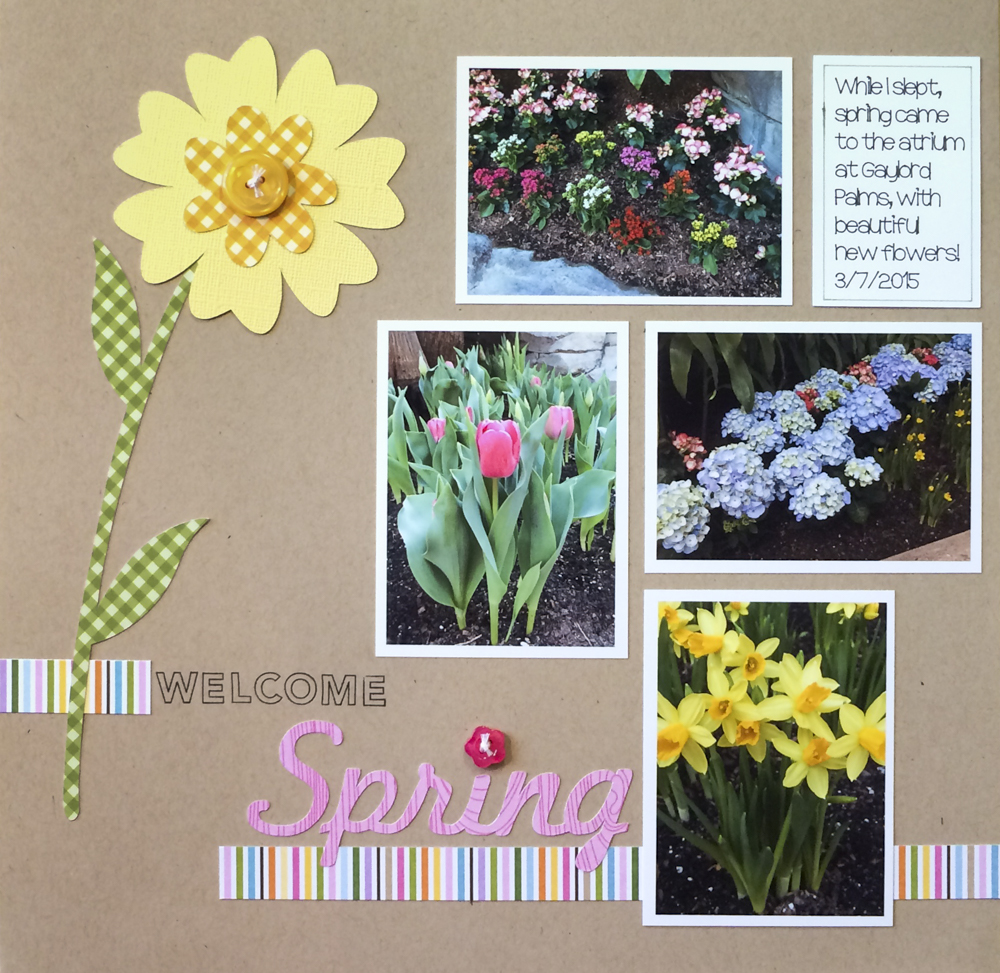
Of course, I took tons of pictures. I wasn't going to pass up a rare chance to get some "spring" scrapbooking in, and use some great Bella Blvd spring papers while I was at it! All of the patterned papers on this layout are from their recent Simply Spring collection.
Bella's signature color palette and style is perfect for spring! The ginghams carry me off to the country, bringing images of springtime on the farm to mind. There's patterns within the collection for spring showers and flowers, and other patterns are Easter and spring themed.
IMG_9749
Supplies:
Bella Blvd Simply Spring collection Papers
Bazzill cardstock
Clearly Kelly for Hero Arts Alphabet Stamps
Tim Holtz Distress Ink in Soot Black
Cricut Explore Machine
Cricut Fonts: Birthday Cakes (writing), Billionaire (title)
Cricut Cut Files: Flower from Kate's ABC's (#M32016), Rectangle from Creative Cards (#M44604)
Cricut Pen Sets in Wildflower & Antiquity
DMC Embroidery Floss in white
Bella Blvd Flower Button in Pink
Other: unknown button (yellow)
All of the photos were printed from my Adobe Lightroom at 3" x 4" with a 12 point border on them, and then arranged on the background. I chose a kraft background to keep the layout from getting too busy, and also so that the colors of the photos and the design elements would "pop" off of it.
IMG_9761
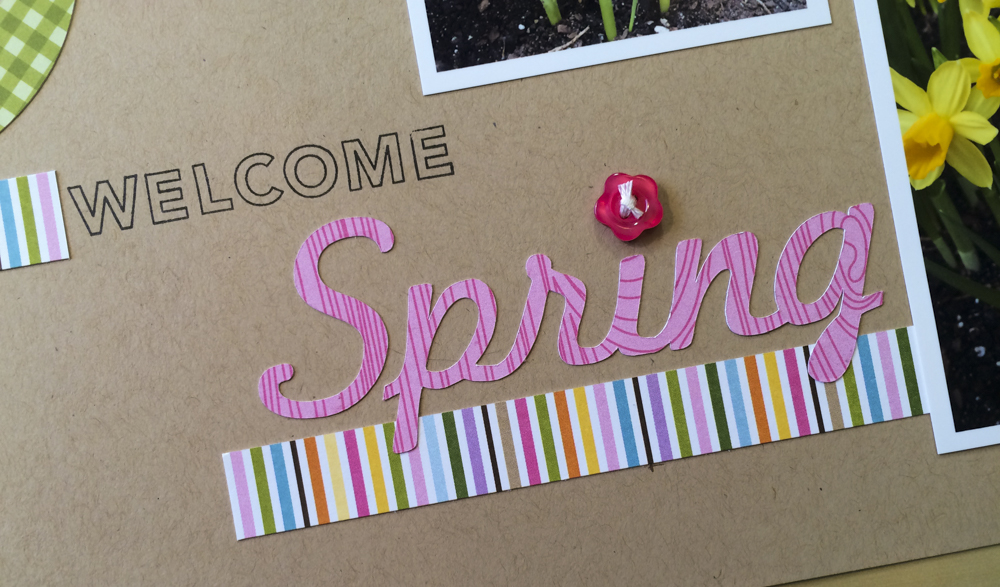
The "Spring" part of the title was cut from the Cricut font "Billionaire" on my Cricut Explore machine, after being welded. I replaced the dot on the "i" with the flower button to add some interest and enhance the theme.
The "WELCOME" part of the title was my first chance to use my new Clearly Kelly alphabet stamp set by Kelly Purkey for Hero Arts. This set was one of my "must haves" from CHA Winter, and I rushed to buy it on Kelly's site as soon as she announced it was available! It definitely lived up to my high expectations, and was perfect for adding a secondary word to my title. The outline alphabet is lightweight visually, and the size is noticeable but doesn't shout. I look forward to using it often in the future.
The striped paper frames, grounds, and leads the eye through the title. That's a lot of work for a couple of paper strips! The colors in the stripes also tie together the colors in the other patterned papers, as well as the colors in the photos of the flowers.
IMG_9762
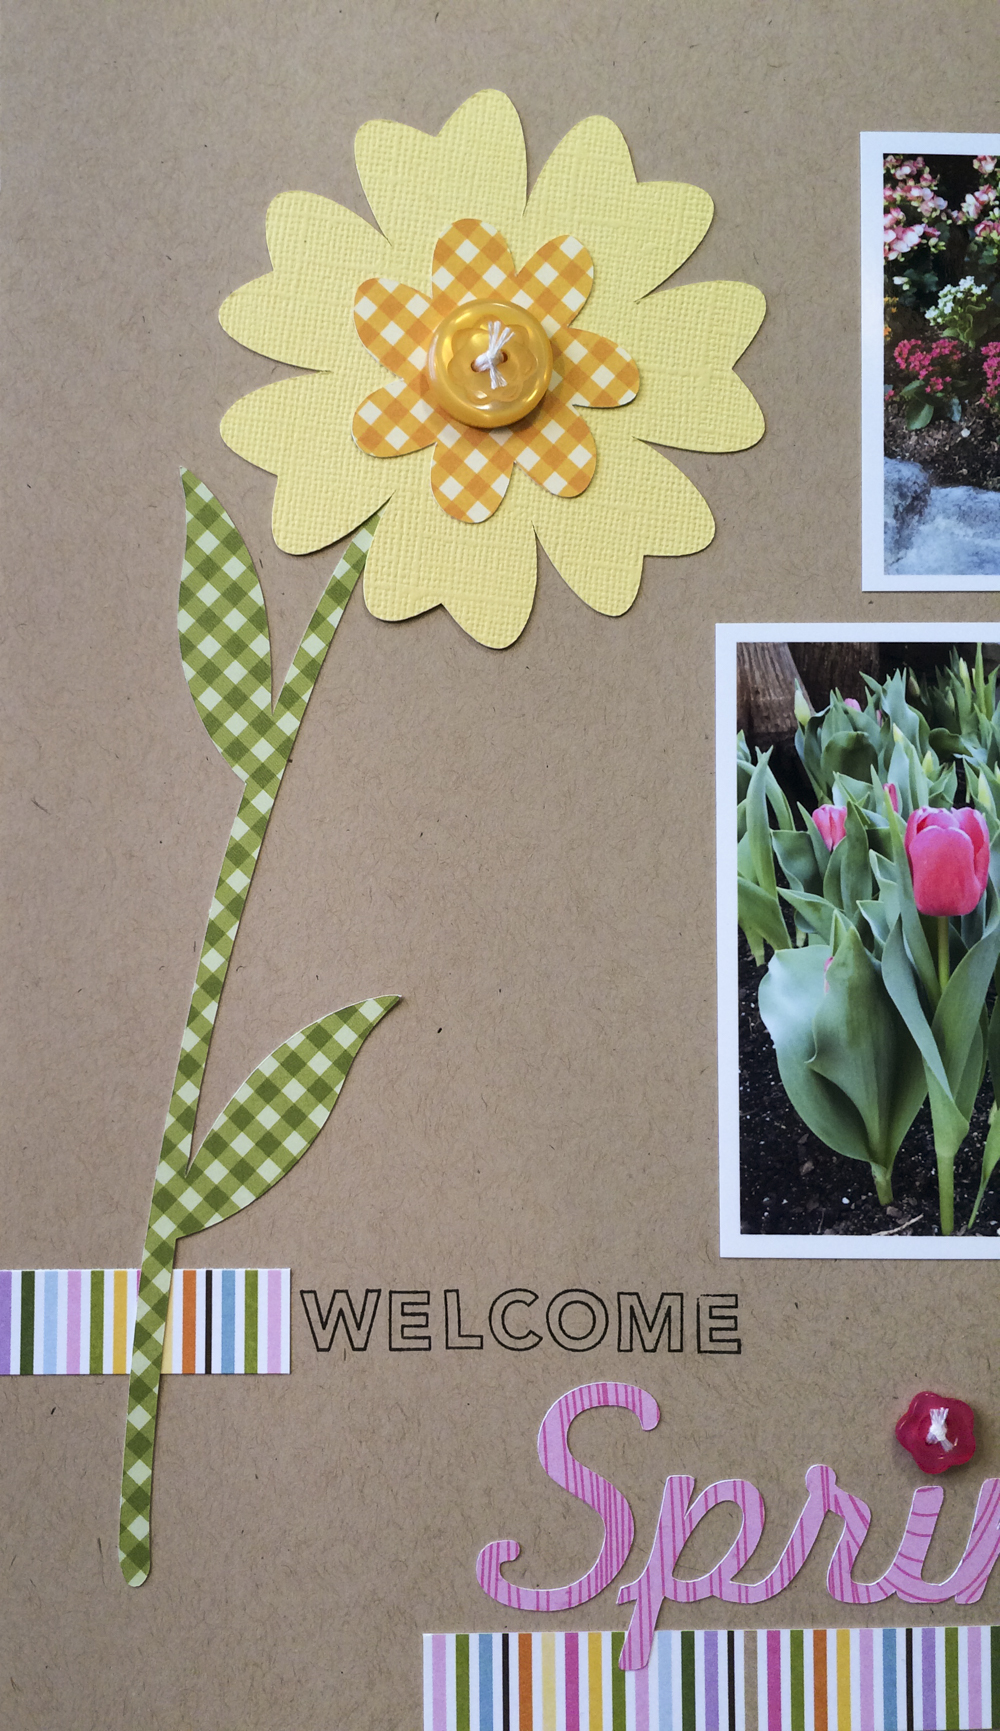
The flower die cut is also off my Cricut Explore machine. The file originally had several other layers on it that made the flower more complex, but I eliminated several of them. Several circles that made up the center I replaced with the button. I also deleted a layer that was between the solid yellow and the yellow patterned paper.
I opted to use the solid yellow for the large part of the flower to keep the flower from getting too busy. It's easy when using patterned paper to use too much and have it overwhelm your photos, especially with bold patterns like some of these are. My rule of thumb is that the bolder and busier the pattern is, the smaller dose of it I use. A small amount can make a big impact!
IMG_9765
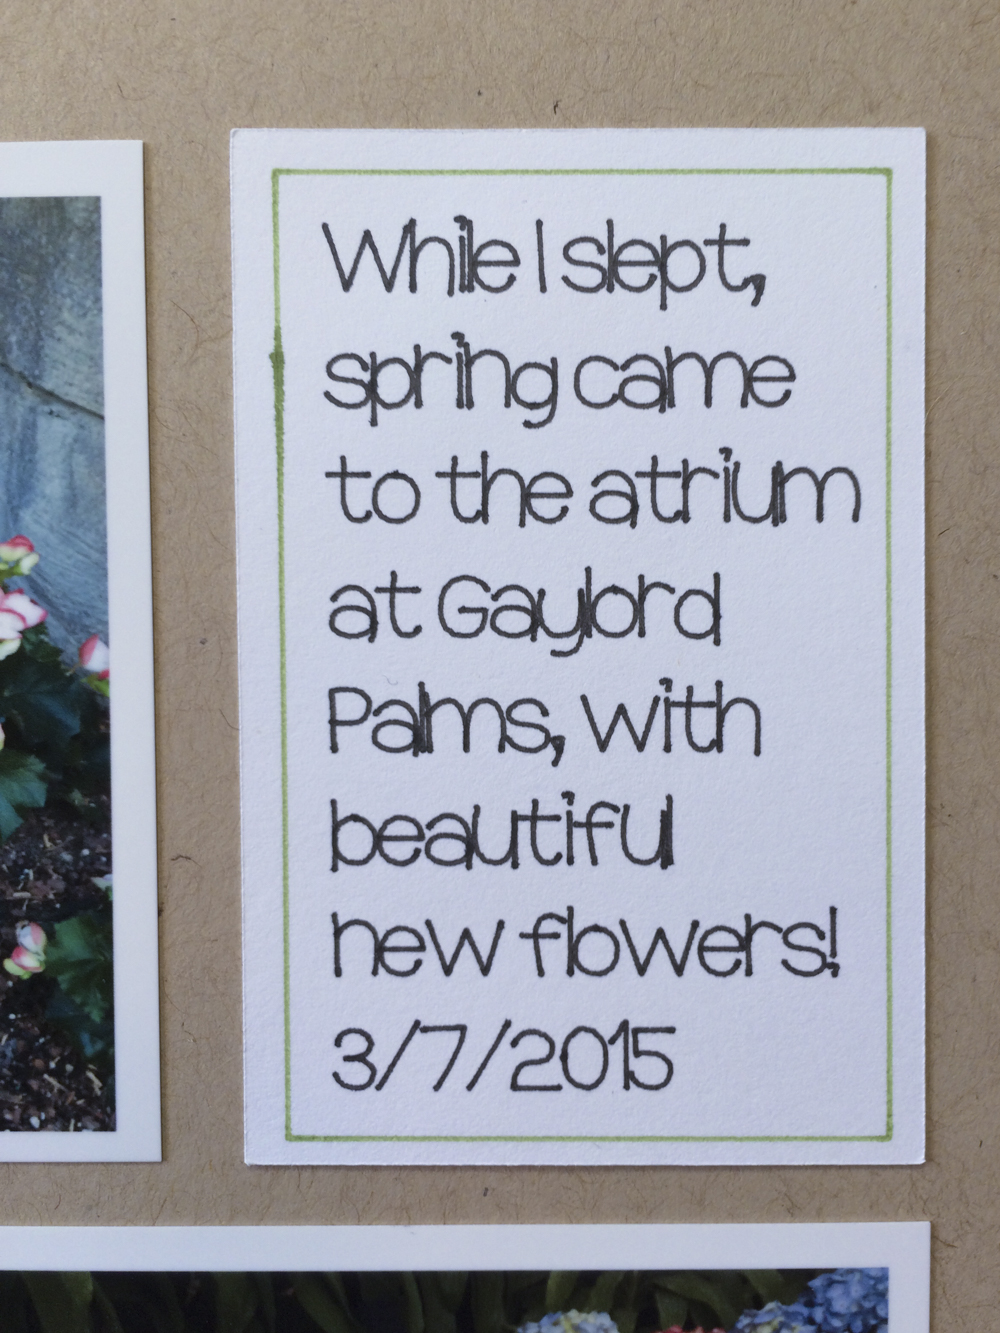
The last element I added to the layout was this small journaling block. The photos didn't need much story with them, but I just wanted to explain where and when they were taken. I added a bit of detail with the story about how they appeared overnight, and that was all.
Since I didn't want my messy handwriting to detract from the beautiful layout, I used my Cricut Explore to do the writing. It was my first time making a journaling block entirely with the Cricut pens and I was really pleased with the results. Much better than my illegible handwriting! It doesn't look perfect but that to me is entirely the point. It looks hand done, but much better than I could ever do.
I also did a pen line as a border or frame around the text box. This was created easily by duplicating the box I was using for the outside cutting line, resizing it slightly smaller, and then changing it to a pen line instead of a cut line.