
Colorful Plastic Storage with Duck Tape!
My craft room is in a process of change right now, to accommodate some old interests I've been spending more time on lately (like sewing) and some new ones (like knitting and jewelry).
I had an open space under the window that could take a new storage unit. I needed storage space for fabric and yarn. I found a unit the perfect size and configuration for my needs at my local Walmart - a 5 drawer Sterilite drawer unit.

sterilite-drawers
The two flat drawers on top are perfect for my thread and beading supplies, while the bottom larger drawers would be perfect for items like fabric and yarn.
But this unit did have one problem (well, two actually). The biggest problem was that it was translucent, and I was planning to put it right in front of a window with a low sill. The materials I wanted to store are susceptible to fading in direct sunlight, and the Florida sun is brutal - especially in the afternoon when the sun comes directly in that particular window. So how could I use this unit and still protect my materials from light damage?
My other (less serious) concern was that the unit was plastic and not exactly gorgeous to look at it. My room's decor is mostly simple Ikea but still, it would be nice to have something a little less totally functional.
The answer to both problems as it turned out was the same: Duck Tape.
Before I got out the Duck Tape, I took one other quick step first. I got out some pretty contact paper that almost perfectly matches the green tone of the walls in my studio and lined the drawers with it.

Contac Paper
The Contac Paper serves two purposes. It makes the drawers prettier, but it also helps keep light from filtering down into drawers from the one above. It really brightened up the unit! To make it fit in the drawers I recommend taking measurements and cutting rectangles the size of the bottom of the drawers (measure at the sides of the drawers or the paper won't fit since the drawer front is bowed out). Snip the corners of the paper diagonally to make them fit better in the back of drawer.
So what is the Duck Tape for? The Duck Tape is to wrap around the side and backs of the drawers, to make them colorful and light proof!
To complete the Duck Tape part of the project, you'll need 3 rolls of decorative Duck Tape. That will cover the sides and backs of all five drawers. When selecting your rolls, try to get some that will overlap easily, like this:
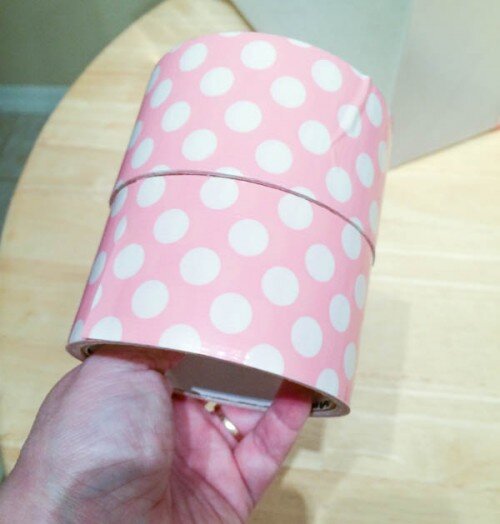
Pink Polka Dot Duck Tape
My Duck Tape of choice for this project was Pink Polka Dot Duck Tape, which goes beautifully with my pastel green walls in the studio.
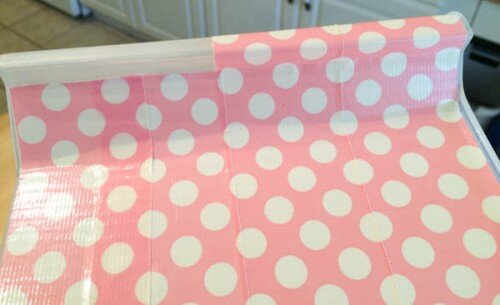
Next...start wrapping! Start at the top of each drawer. Lay the tape right along the upper edge of the drawer and stick it down. Make sure at each end that there is a "tail" hanging past where you want the tape to stop. You can go all the way around in one piece on the first strip, but you'll need to crimp the wrap a bit on the corner, as the drawer is tapered.
For the second strip, select a tape roll and direction to apply it that allows you to overlap slightly and get the patterns to match up well.

Applying Duck Tape
For the second and subsequent rows of tape on each drawer (at least working with the dots), you'll want to cut the tape at each corner and then overlap and start a new strip to keep the dots matched correctly.

Duck Tape Seam

Duck Tape Corner Seam
Repeat all around the drawer, and with subsequent layers until you get to the bottom of the drawer. For the bottom layer of tape on each drawer, you will have to make a larger overlap to make sure the tape doesn't overhang the bottom of the drawer (or get out a razor blade to cut off the excess).

Finished Drawer
Remember those ends I told you to leave extra length on while you were applying the Duck Tape? When all the tape is applied to each drawer, then you can go back and neatly trim them off with a craft knife so that your tape has a single, neat end.
Trimming Tape Ends
When all the drawers were finished and the unit was reassembled, I moved it to its permanent home under the window in the studio:

Duck Tape Sterilite storage
I'm now in the process of loading my new storage unit with some of my supplies. It sits next to the second (smaller) workstation in my studio and will be a great - and colorful - addition to my work space!