
Letterpress | Papertrey Ink Impression Plates
Scrapbook Update's next stop on our tour of home letterpress options brings us to a tool that wasn't actually created specifically for letterpress: Papertrey Ink's line of Impression Plates. These handy tools are wonderful for debossing (that is creating a relief design by pressing in on the front of the paper), and as it turns out some of them also have a hidden letterpress talent just waiting to be discovered!
Papertrey Ink's Impression Plates (priced at $16.00 US each) are 4.5" x 5.75" in size and are made of sturdy U.S. steel.
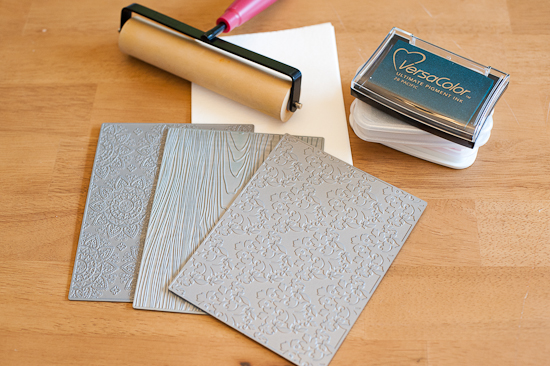
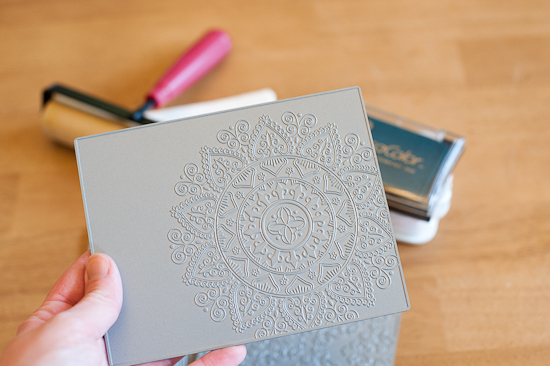
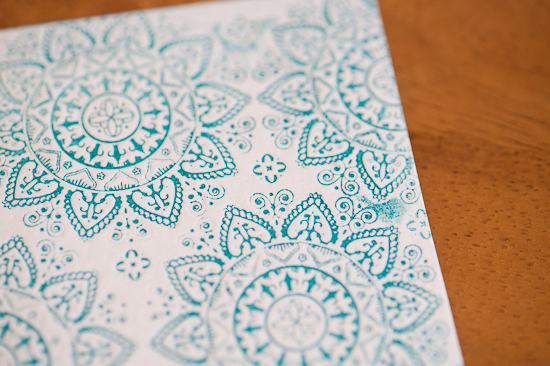
The Impression Plates are double sided, meaning that consumers get two designs for the price of one with this tool! Often the designs are the same but oriented vertically on one side and horizontally on the other, but some such as the Mehndi Medallion plate have a completely different pattern on each side.

To use Papertrey Ink's Impression Plates for letterpress, you need only add a brayer (I prefer a Speedball 6" soft rubber brayer) and a pigment ink such as Tsukineko's VersaColor.
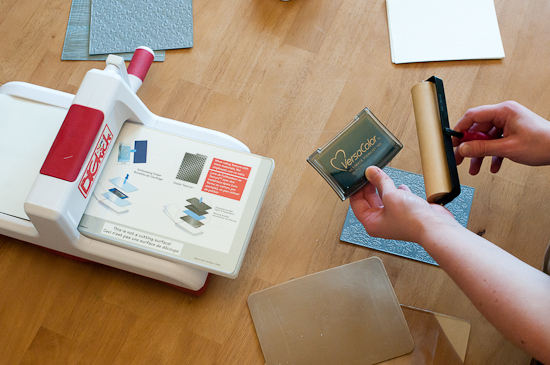
Start by inking up your brayer, taking care to evenly coat the roller.

Then apply the ink gently to the plate. Take care during this step not to press too hard on the brayer, as it's very easy to push ink down to the non-relief areas of the Impression Plate (since the relief is not as high with these as with real letterpress plates such as the Ink-Its from Sizzix), which will result in unwanted ink smudges being transferred to your paper. Certain Impression Plates are better for letterpress use than others. Intricate designs or those with large open spaces (such as the Woodgrain and Mehndi Medallion designs) are especially prone to ink smudges, so choose patterns with tighter groupings and larger lines for best results. (This is in no way a knock against the Impression Plates as a tool since they all work wonderfully for debossing and using certain designs for letterpress is just an added bonus.)
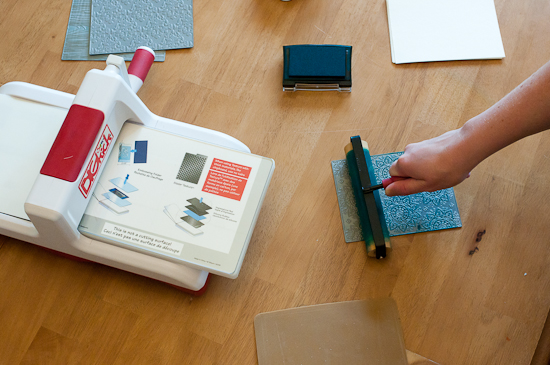
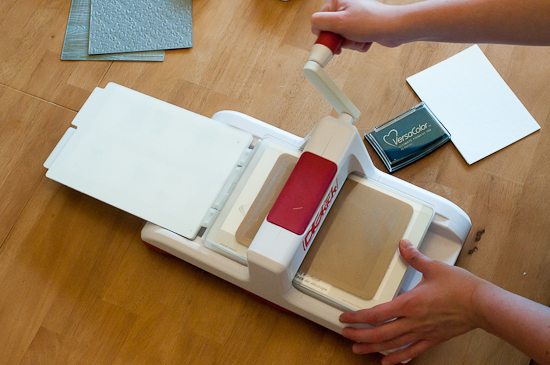
When the plate is fully inked, place it ink side up on your die cutting machine's base. I used my Sizzix Big Kick for this example, and according to Papertrey (they have a video here with examples of sandwiches for several brands of machine) it's best to use the multi-purpose platform with no tabs.

Next, place your letterpress paper on top of the Impression Plate. I tested and got great results with both watercolor paper and L Letterpress paper from Lifestyle Crafts. The L Letterpress paper is shown in the photo below.

As a final step, place an embossing mat on top of your paper (I used a Spellbinders tan embossing mat, though Papertrey also sells their own), and then cover the entire assembly with an acrylic cutting mat.

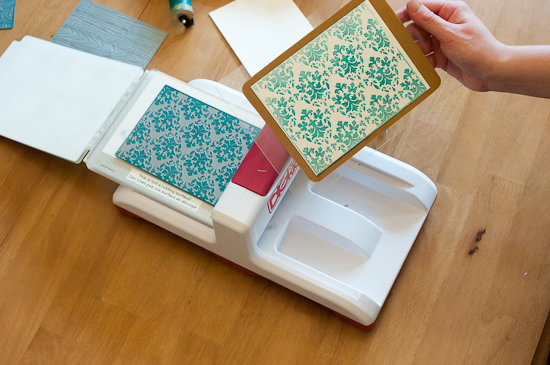
After the sandwich has been completed, roll it through the die cutting machine as usual, then remove your finished letterpressed sheet.

The ink impression isn't as clear with some of the more intricate Impression Plates (again, not a strike against the tool since we're really using it for something that it wasn't originally intended for), and you can see an example of a stray ink blot on the right hand side of the print.
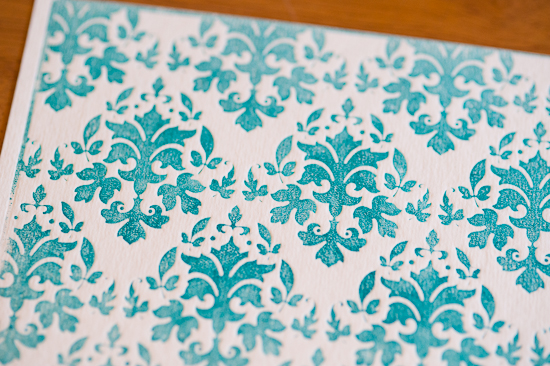
I had much better results with the Damask Designs plate - it was much easier to use the brayer to ink the plate without leaving unwanted excess ink in the open spaces, and the resulting print was much crisper.

As I did with the L Letterpress and Sizzix Ink-Its reviews, I've prepared a few examples of ways to incorporate letterpress papers made with Papertrey Ink's Impression Plates into papercrafting projects. The Halloween card was pressed using an L Letterpress card base, while the mini album pages were printed on Strathmore 300 series watercolor paper (you can see more pages from this mini album in my L Letterpress and Sizzix Ink-Its reviews).

Supplies | Card Base: Lifestyle Crafts. Patterned Paper: Authentique Glowing (Thrill). Die Cuts: Authentique Glowing (Headlines). Buttons: Making Memories, Papertrey Ink. Bling: Basic Grey. Ink: Tsukineko VersaColor Black. Impression Plate: Papertrey Ink (Damask Designs).
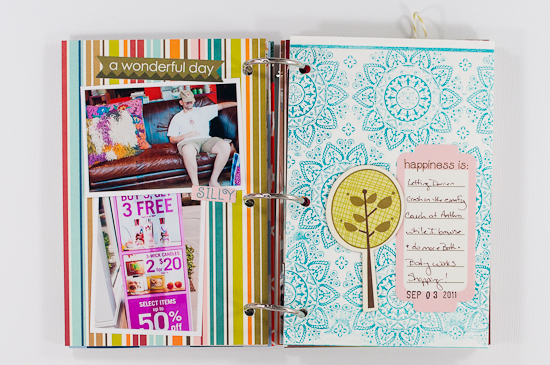

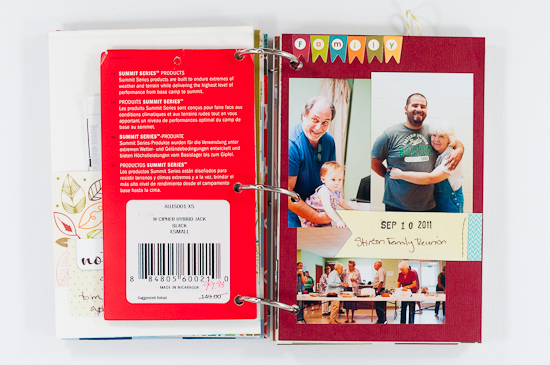
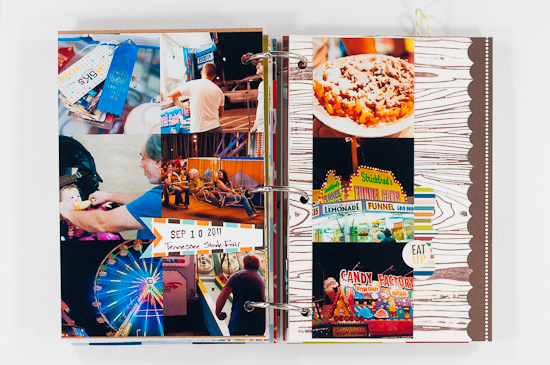
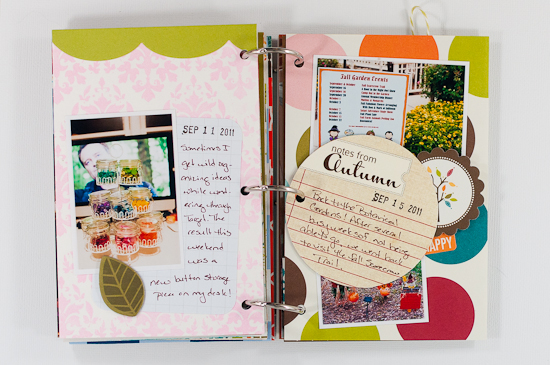
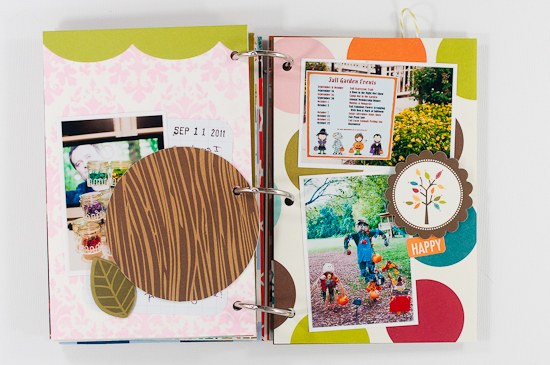
Supplies | Letterpress Paper: Strathmore Watercolor Paper (300 Series). Cardstock: Core'dinations Tim Holtz Kraft-Core (Nostalgic Collection). Patterned Paper: Bella Blvd. Finally Fall (Cute Cuts, Borders, You're a Hoot, At the Patch). Chipboard: Bella Blvd. Finally Fall (Icons). Stickers: Bella Blvd. Finally Fall (Alphabet + Bits, Miniatures, Just Write). Journaling Spots: Elle's Studio (Pennants - Halloween, Spooktacular Autumn Tiny Tags, Autumn Journaling Circle Tags). Ink: Tsukineko (Staz-On Timber Brown, VersaColor Pacific, VersaColor Bark, VersaColor Petal Pink). Impression Plates: Papertrey Ink (Woodgrain, Damask Designs, Mehndi Medallion).Date Stamp: Office Supply.
Using Impression Plates from Papertrey Ink as letterpress plates demonstrates how, with a bit of care and experimentation, it's possible to stretch your tools to achieve things they weren't originally intended for. If you're interested in this type of letterpress method, I'd also encourage you to read this blog post at Pink Paislee that shows how their wooden embellishments can also be used as a letterpress/debossing tool. You may find that you already have all the items you need to start creating basic letterpress projects in your very own scrap room!