
Make 3 Quick Projects with Cricut Joy
This is a sponsored post written by me on behalf of Cricut. All opinions are 100% mine.
The Cricut Joy is Cricut’s smallest ever digital cutting machine. I thought I understood how small it was from the previews I had seen, but it’s really hard to comprehend quite how small it is until you see it in person. It’s so small that I actually managed to lose the 4.5” x 6.5” green cutting mat that comes with it on my desk while making these projects! (Even I can’t make enough mess to do that with the big 12x12 cutting mats of the Maker and Explore Air 2 machines.)
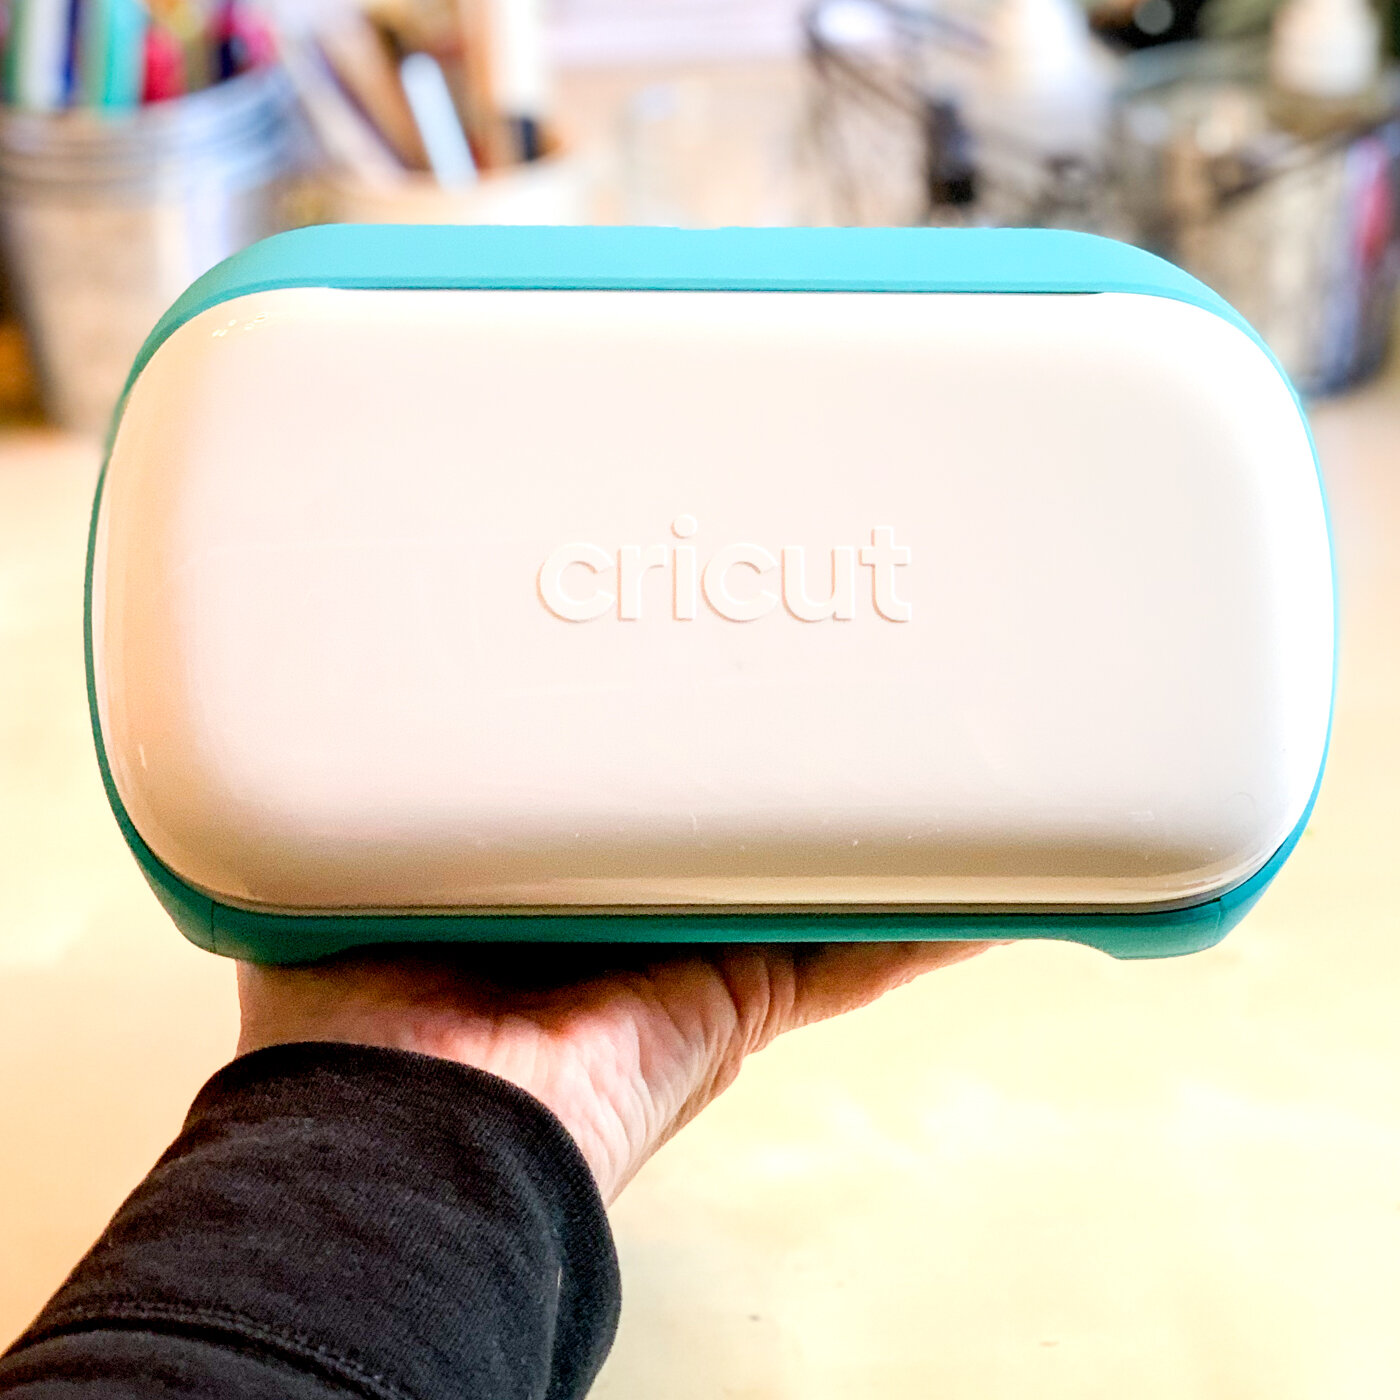
The adorable-sized Cricut Joy literally can sit in the palm of my hand! Or perhaps I should call it travel-sized, since it is the perfect size for toting along to craft with friends or at events when you don’t need the larger cut size of the full size Cricut machines. And at home, it moves around the house easily, and tucks away beautifully out of the way - especially great for crafters who don’t have a dedicated craft space, or for life in a dorm room.
But its convenient size doesn’t mean limited possibilities. With a cut area of up to 4.25” x 11.75” with a cutting mat, the Cricut Joy easily cuts scrapbooking titles and embellishments, decor for t-shirts & other fashion items, and so much more. And with Cricut’s new smart materials (more on those in a moment), the Joy can cut up to 20 feet (yes, feet!) long, so you can take your decorative inspirations to the length of an entire wall if you want!

I found the process of creating projects with the Cricut Joy to be very streamlined compared to working with my Cricut Maker (which is already pretty simple).
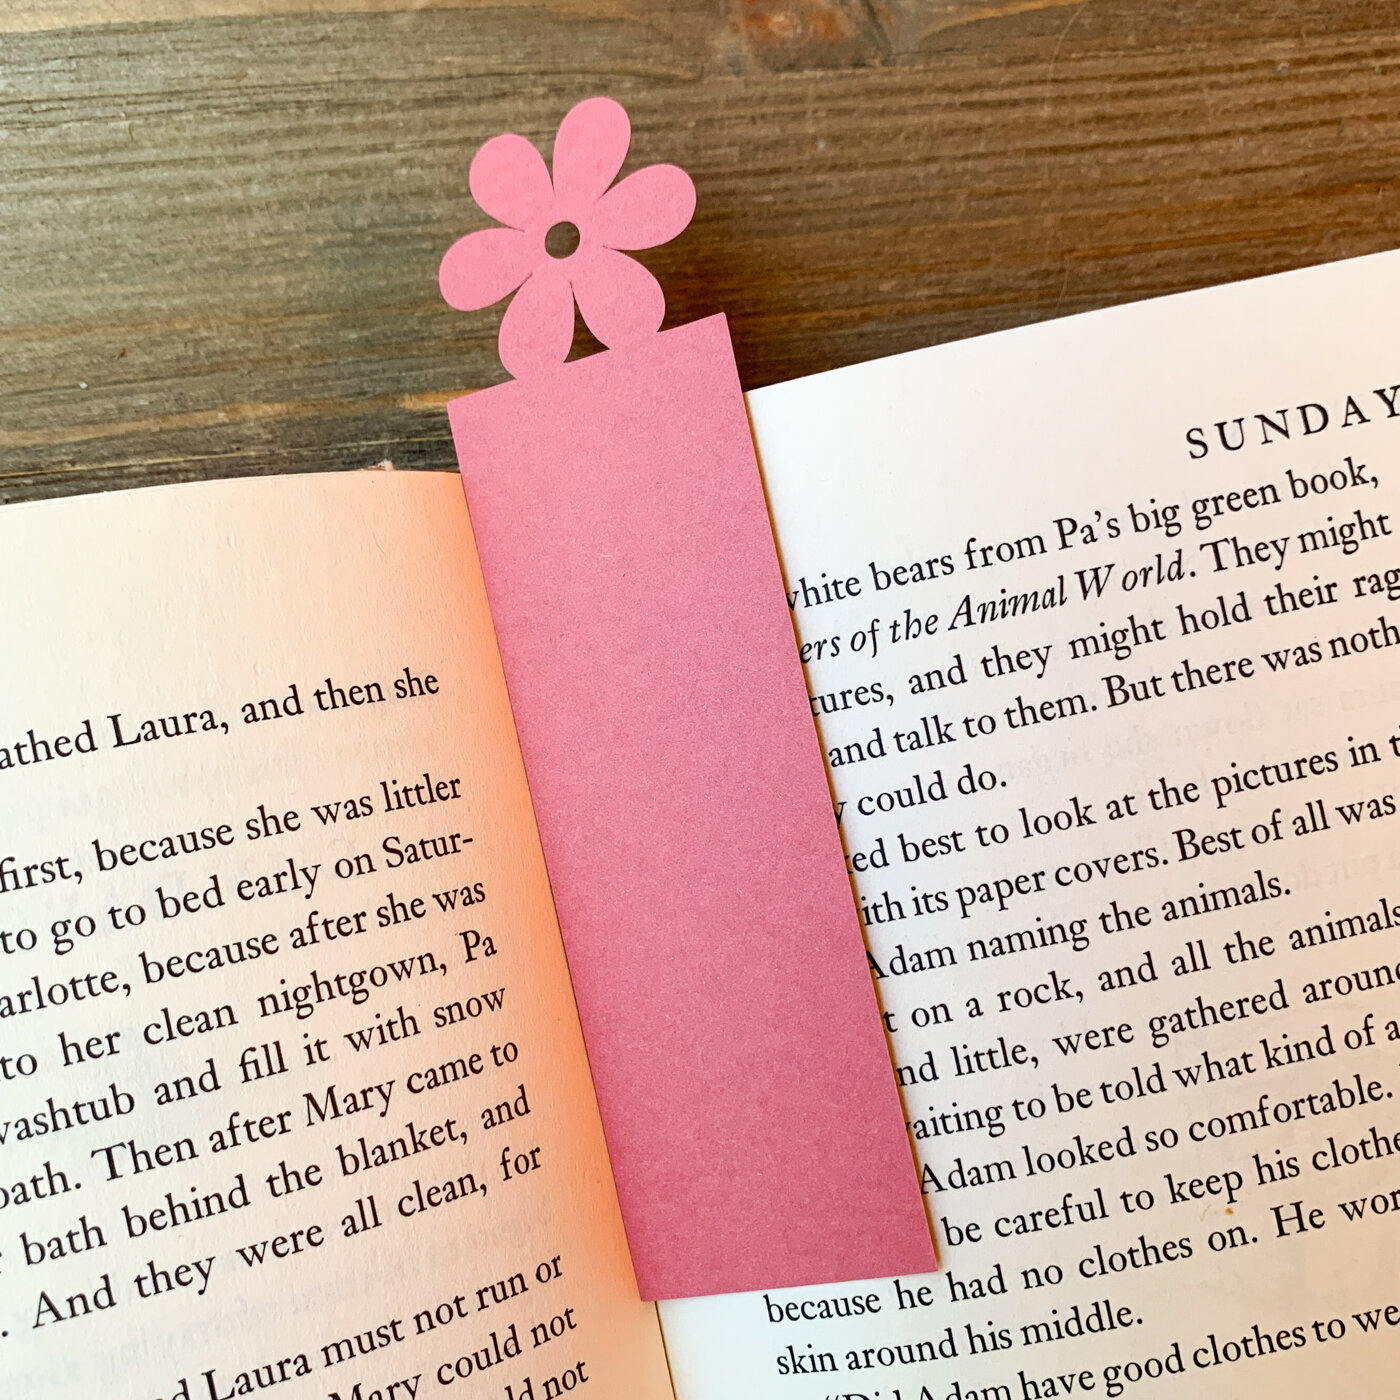
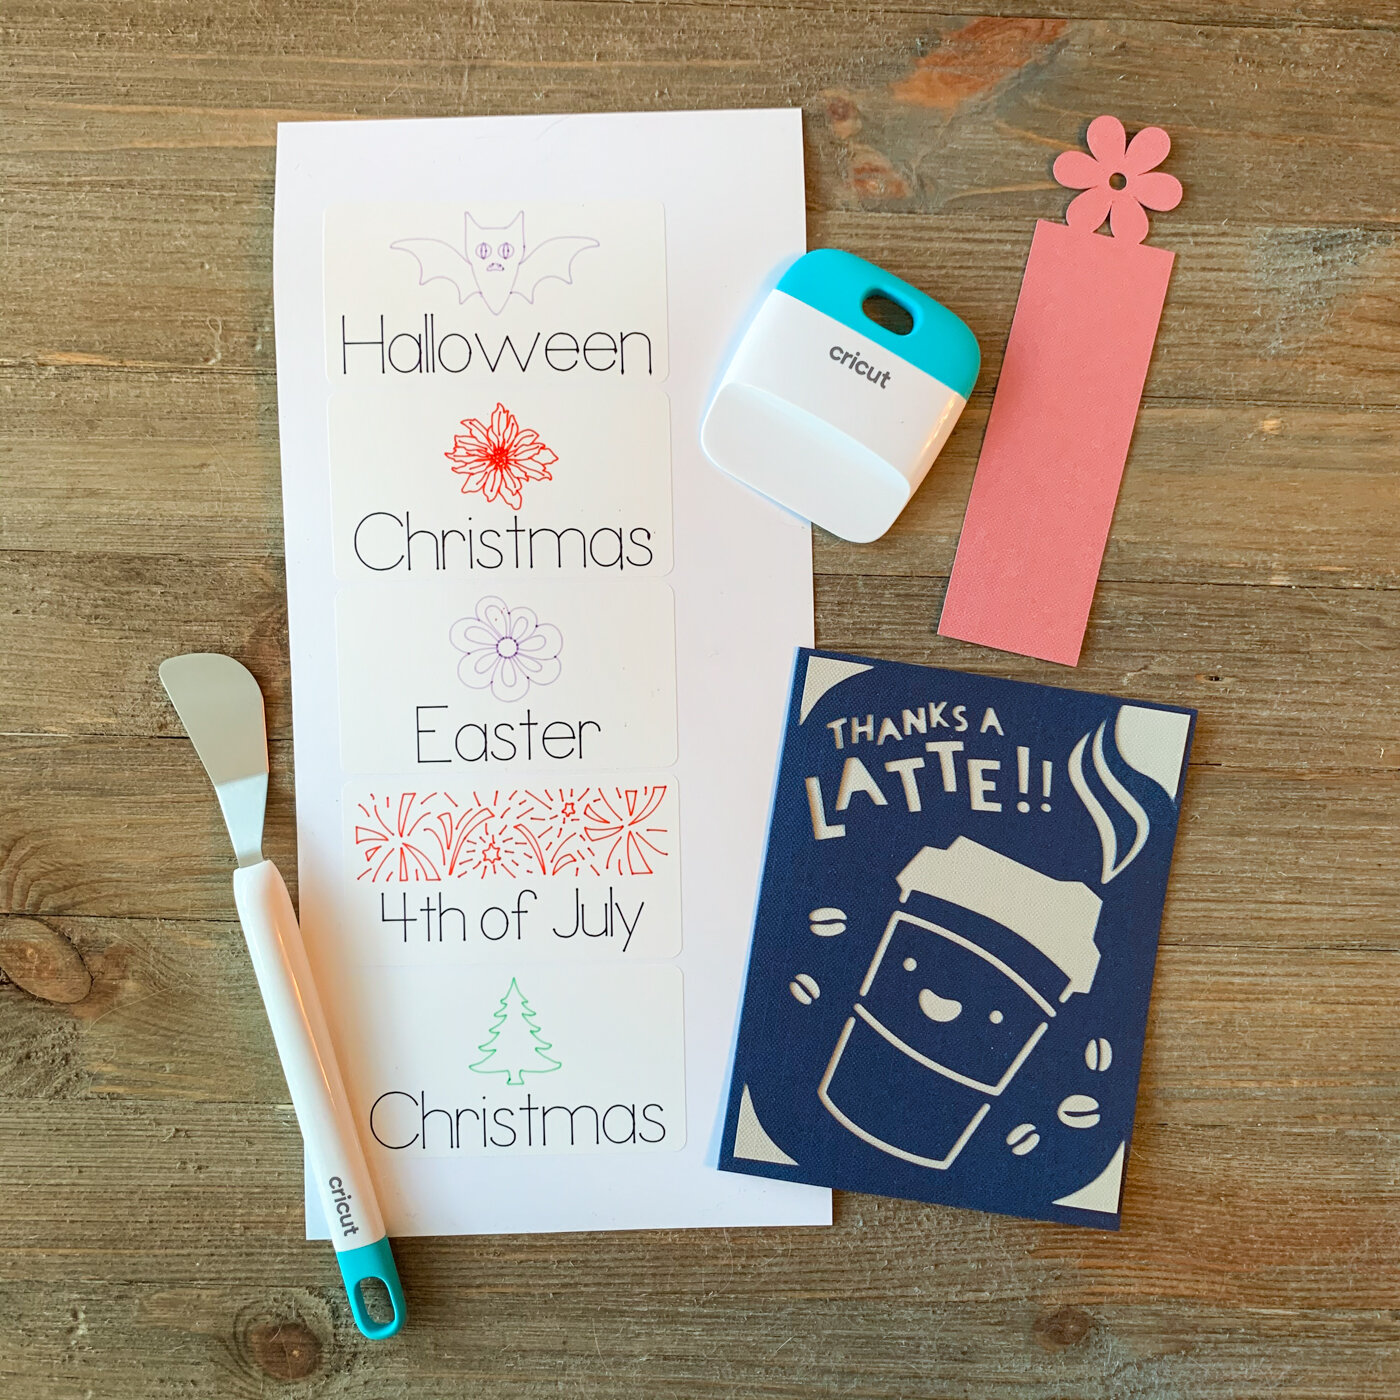
To make this bookmark, I just selected the design I wanted in Cricut Design Space (#M30458) and sized it to 1.5” wide. Then I placed a piece of pink cardstock on the green mat that was included in the Cricut Joy box. I hit the “Make It” button and followed the on-screen instructions to make my cut.
There are several key differences between the Cricut Joy and other Cricut machines that you’ll notice almost right away making your first project. First, there’s no on/off button on the machine. The machine is just always on, as long as it is plugged in. There’s actually no buttons at all on the machine itself - everything is controlled via the computer or phone interface. Materials and mats load automatically on the Cricut Joy. When you push them up against the rollers, they get sucked into the machine.
Another of the major differences about the Cricut Joy from previous Cricut machines is how many different ways there are to load materials into the machine for cutting. There’s large and small sized mats, and then smart materials that don’t need a mat at all. There’s also a special Cricut Joy Card Mat, specifically designed for use with the Cricut Joy Insert Cards. Because of this, the first step of the “Make It” process when using the Cricut Joy is to tell Design Space how you are loading materials into the machine.
Insert Cards are sold in color assortment sets that include folded over cards, inserts in complementary colors, and envelopes. The folded card can be inserted in the Cricut Joy machine using the Card Mat to cut special insert card designs on the front of it. Then an insert sheet is slipped behind the card front and secured to it using slots in the corners of the card front.
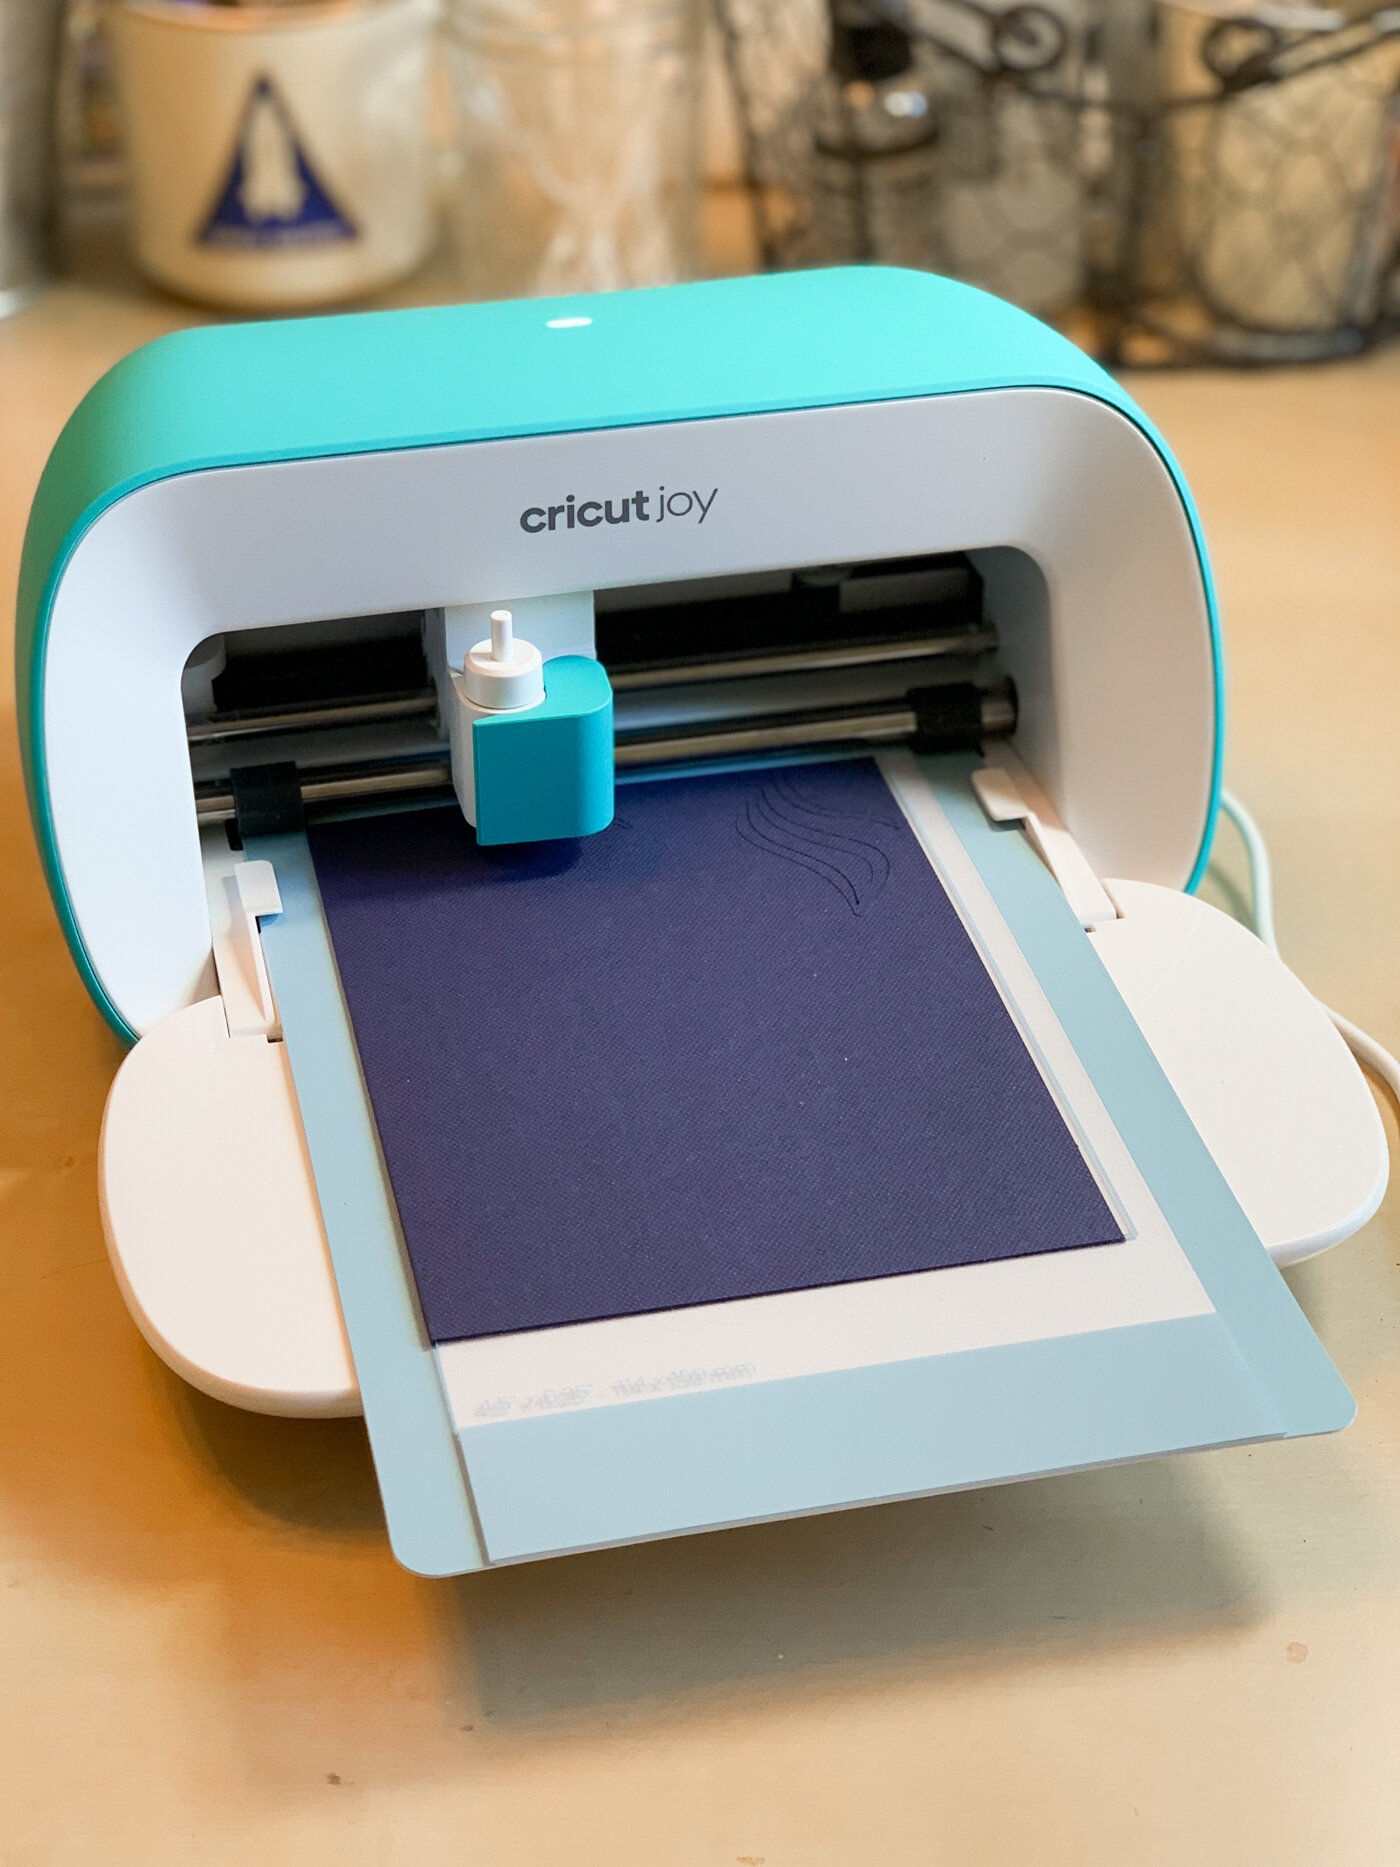
To create this card with my Cricut Joy, add my project containing the card design to your Cricut Design Space. For my card base, I used a dark blue insert card from the Sensei Sampler Insert Cards pack. I peeled the clear plastic cover off the front of my card mat, and slid the back of the card under the left side of the clear panel. I made sure the card was slid all the way to the top of the mat area, and then closed it shut onto the sticky part of the mat.
Then, after I hit the “Make It” button in Cricut Design Space, I just followed the on-screen instructions to cut out my card!
After my card came out of my Cricut Joy, I took a khaki insert from the Sensei Sampler insert card set and popped it through the slots in the four corners of the card front so that it serves as a backing for the cut out design.

One of the most exciting new things to come along with the Cricut Joy are its Smart Materials. These materials - iron-on, vinyl, and label material - can be used with the Joy without a cutting mat. The materials just get inserted straight into the machine the same way you’d normally insert the cutting mat! The backing of these materials is stiffer than traditional vinyl used with larger Cricut machines. This eliminates several steps of hassle getting projects on and off of cutting mats, and means fewer mats used (and to store), too!
I used the Smart Label Writable Vinyl to make labels for my big seasonal storage bins in my garage. Doing this project also gave me the chance to play with the Cricut Joy version of my favorite Cricut accessory - the pens!
The Cricut Joy pens are slightly different from the ones for other Cricut machines. One nice thing I noticed is that they don’t “snap” into place in the machine, making them a lot easier to get in and out.

To make these labels, just grab the Cricut Design Space project I made that combines a label base with all these fun drawings, and put it on your canvas! (I went a bit crazy using all the pens in the Fine Point Pen set, but you could also do these labels with just the black fine point pen that comes in the Cricut Joy box. )
Then hit the “Make It” button and tell Design Space you are using Smart Materials. Follow the on-screen instructions to insert your Smart Label paper in your Cricut Joy and draw and cut your labels. (It will even tell you how long a strip of the Smart Label material you need to load in your machine! )
This is what the seasonal storage labels will look like after the waste is peeled off the background:

The Cricut Joy machine so streamlines the process of creating projects that, as a regular user of full-size Cricut machines, I keep having a feeling like I am missing steps. It feels like there should be more to do, but I keep having to remind myself that it really is that easy!
Each of these projects really can be completed in only a matter of moments (especially if you don’t obsess over pen colors on the labels like I enjoy doing).
The Cricut Joy is available at Cricut.com and major craft retailers now. Get yours today!