
Gift Coasters with Cricut Infusible Ink!
Coasters are one of those things it seems we can never find when we need one. This pretty set of bee-themed ones made with Cricut Infusible Ink are a great DIY gift - and a great reminder of an important part of our environment.
[Disclaimer: Cricut supplied materials and equipment used in this project but this is not a sponsored post. Links in this article are affiliate links that pay this site a commission at no cost to the reader when a purchase is made after a click.]

Supplies:
Cricut Infusible Ink
Grayeige (or substitute black)
In the category of mistakes I make so you don’t have to…I had a bit of difficulty aligning my honeycomb background precisely with the edges of the coasters. So I have redesigned the file to have a slight bleed, so it will just barely overlap the edges of the coaster. This will make it easier for all my readers to get an alignment that appears perfect!
I used my Cricut Maker but this project is Cricut Joy compatible. I used the 9x9 Easy Press 2, but you could do this project with any size of Easy Press 2 and Mat. The mat is required for safety reasons when working with Infusible Ink, which presses at a temperature of 400 degrees. (Infusible Ink is not compatible with the original Easy Press or the Easy Press Mini.)
Infusible Ink can be layered, but it must be done very carefully. Several things must be accounted for when layering Infusible Ink that you don’t have to worry about when working with materials like vinyl or traditional iron-on.
The first is that if you iron over Infusible Ink a second time with a smaller piece, it will cause ghosting. The color under the backing of the second piece will end up a different color than the area outside that backing. To avoid that…the backing material of all layers must be as large or larger than the first piece that is used.
To make the backing material bigger than your design, just create a box that covers the area you need, and then use “attach” to make it cut with your item. Below, I just created 4” squares and then aligned them centered with each graphic and hit “attach”.
After you cut, just peel that box off the backing, and you’ll be left with the larger backing you need!

The second concern with layering Infusible Inks is that (unlike using solid materials like regular iron-on) the inks will actually blend. So not all colors can be layered with each other - unless you actually want to create a funky effect.
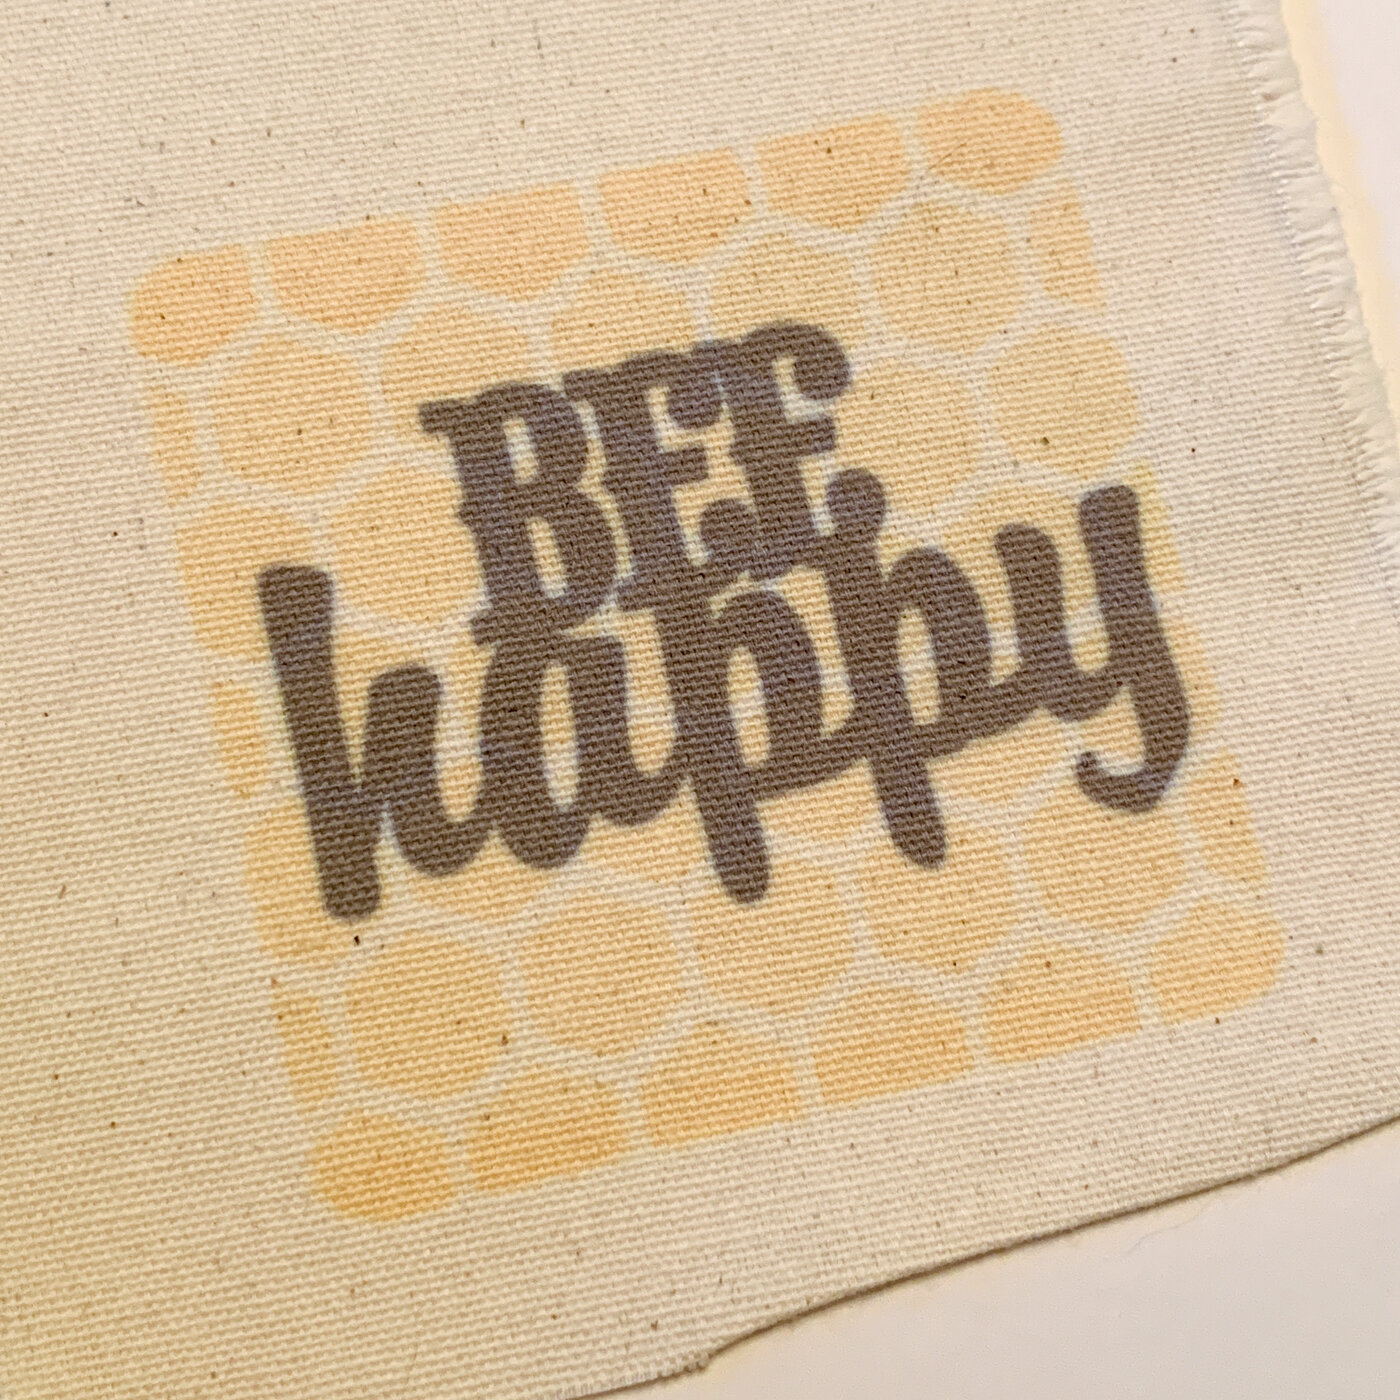
Before committing to putting my Infusible Ink on my coasters, I tested my color layering. I grabbed a scrap piece of cotton canvas out of my fabric stash for doing this. It’s not a good material for bonding the Infusible Ink to, but I’m not concerned about long term stability or getting bold color. I just wanted to see what the colors would do when they mixed! The cotton scrap was just thrown away after serving its purpose.
I recommend closely following the instructions in the Cricut Heat Guide for using the Infusible Ink material, especially the part about working in a well-ventilated area. Also, if you’ve worked previously with Cricut’s round coasters, please note that the instructions for the square ones are significantly different because the two styles are made from different materials.
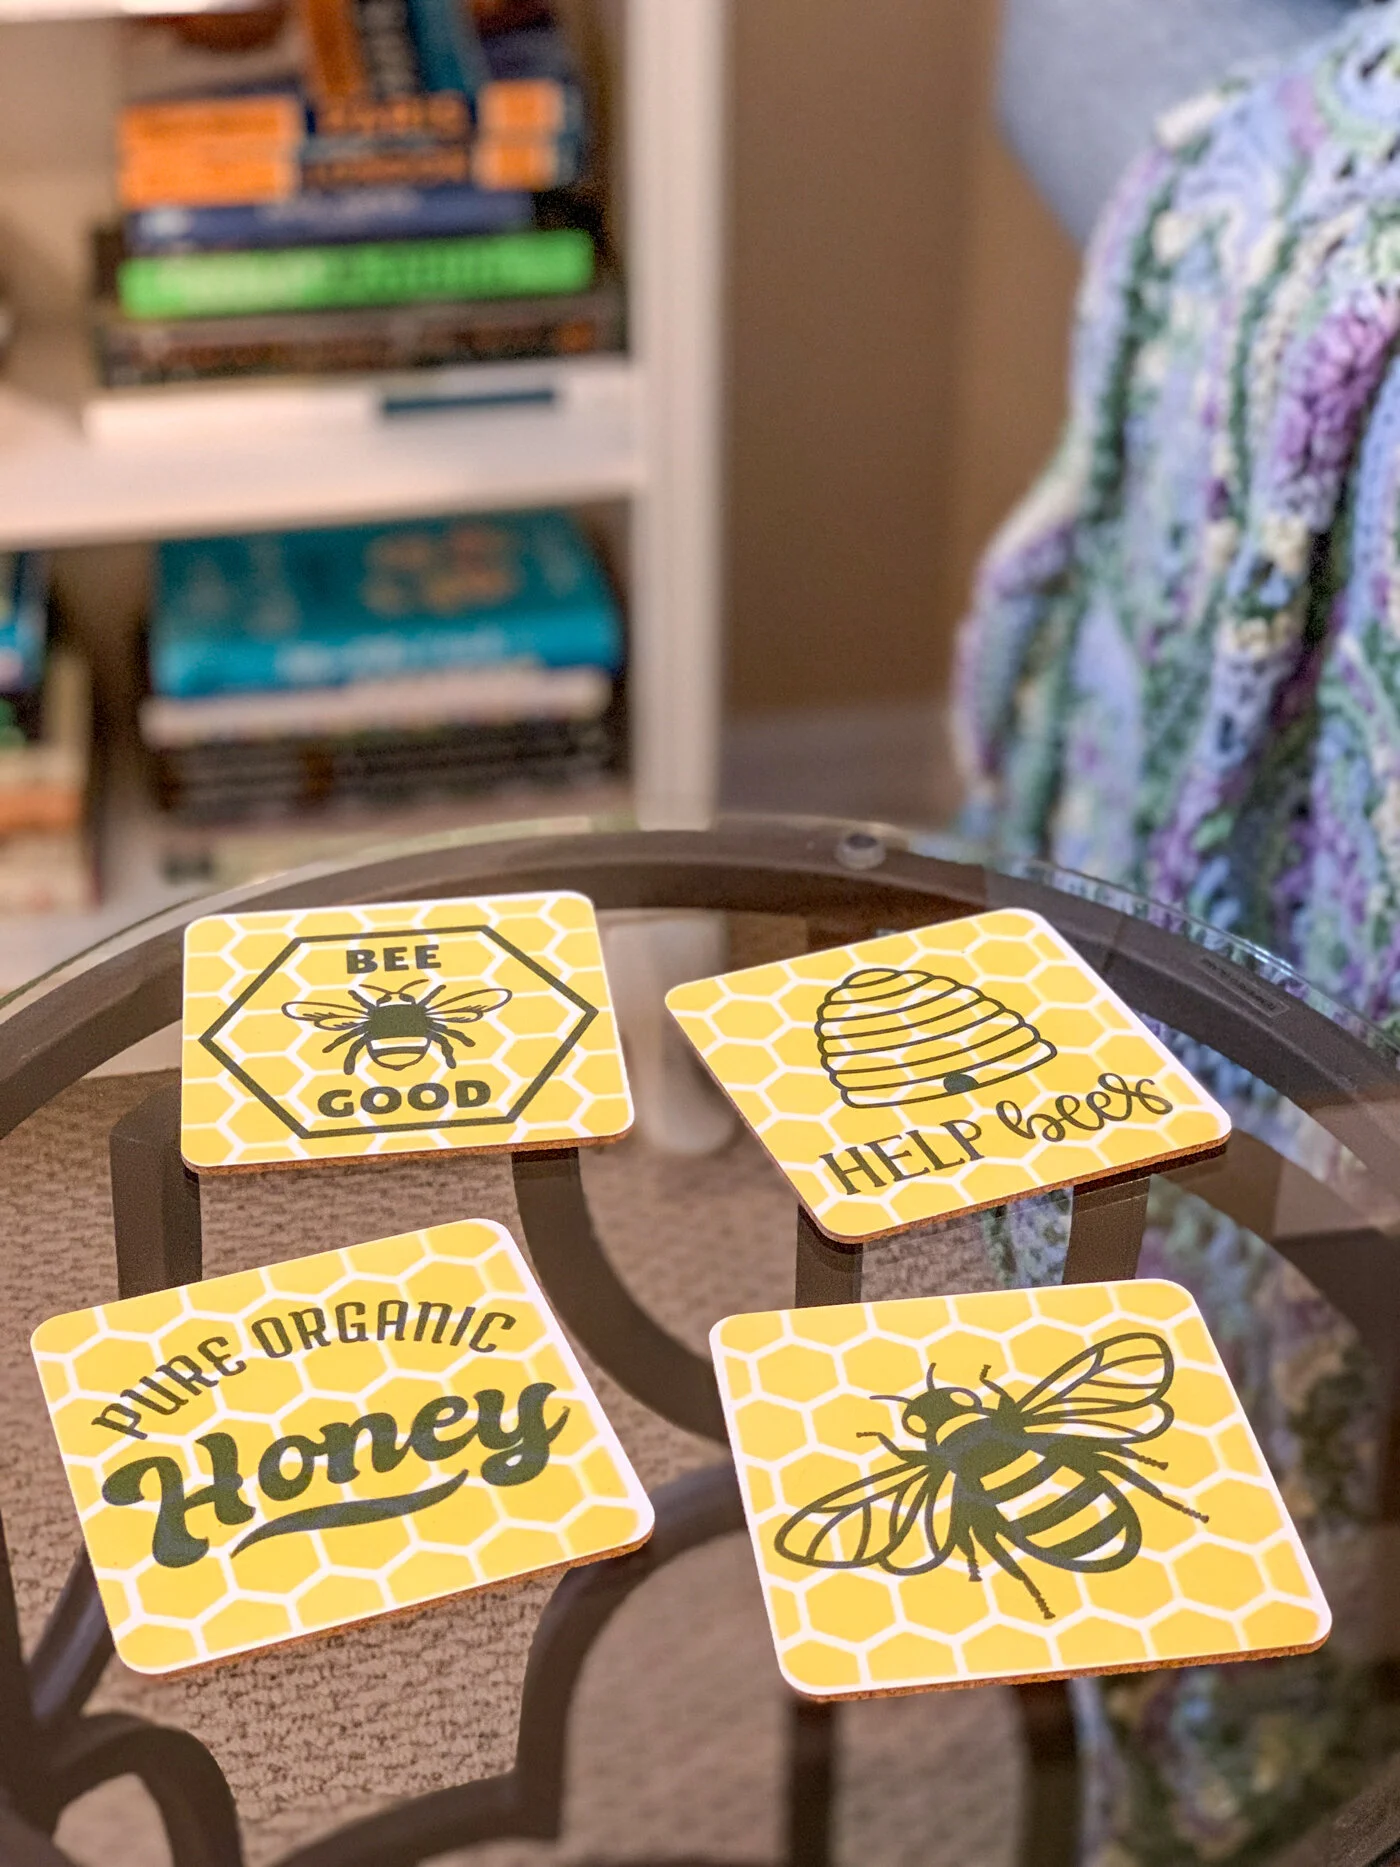
This is a DIY gift that someone you care about will love displaying in their home and using every day. And it brings a bit of the outdoors inside, especially during those long winter months.
Who do you know that would love these coasters?