
Make DIY Holiday Gift Tags with Cricut Maker
I'm a big fan of the convenience of gift bags for my holiday gifts. (And they are environmentally friendly too, since I reuse them year after year!) Extra special DIY holiday gift tags are the perfect way to punch up simple gift bags and turn them into something fabulous!
[Disclaimer: This post is sponsored by Cricut.]
These wood DIY holiday gift tags that I made with my Cricut Maker machine each have only three pieces to cut. But with this much style, no one will notice how simple they are!

Cricut DIY Holiday Gift Tags
These DIY holiday gift tags are really simple to make, because what makes them special is the material that is used. With the Knife Blade, the Cricut Maker is able to cut Basswood and Balsa Wood that is up to 3/32" thick. The look of natural material, and the dimension that can be created, takes these tags to a whole new level!
Supplies Used:
1/16" thick x 4" wide Basswood
painter's tape
Mod Podge Matte
FolkArt Chalkboard Paint
Martha Stewart Pearl Paint (Holly Berry)
patterned paper
chalk
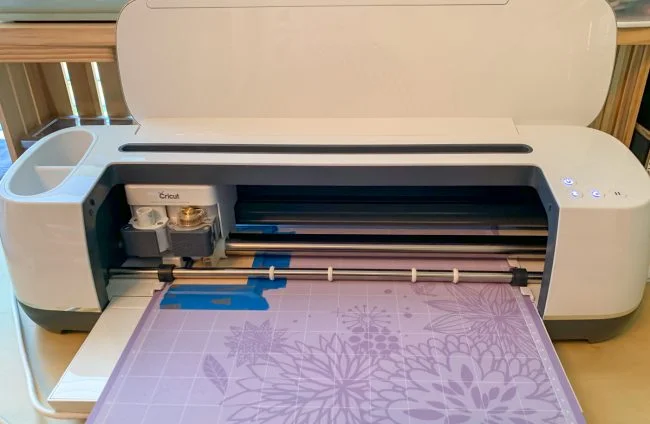
Start your DIY holiday gift tags by using your Cricut Maker and the Cricut Knife Blade + Drive Housing to cut out all of the wood parts from the projects.
Cricut Maker cutting wood
Cutting the 1/16" basswood with the Knife Blade requires using a Cricut Strong Grip Mat. You also need to fasten your wood down to the mat with plenty of painter's masking tape. Don't skimp on the masking tape, and make sure that it is pressed firmly down!
(Don't forget to slide the white rings on your rollers to the right to get them out of the way of your wood as it passes under the rollers.)

Cricut Maker cutting wood
When you are done cutting the wood pieces, switch to the regular blade and a light hold mat to cut the two patterned paper pieces for the DIY gift tags.
When you are done, you should have these three pieces to make the Christmas tree gift tag. Use a glue like Mod Podge to assemble them into a sandwich in the order shown.

DIY Holiday Tag parts
You will also have these three pieces for the Christmas ornament DIY holiday gift tag. Paint the ornament base with black chalkboard paint, and paint the frame red.
(Here's a great idea to customize this ornament tag - Instead of using chalkboard paint, paint the base with regular paint and cut a photo to fit in the center of the frame!)

DIY Holiday Tag parts
Use glue again to assemble these pieces with the patterned paper on one side of the ornament base, and the red frame on the other. (The patterned paper is optional, but sure brightens up the back of the tag.)
After the chalkboard paint is cured, rub it with a piece of chalk to prepare the surface for writing. Then you can write on your tag with chalk over and over!

DIY Holiday Gift Tag with chalkboard
Since they are made of wood, these durable DIY holiday gift tags can be used again and again. Or, after you use them, hang them on the Christmas tree as ornaments!

DIY Holiday Gift Tag
Attach your DIY holiday gift tags with a loop of baker's twine or ribbon and enjoy all the compliments that will come your way!

DIY Holiday Gift Tags
This is a sponsored conversation written by me on behalf of Cricut. The opinions and text are all mine.