
Always & Forever card with Stamperia
Love is in the air because Valentine's Day is right around the corner...I couldn't resist making a vintage style card to send some love for the holiday with some fabulous Stamperia papers!
Disclosure: This site is a participant in the Amazon.com affiliate program. This article contains affiliate links that pay this site a commission at no cost to the user if a purchase is made after a click. Stamperia provided the paper to me as an editorial sample.]

Always & Forever Card
This deceptively simple card design is centered around the technique that creates the butterfly. Once the butterfly is complete, the design comes together extremely quickly.
The beautiful paper designs by Stamperia add so much detail and design that if used well they make the design super simple! The dramatic patterned paper for the butterfly creates so much color and "pop" in that element, while the base paper has a faux collage that helps create depth with no effort.
This design is very flexible for a variety of occasions and holidays. Simply switch out the sentiment and you can have a birthday card, a Valentine's Day card, anniversary card, or a card for almost any other special occasion!
Supplies Used:
Stamperia "Time Is An Illusion" 12x12 paper pad
Ranger Tim Holtz Distress Ink:
Ranger Embossing Powder in Copper
Stampendous "Pen Pattern Butterfly" stamp (discontinued - I suggest you try this one as a substitute)
Craft Knife & Glass Mat
Tim Holtz "Simple Sayings" stamps
cardstock or card base
28 Lilac Lane "Dusty Rose" bottle (or use
Even though it is one of the last items attached to the card, I recommend starting the card by making the butterfly first.
The butterfly was made by stamping it with embossing ink on patterned paper, and then embossing it with copper embossing powder. Then it had to be cut out. I fussy cut my butterfly, but your hands will definitely thank you if you just buy the matching die for the stamp!

embossed butterfly
Once the butterfly is done, then it's time to make a background for it!
I cut a base for the card front out of one patterned paper. Then I cut a strip for the top from another paper. Using my waterbrush, I drew a line with lots of water where I wanted to create the torn edge. Once it was soaked in, then I carefully tore along the line to create the distressed bottom edge of the top border. The torn edge was inked with Antique Linen and Brushed Corduroy ink once it was dry.

butterfly card step 1
I have always been nervous about stamping on directly onto a project in progress. But since I got my Tim Holtz stamp platform I do it all the time! I used my platform to stamp the sentiment on the card front. With the platform, I was able to stamp several times to get a clear, dark impression.

butterfly card step 2
Next the tearing and inking process was repeated for a piece of paper in the bottom left corner of the card front. After that base was in place, I layered an image over it of a woman that I cut from a sheet of paper in the paper pack. I also tore and inked the edge of the image for an aged look.

butterfly card step 3
Finally it was time for the big butterfly to be layered on! Now the design really comes together. The butterfly physically connects all of the elements in the design. It actually touches each one, except the sentiment.
But...my card still feels like it is missing some detail. It's not finished yet!

butterfly card step 4
I love to use small embellishments like buttons for just that added little spot of embellishment on my cards and layouts. I frequently reach for the 28 Lilac Lane products created by my friend (and very talented designer) May Flaum as the perfect way to do this. [Disclosure: I'm the former social media manager at Buttons Galore, which manufactures 28 Lilac Lane.)
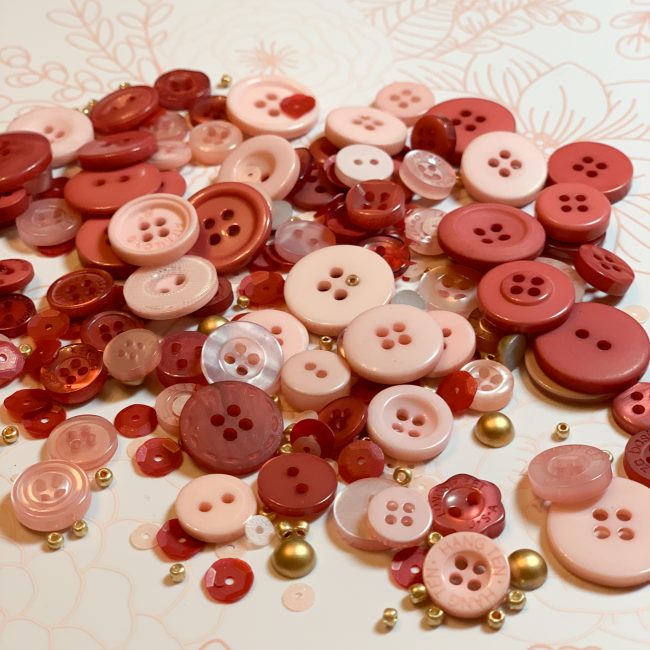
28 Lilac Lane Dusty Rose bottle
With a few buttons, pearls and beads added, my card feels so much more complete! This extra step only takes a few minutes (plus some drying time for the PPA Matte adhesive that I highly recommend for using to adhere them) but it makes a big difference!
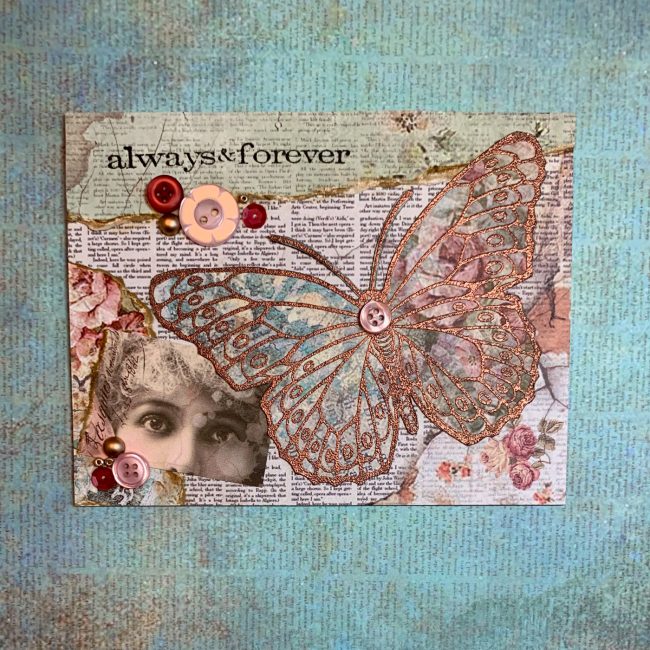
always & forever butterfly card
Now if only I could keep my husband from reading this post until Valentine's Day, I'd have the perfect card ready to go for him!