
Organization | Cling Stamp Storage
I’ve been doing a lot of reorganization the past few months of my scrapbook supplies as part of moving my scrap area from the spare room into the kitchen. I’ve also been changing in the past 6-12 months or so pretty dramatically the type of supplies that I am using, which also means having to adjust my storage accordingly.
One of the things I had to find a solution for was cling mount stamps. I have recently fallen in love with cling mount rubber stamps and it seems lately that more and more companies are making them. Tim Holtz’s (that I own a lot of) come on their own storage sheet, but most of the ones I buy don’t come with any kind of storage. So what can I do to keep them organized?
As I’ve mentioned on Roundtable, I love the storage sheets that the Tim Holtz stamps come on…and I discovered while hunting for stamp storage options that I could buy similar sheets in 8.5″ x 11″ size. The Stamp N Stor Storage Panels are 3-hole punched and come in packs of 5 for $6.49 at Joann.com (but are frequently available on Joann.com’s 40% off storage sales). They are pretty much exactly like the Stamper’s Anonymous storage sheets that I love except that the sheet size is larger.
Of course, when the sheets come with a set of stamps, they come already customized…these panels come blank. I decided to customize them myself to the stamps that I wanted to store on them.
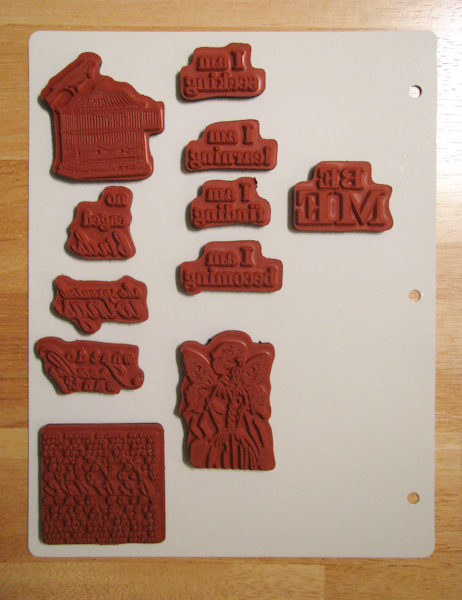
First I decided where to place my stamps on a sheet (shown above). Next, I peeled them off and laid them on the table next to the sheet in the same configuration I wanted them attached to the sheet. (I actually did this by holding the sheet up in the air with the blank side facing up, reaching underneath it and just pulling the stamps off of it and laying them right down on the table, so they look just like I peeled the sheet off the back of the stamps while they sat on the table.) Then I started stamping!
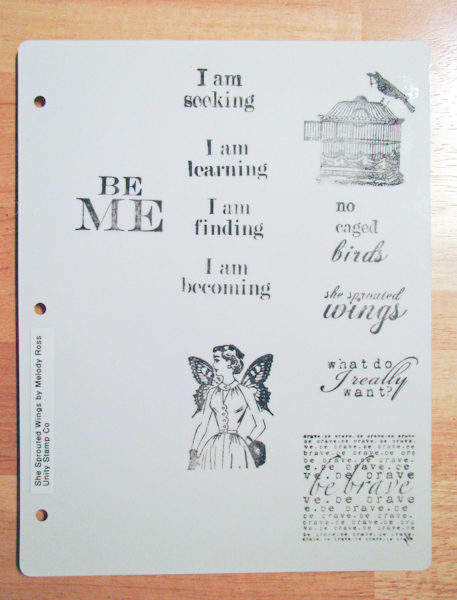
I stamped the images on the front of the storage sheet in the configuration I wanted to store them on the back. I used Ranger Adirondack Rich Black ink, and heat set each image briefly with a heat gun before moving to the next one so that it wouldn’t smear on the glossy surface. (If the glossy surface develops a bubble from the heat, just quickly take the heat gun away and the bubble will flatten itself back out as it cools.)This is one of my Unity Stamp Company sets all completely stamped and ready to store. I used my Brother PT 1280 labeler to create the label over by the punched holes.
I’ve created some sheets to store single stamps as well. On those sheets, each stamp has a label underneath it that gives its identifying information, instead of the label being by the holes. I try to keep my singles in some sort of system – either by company or by theme. I store all of the sheets in 3 ring binders.
It’s a bit of a time-consuming project to create the customization on the storage sheets initially but I’m finding that for me it is well worth it. I love my stamps and they get used a lot, so anything that makes them easier to find and use is worth a bit of investment of time and effort in the long run. I haven’t gotten all my cling mount rubber stamps transitioned to this system yet but so far I’m very happy with the usability for the ones that I have transitioned. Flipping through the stamps on the board pages in binders is far superior to anything that I have tried before.
How do you store your cling mount stamps?