
Organization | Pegboard Storage for Crafters
Yesterday, I promised a closer look at one of my most recent additions to my scrap room - my pegboard. So let's take a look at it!
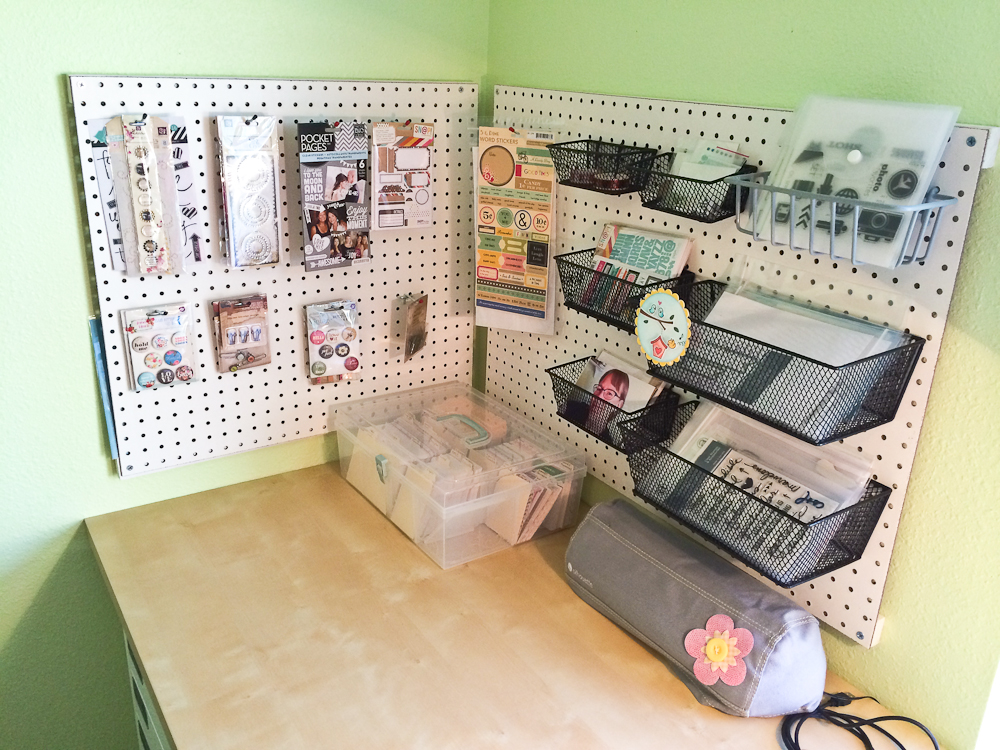
Scrap Studio Peg Board
Materials for the project cost me about $60.
The peg board isn't a standard size - I just measured the areas that I wanted it to cover, and then had it cut to the size I wanted at my local Lowe's from a large sheet. Since Lowe's did all the cutting, I didn't have to do any heavy-duty carpentry. I bought the pegboard already finished white from Lowe's. That cut down on the work, although the raw brown board would have been cheaper.
The trick to pegboard is that you can't mount it flush to the wall, because there has to be room behind it for the hooks to stick through. So you have to use a strip to hold it away from the wall. I used 1x strips along the top and bottom of the pegboard sheets.
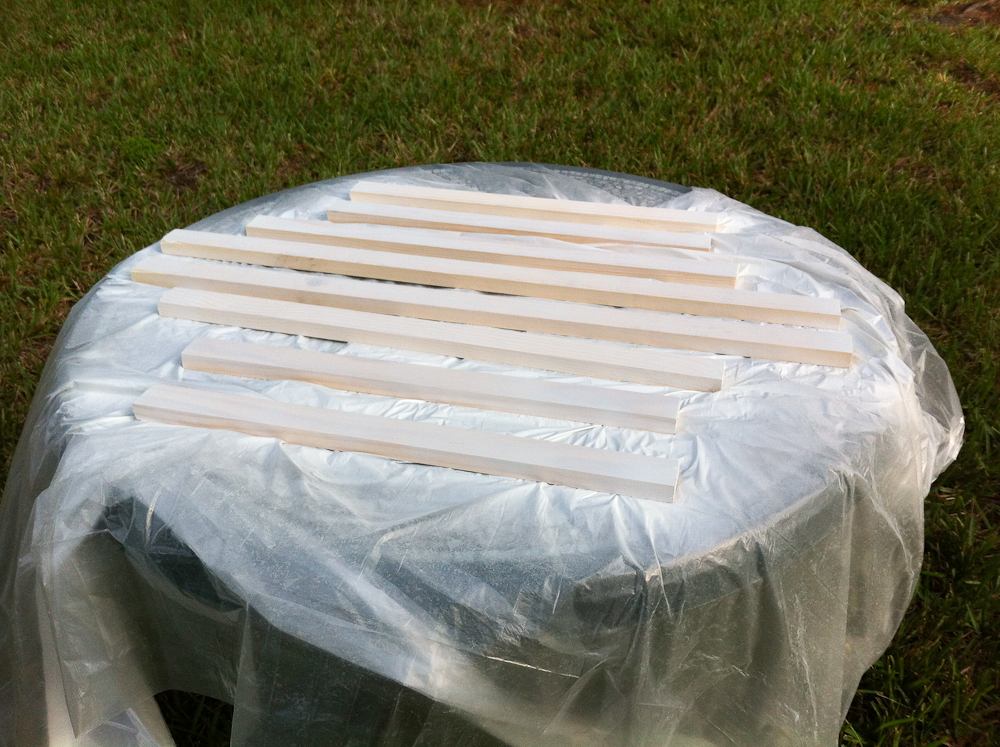
First I spray painted the 1x1 strips, outside so it was nicely ventilated. I did this so the raw wood wouldn't show from behind the board around the sides:
IMG_4515
(I only ended up using four of the strips shown above - there are extras in the photo.)
When the strips were dry, my husband and I screwed them into the wall, using wall anchors to secure them strongly. Then we screwed the pegboard into the wood strips. That will make it easier if we ever have to ever take down the pegboard. We could replace the pegboard sheet without taking down the wall strips.
When it was done I was left with this:
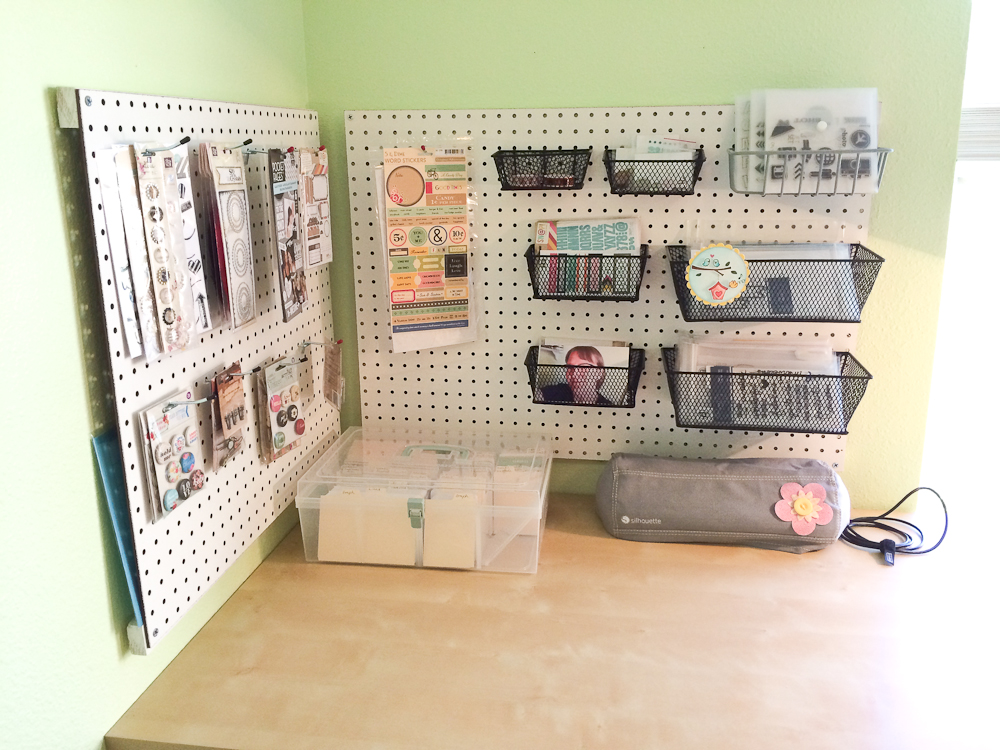
Scrap Studio Peg Board
See the gap behind the board on the left? Did you notice there is something blue behind it? That is where I keep my mats for my Silhouette machine! Tucking them in that spot keeps them out of the way but easily accessible when I need them!
I got most of the hooks and baskets at Walmart. Some (mostly the small hooks) also came from Lowe's. My favorites though from Walmart - the black baskets. They came in sets of three - small, medium and large together - and the mesh is fine enough to contain nicely the smaller and delicate things that crafters want to store. They are very secure on the pegboard and very affordable at about $10 a set.
I use the board to store new purchases and frequently used favorites. One basket holds stamps for my Project Life album, another holds my Close To My Heart stamps, another holds card stamps. There's some washi, cards in progress, alpha stamps and mini embellishments. Then on the hooks, I put basically anything that can hang. I love to just flip through embellishments on my wall while I'm working on something. Each hook is kind of arranged by a loose theme or project type for a bit of organization.
It took a little bit of work but this is perhaps the best of all of the changes I made to my room in the overhaul...it uses vertical space above my table that would otherwise be wasted, and it organizes and stores things while keeping them out where I can see them (critical for me). I highly recommend this project if you have a wall that is bare!